Project "dean"

 Old School REX
12 Apr 2008
Old School REX
12 Apr 2008
QUOTE (1994rm250 @ Apr 11 2008, 04:03 PM) <{POST_SNAPBACK}>
How did you make them inserts for the mounts ???????????????
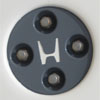
Easy dude.... All you need is some masking tape, a caulk gun, and some 3M Window Weld adhesive (the stuff used to stick windsheilds in with). Tape one side of the mount closed and cut a small hole in the extension tube that comes with the window weld and start fillin'!! If time is an issue and you need them dry in less than a day or two, I would suggest doing only half the mount one day and then filling from there to the top the next day, so as it hardens equally in a shorter period of time. Just be sure you don't leave large air pockets or you are just loosing strength in the fill. That's why I suggest a small hole in the applicator tip for easier control of the direction of flow. Then use a puddy knife to smooth the top of the mount (for looks only) and let it dry for about a day before removing the tape. If asthetics is an issue (as it was for me) go back with some more of the stuff, pile it up, and smooth it down for a cleaner finished look.
The tranny and front mounts were easy, but you'll just have to be creative on the back mount as it's not just a circle with a hole in the middle. Just add the 3M in the obvious load bearing areas and use your imagination. Now that this stuff is dry, I can't move the bolt holes in any of the mounts in any direction!! I've had cars done like this before on the street and it's actually not bad (the vibrations). Just a good controled feeling upon clutch engagement with reduced wheel hop. Hope that helps!!
-cheers
 zakats
12 Apr 2008
zakats
12 Apr 2008
if you're worried about stiffness you can always use large straws to make gaps for a little flex; I would think that easier than drilling holes in your nice, new rac0r mounts.
Old School REX
13 Apr 2008
QUOTE (zakats @ Apr 12 2008, 12:42 PM) <{POST_SNAPBACK}>
if you're worried about stiffness you can always use large straws to make gaps for a little flex; I would think that easier than drilling holes in your nice, new rac0r mounts.
True, but I wouldn't recomend even the straws approach because this material can crack if not supported on all sides after time and under vibrations... besides they are really not that bad to drive daily on. A set of dropped factory tb's on our cars causes more thump and bump than this simple mod.
 CarNutCertifies
16 Apr 2008
CarNutCertifies
16 Apr 2008
Hey on your suggestion i stopped by to take a look. Must be nice to have so many cars around that are clean to take parts from......
Did you keep the spoiler? I may be interested in it in a few months if you still have it.
Did you keep the spoiler? I may be interested in it in a few months if you still have it.
Old School REX
17 Apr 2008
QUOTE (CarNutCertifies @ Apr 16 2008, 12:59 PM) <{POST_SNAPBACK}>
Hey on your suggestion i stopped by to take a look. Must be nice to have so many cars around that are clean to take parts from......
Did you keep the spoiler? I may be interested in it in a few months if you still have it.
Did you keep the spoiler? I may be interested in it in a few months if you still have it.
well... believe me; this one was a diomond in the rough. I've never I mean never had a parts car with so many good materials on it..... I did keep the spoiler and no, I don't want it; so if you do I'll get it to you when and if you want it. Just let me know, thanks!
CarNutCertifies
17 Apr 2008
Well i just got laid off from work today so when i get back to work I will want it...But if someone else wants it between now and then dont wait on me. btw how much you want for it?
And what is the deal with the red stripe on the lower trim....both my cars have it....
And what is the deal with the red stripe on the lower trim....both my cars have it....
Old School REX
22 Apr 2008
Alot of people asked about that trim.... I'm keeping it for mine. I'm converting from the fat black trim line to the thin red one.
CarNutCertifies
22 Apr 2008
oh i just didnt know if it was a rarety or something.....Seems every 1g CRX in my town is the same color combo..red and gray
Old School REX
14 May 2008
Got some really cool progress and thought I'd share with all.... Just look for yourselves!!!
enjoy
first I prepped...
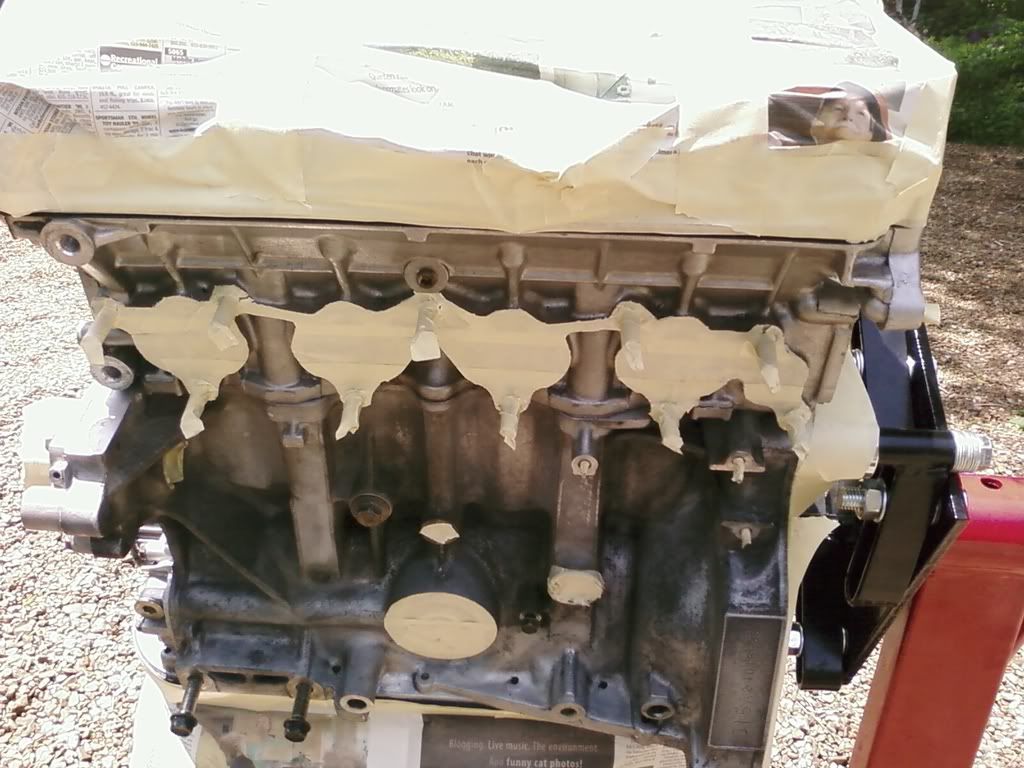
Then I high-temp. primed
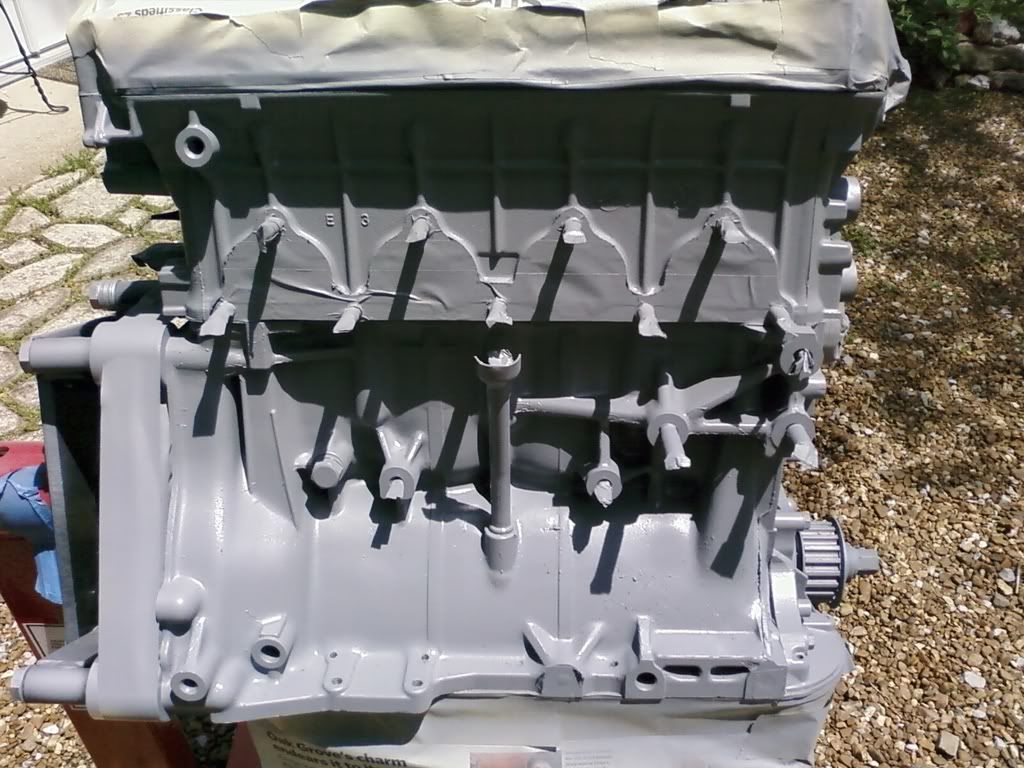
Then I high-temp. painted
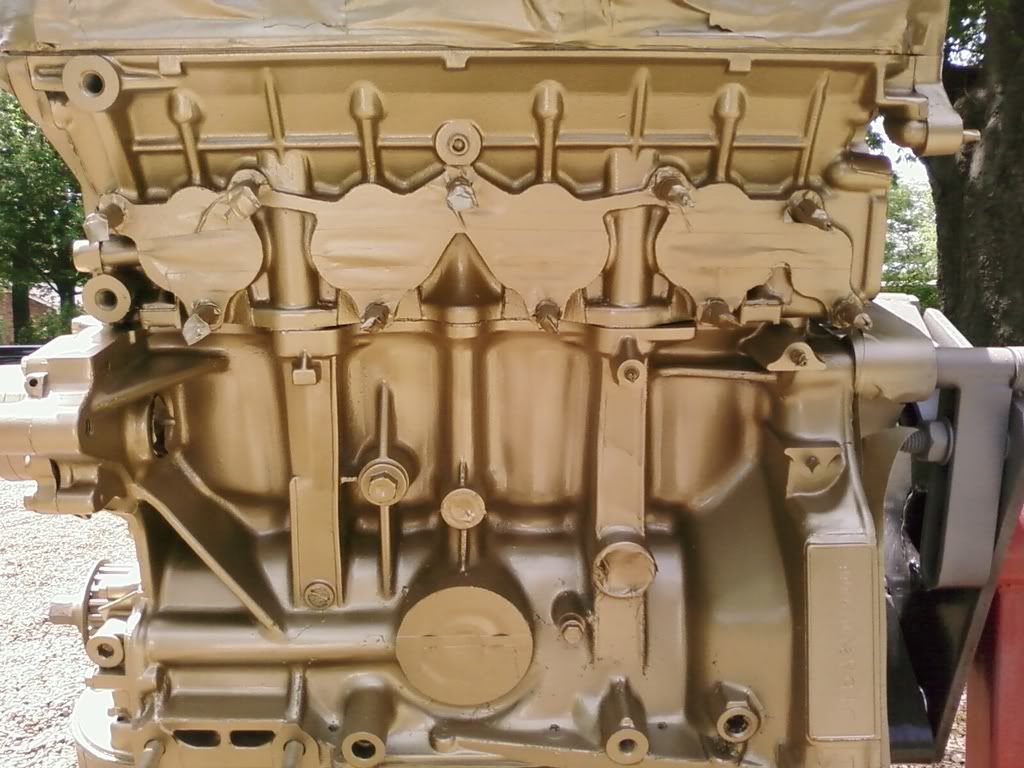
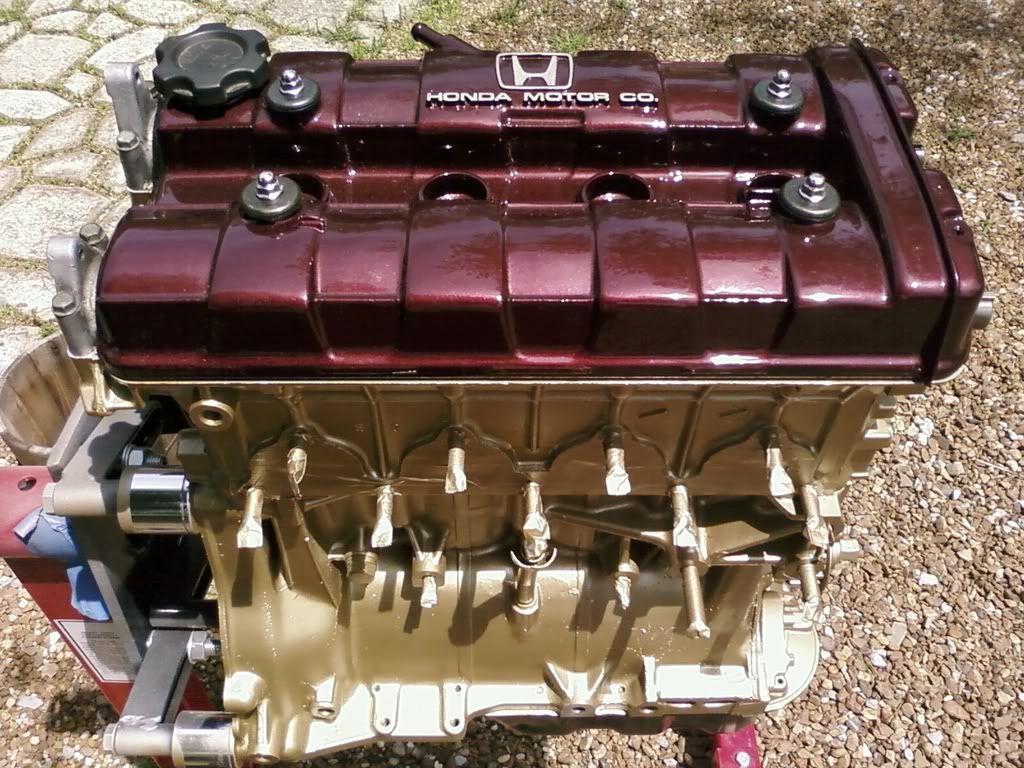
and BAM!!! official pimp status son!! lol
tell me what you think.... thanks!!
enjoy
first I prepped...
Then I high-temp. primed
Then I high-temp. painted
and BAM!!! official pimp status son!! lol
tell me what you think.... thanks!!
CarNutCertifies
14 May 2008
Lookin good...But why Gold? BTW did you check out my valve cover?
Old School REX
14 May 2008
Yes I did tonight... I haven't been online in quite some time.... It looks so sweet man!!! really.... how hard was it to shave it like that cause it looks ballin'!!
The gold just matches the lettering on the valve cover and I thought It would compliment the satin black engine bay it's going in..... I just wanna look like a pimp really... lol
The gold just matches the lettering on the valve cover and I thought It would compliment the satin black engine bay it's going in..... I just wanna look like a pimp really... lol
CarNutCertifies
14 May 2008
The Honda Logo and Emblem are just glued on...I figured it would have been rivited on. The only thing I dont like is there are two little raised indentions but they are hardly noticable once the plug wires are on. The lettering is the rub on lettering that you get from the hobby supply store. Then burried in about 10 coats of clear.
Old School REX
14 Sep 2008
I have still been working on "Dean" but school and my job has occupied most of my time as of lately, so it has been really slow... I'm mostly stuck with my wiring issues at this point. I've never been much on those kinds of things and I think I'm a little intimidated by it, lol. I'll have some new pics up soon. Just thought I'd stay in touch with my RPR community!
 P-Tail
14 Sep 2008
P-Tail
14 Sep 2008
Keep it up man, its looking great. I hear you about school and work. I love the baller status engine colors.


