Xp Build
 gtpilot
19 Mar 2013
gtpilot
19 Mar 2013
Nice work Aren! Along the top of the tube make some small plates to fit between the tube and the roof...weld in place...basically anywhere you can get away with doing this will help!
Kirk
 gustav129
19 Mar 2013
gustav129
19 Mar 2013
Awesome and inspiring build so far. I'm going back to school this fall for Welding Technology. I don't plan on going into auto fab (would be cool if I did professionally), but the cost of my RR cage in my Mustang was the same price for school, so I decided to go the school route, and go from there.
 Aren D.
20 Mar 2013
Aren D.
20 Mar 2013
Nice work Aren! Along the top of the tube make some small plates to fit between the tube and the roof...weld in place...basically anywhere you can get away with doing this will help!
Kirk
Thanks Kirk! I like that. I do plan on doing some more b-piller reinforcements too 
Awesome and inspiring build so far. I'm going back to school this fall for Welding Technology. I don't plan on going into auto fab (would be cool if I did professionally), but the cost of my RR cage in my Mustang was the same price for school, so I decided to go the school route, and go from there.
Thanks! good luck in welding school, I am planing to take some classes this summer as well to learn some more.
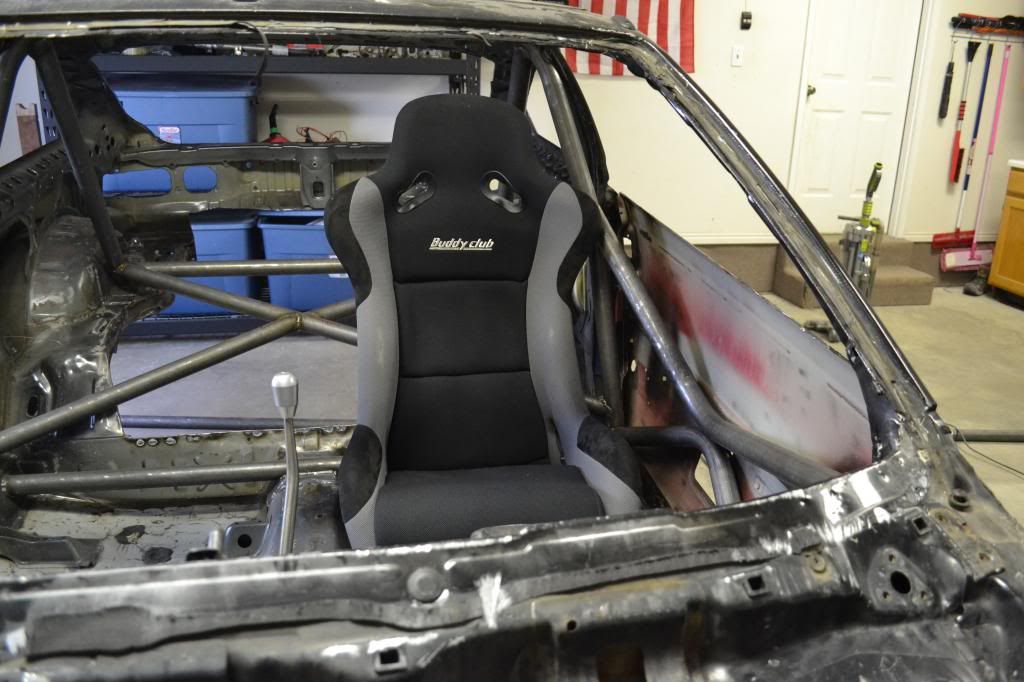
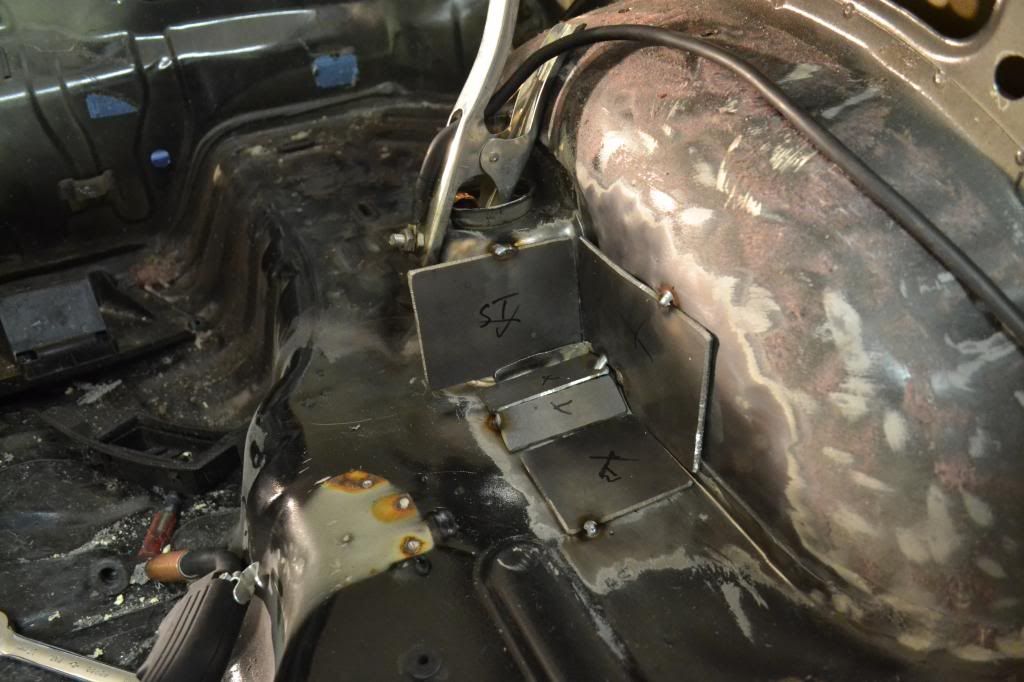
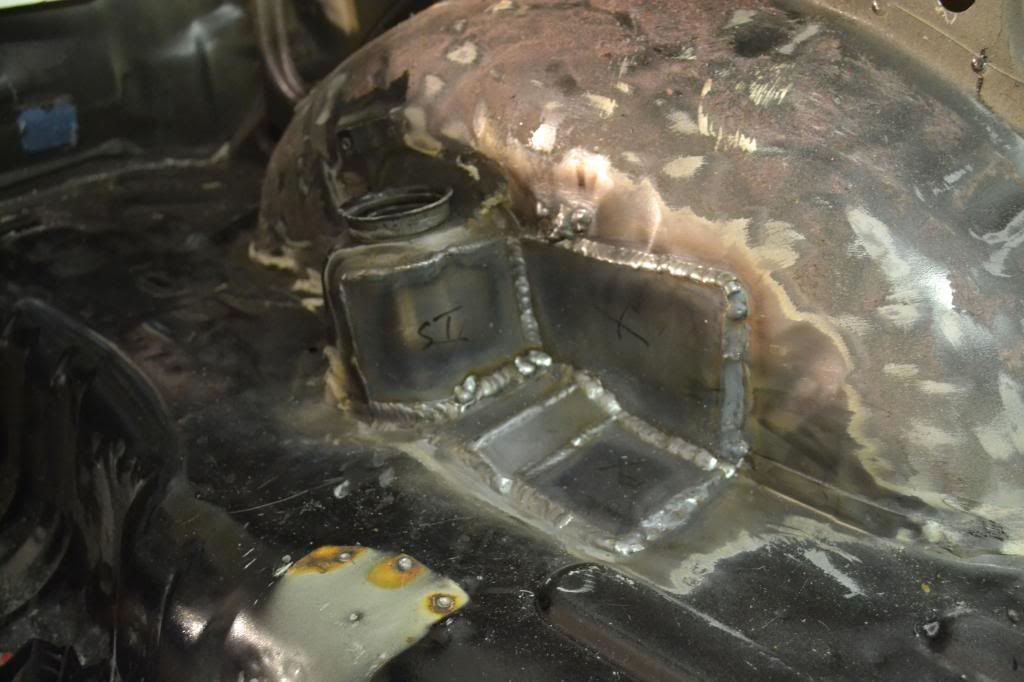
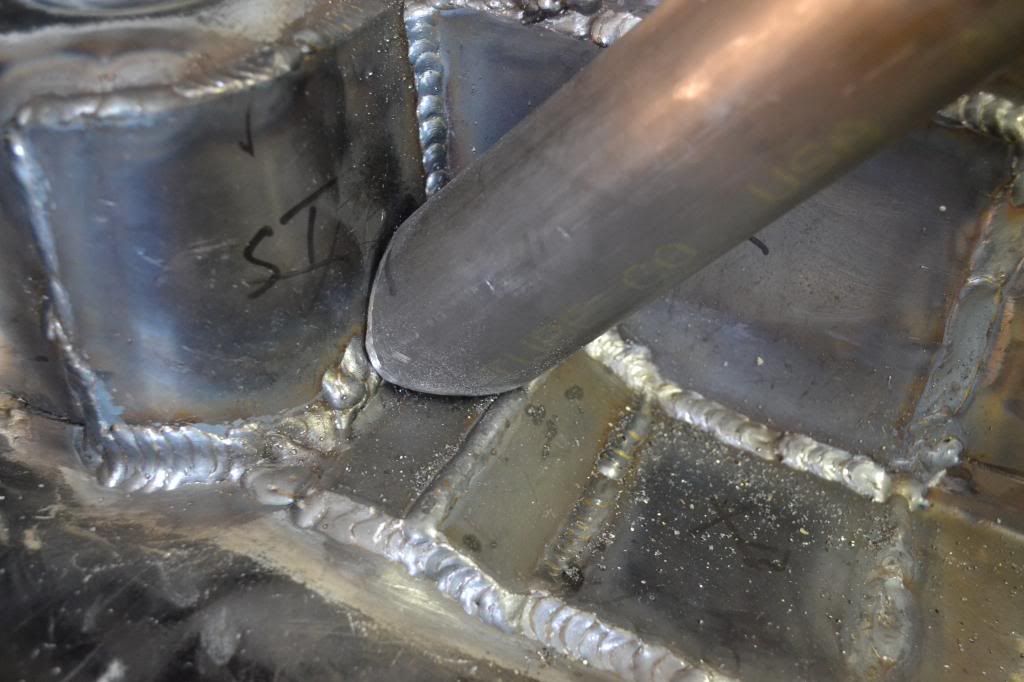
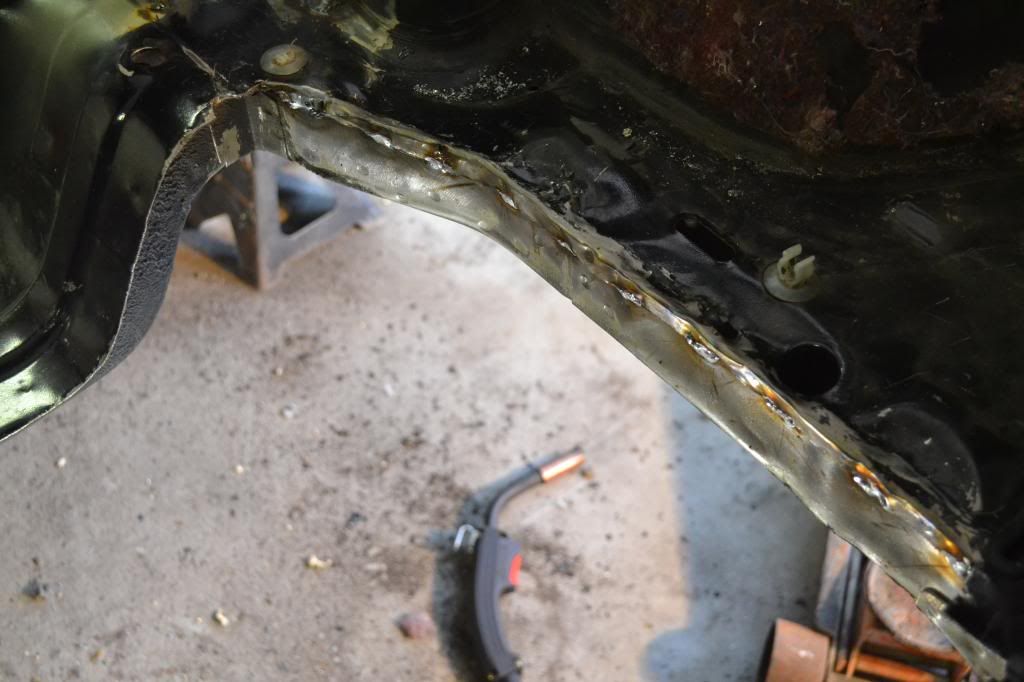
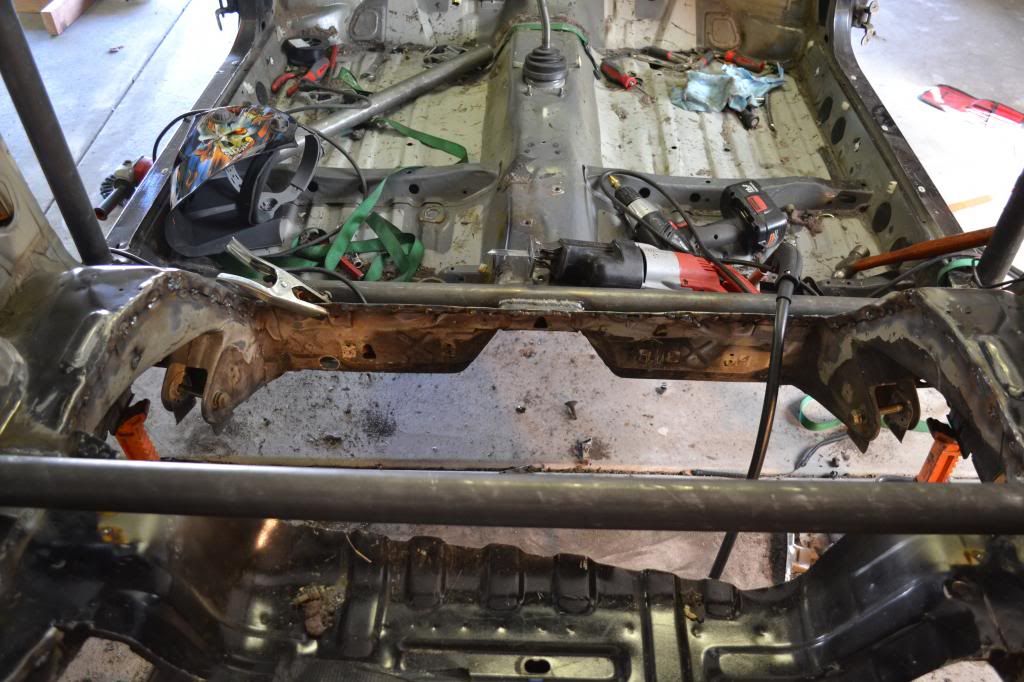
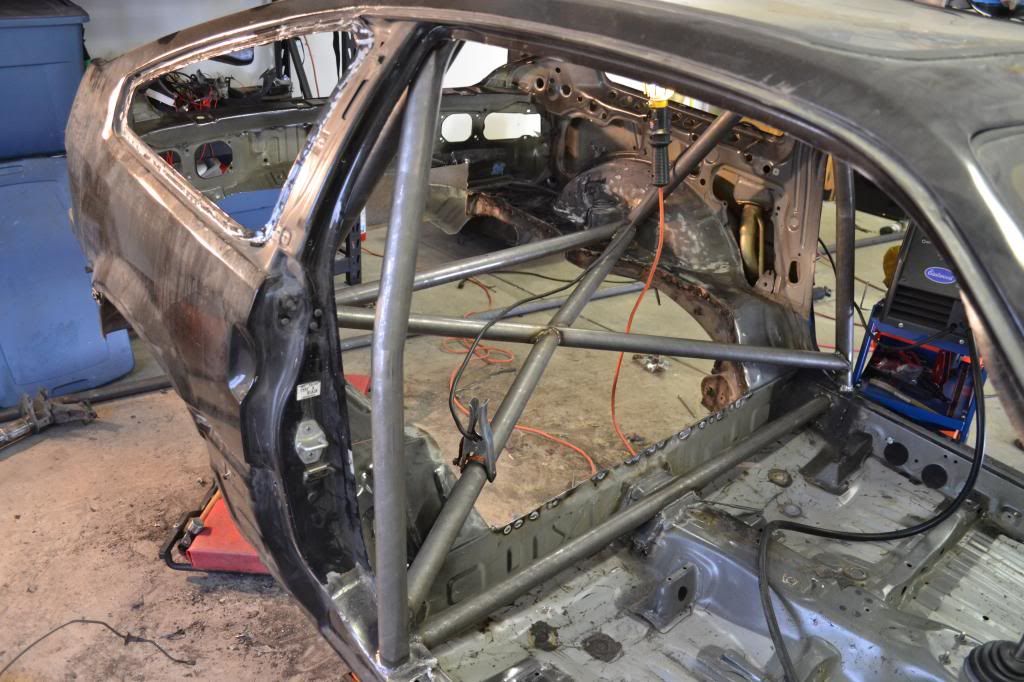
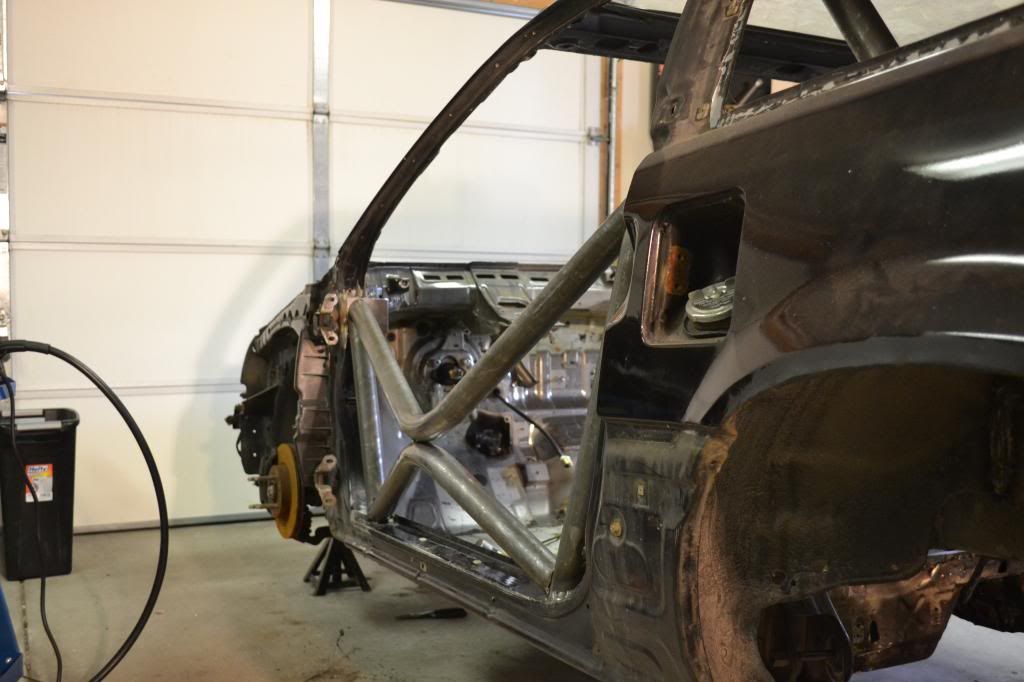
I got one of my rear supports welded in, here it is:
gtpilot
21 Mar 2013
Aren,
Once you tack the closest edges, do you heat the plate with a torch and shape it to the contour and then finish welding it in? We had really good luck doing that to get the width of the welds as small as possible.
Kirk
Aren D.
23 Mar 2013
Thanks Kirk that tip helped alot and my right side turned out much better!

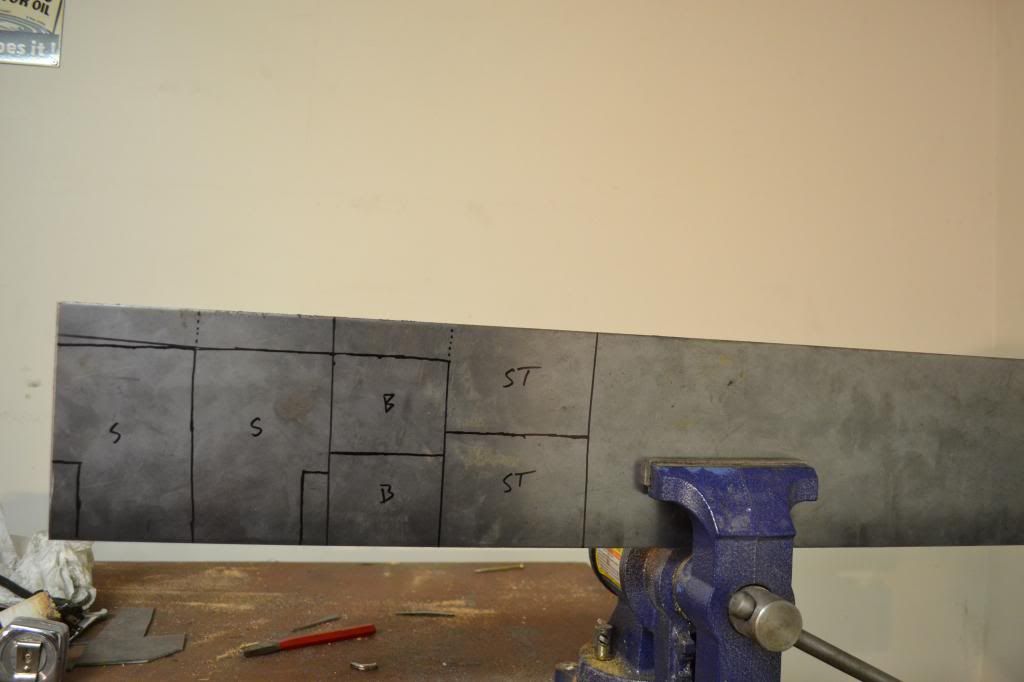
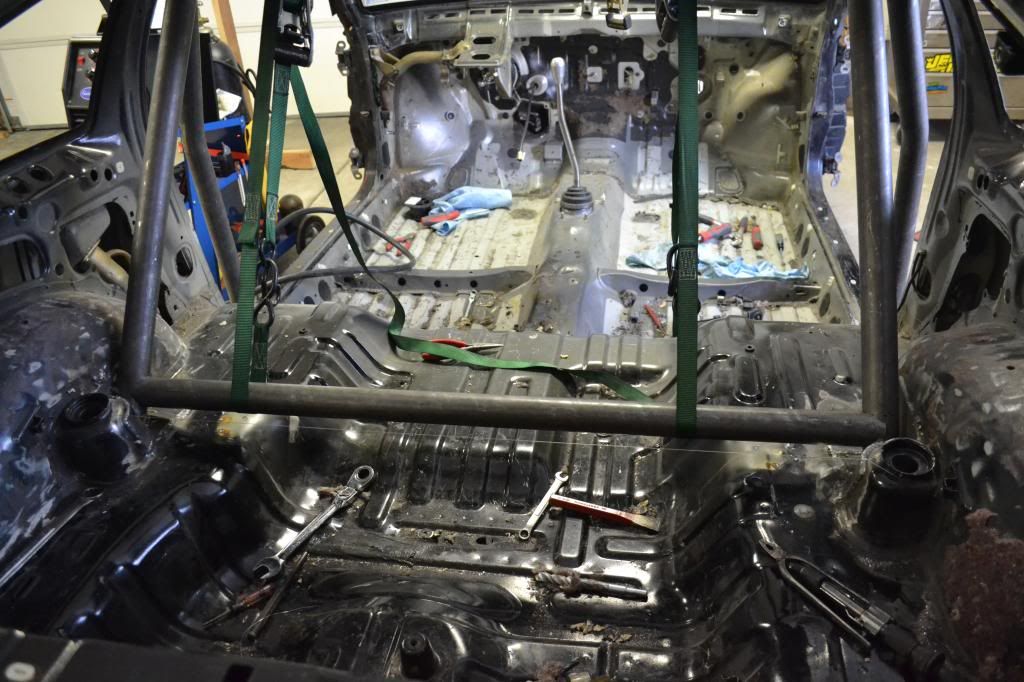
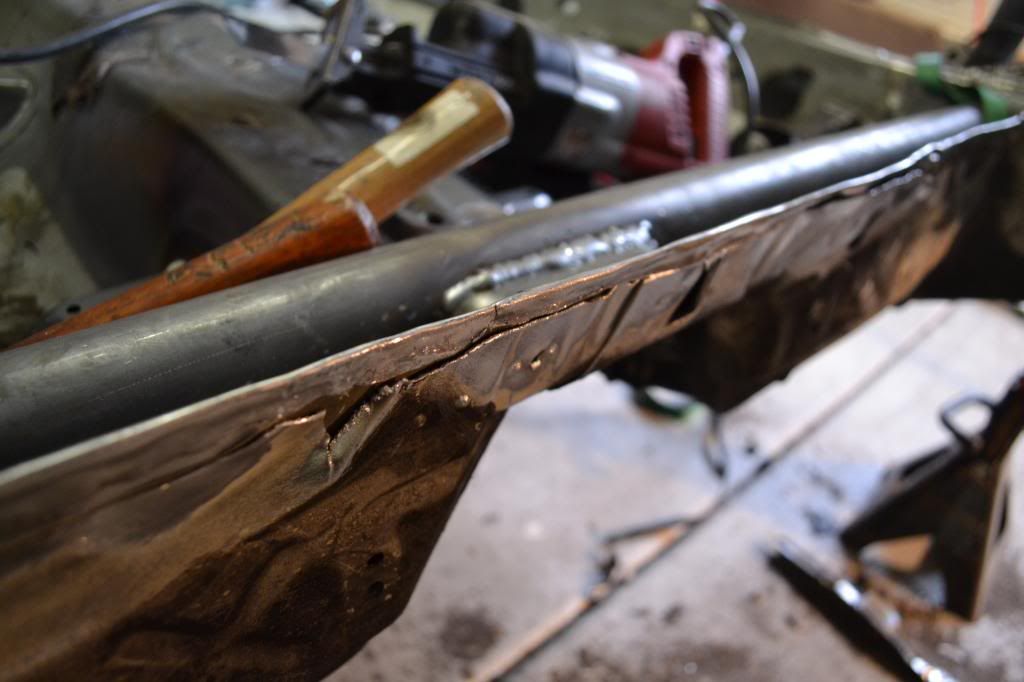
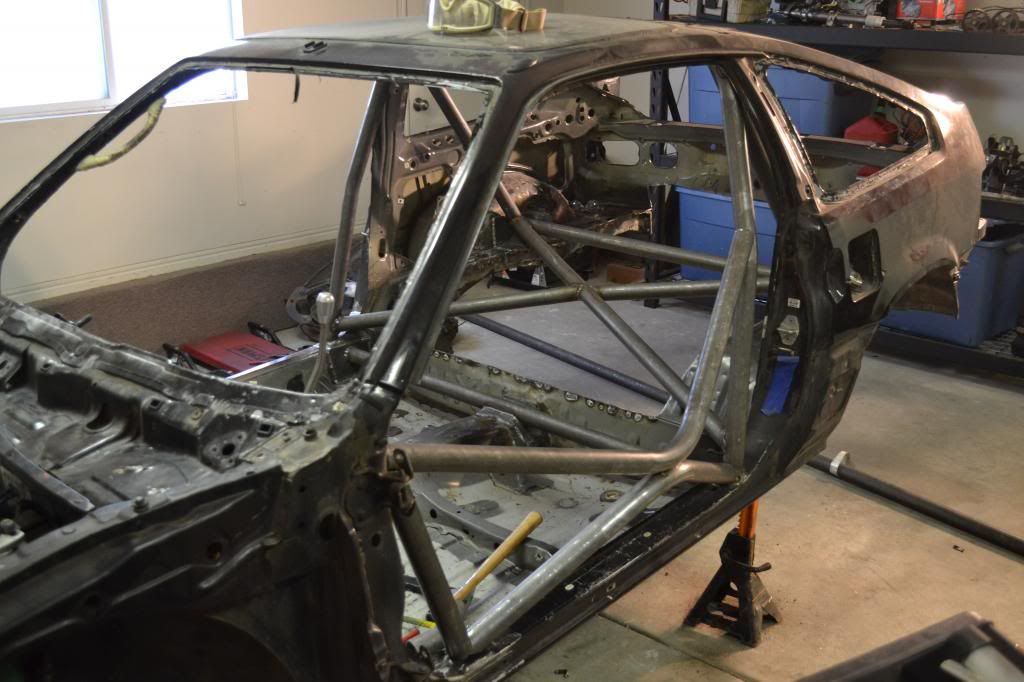
Next I built the aft support bars:
notching and fitment:

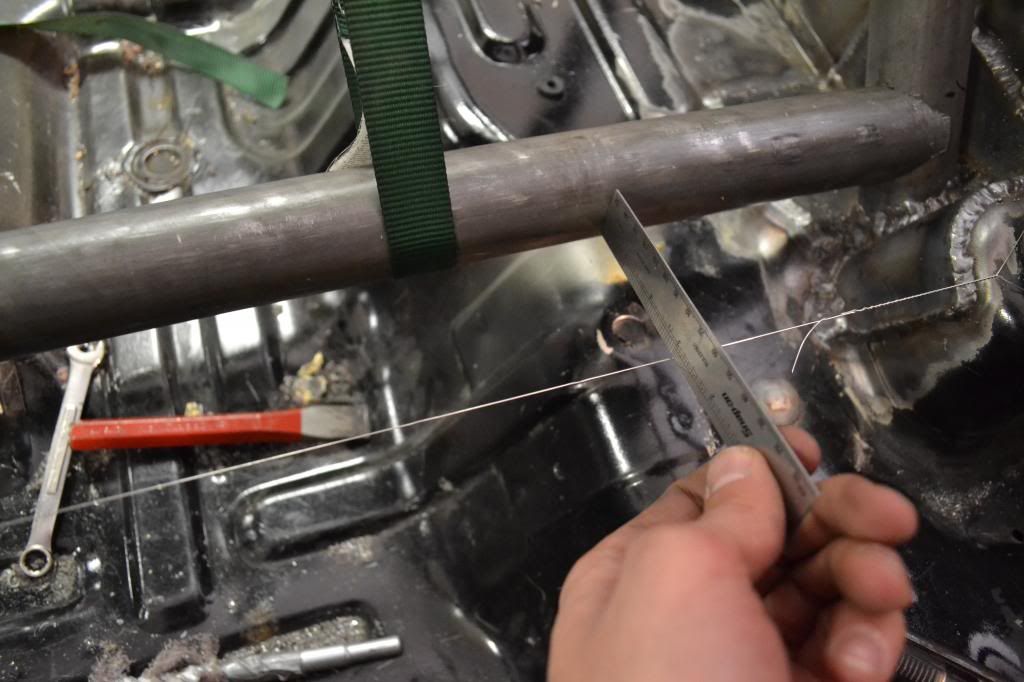
And I installed the cross bar, this bar has to be paralleled to my rear axle because it is going to be part of my mumford link mount.
I strung a piece of wire across the center of my struts and moved the bar with straps untill it was right where I needed it.
Aren D.
23 Mar 2013
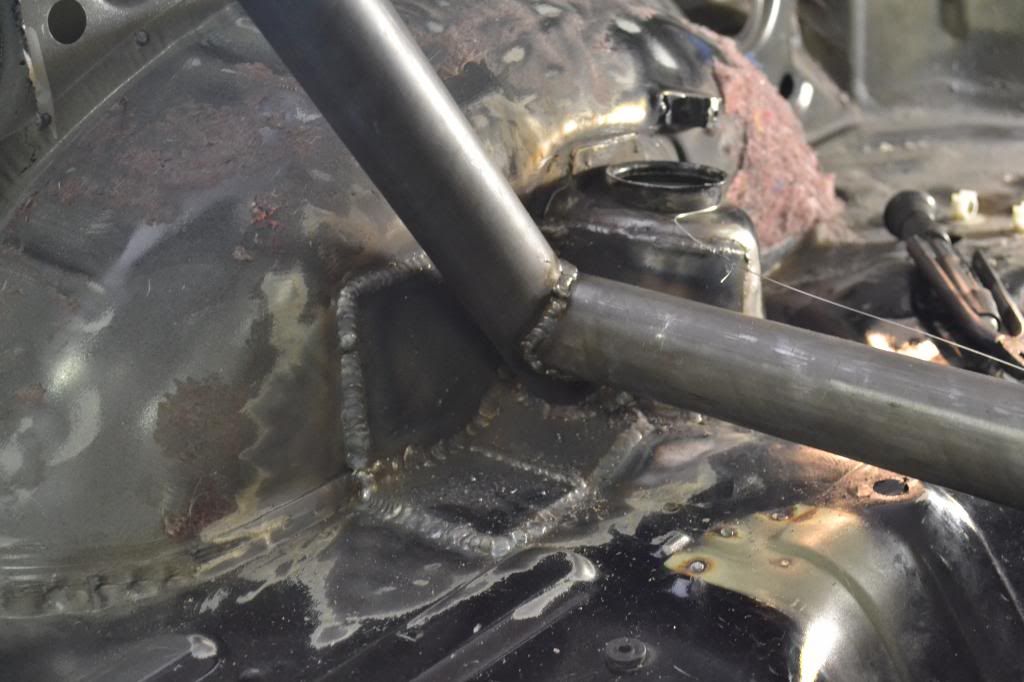
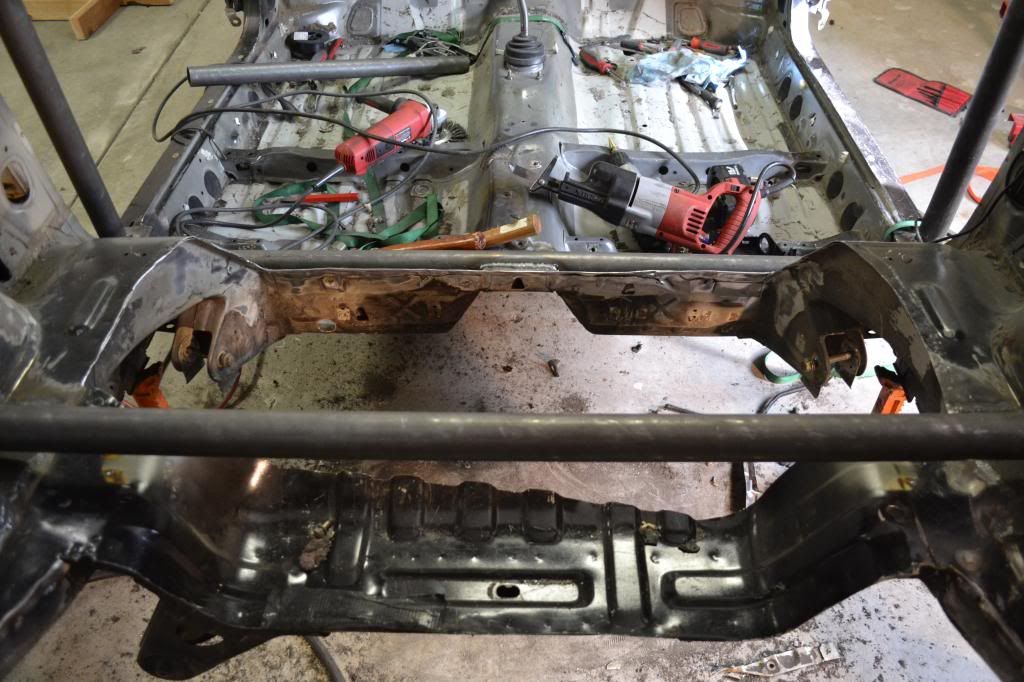
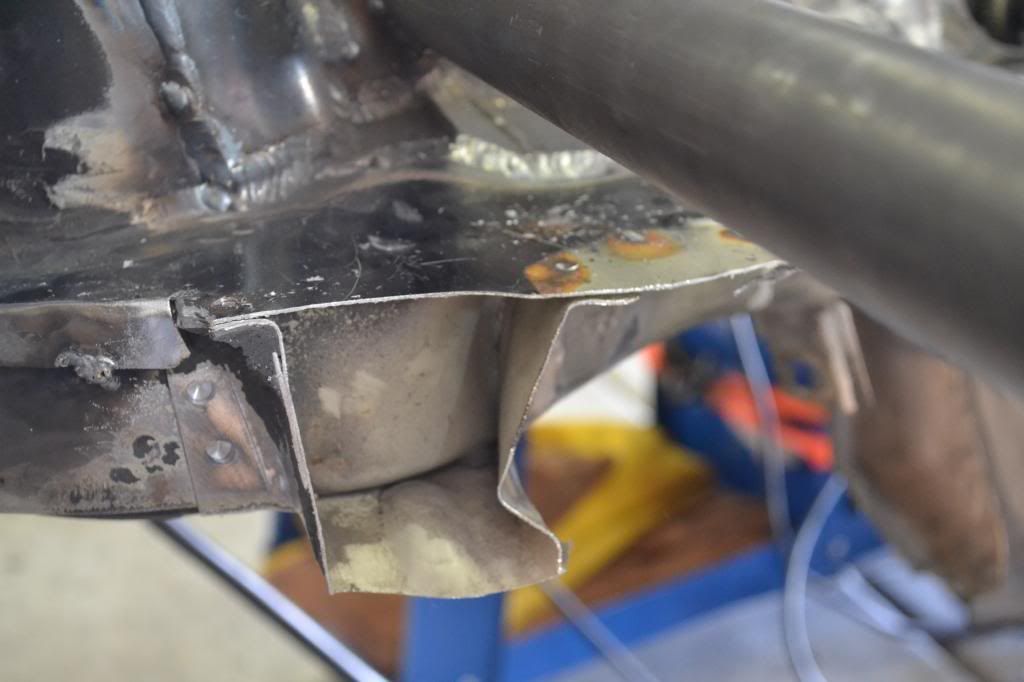
I am now in the process of removing the rear floor and panhard mount to build the mumford mount:
the first ruff cut out to get some room:
ruff cut:

then trimmed down to where the to pieces of sheet metal are spot welded together:
and hammed over the corner of the frame:
then stitched:
this is as far as I was able to get today:
gtpilot
24 Mar 2013
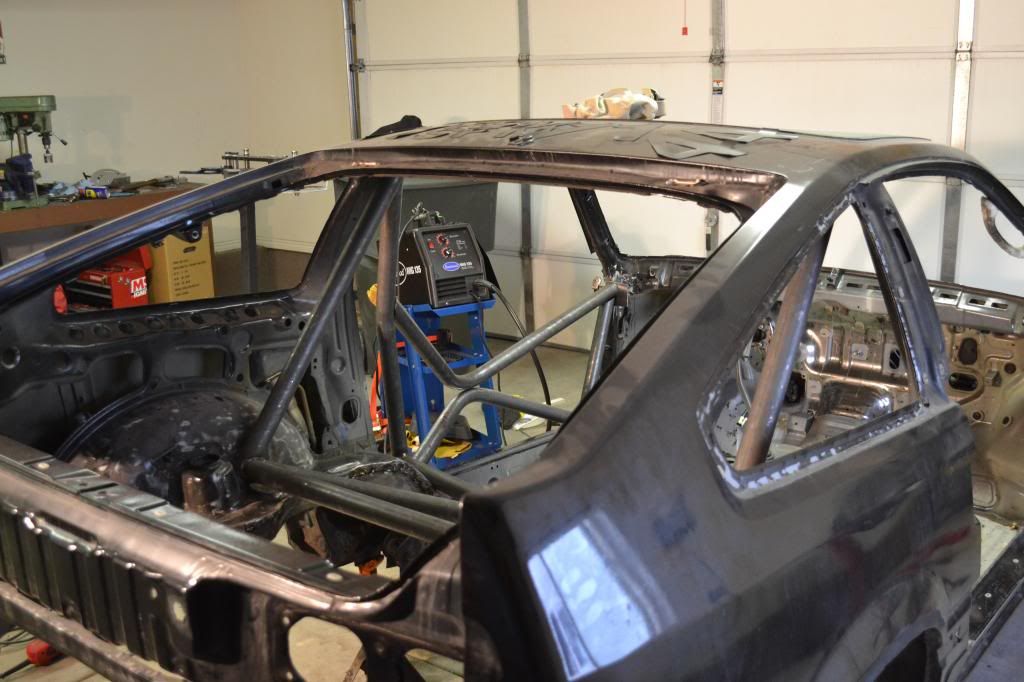
It's a good thing that you welded that brace between the shock towers before you cut out that sheet metal in the back...ask me what happens when you cut the sheet metal out first! D'OH!
You have got a nice area to get your Mumford Link cage and bracing in now - easy access and you left the good parts of the structure for an adjustable roll bar. Good Stuff!
Do you have your Mumford Link designed yet?
Kirk
Aren D.
25 Mar 2013
Thanks, I have my Bellcranks drawn up and a hardware list complete. I'll post that info up soon!
Aren D.
31 Mar 2013
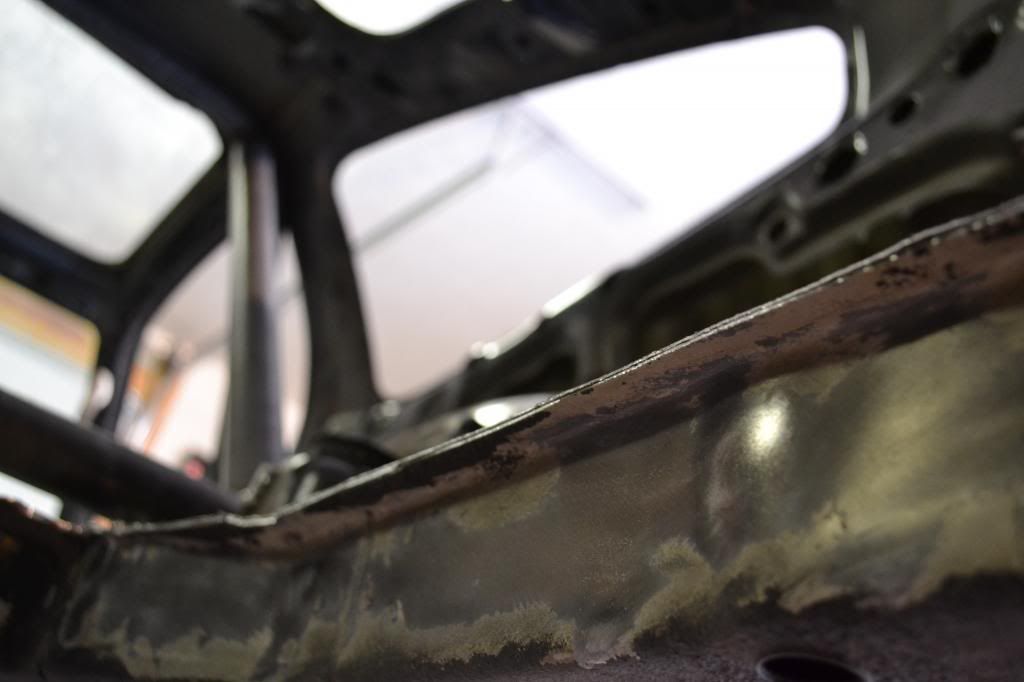
forward floor removed now:
sheet metal pinched over:
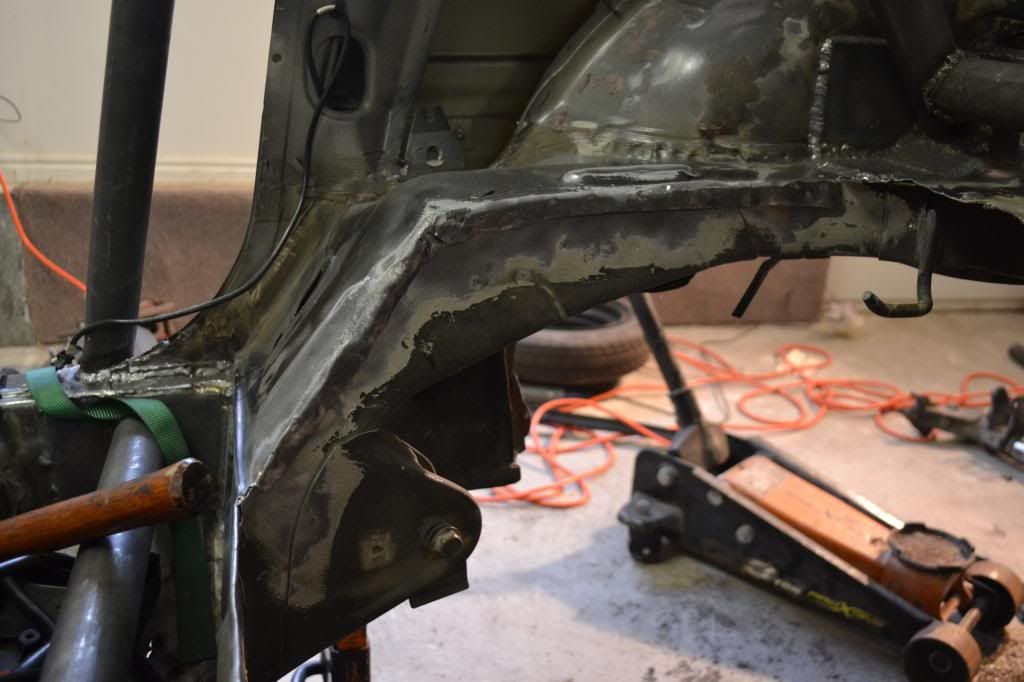
Stitched welded in:
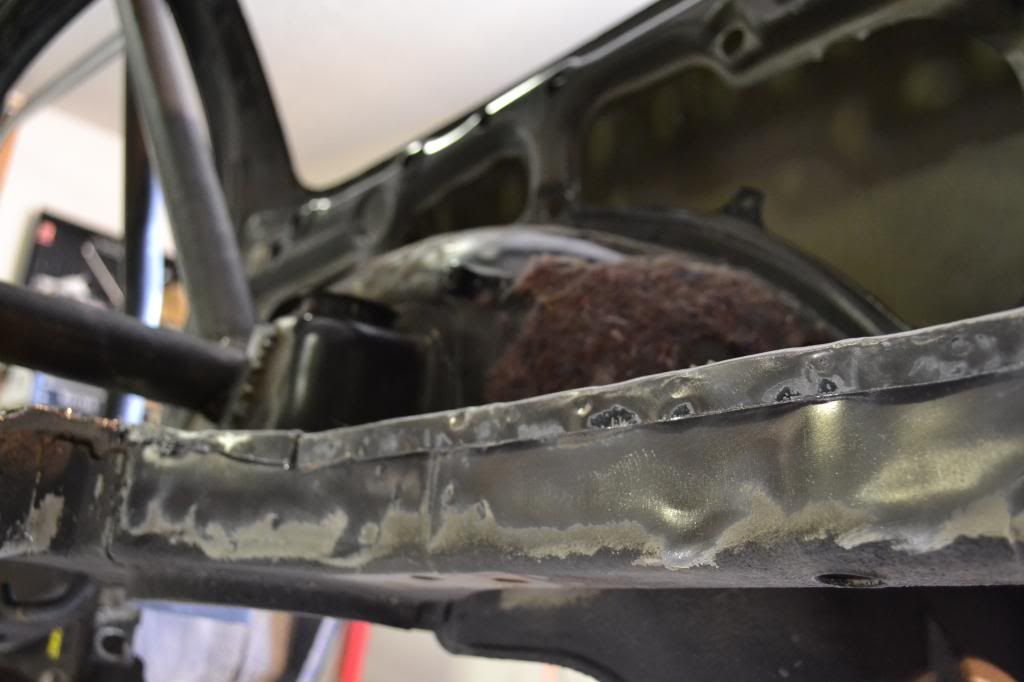
and the panhard mount was cut and drilled out:
another mounting plate was installed for later use with the mumford mount:
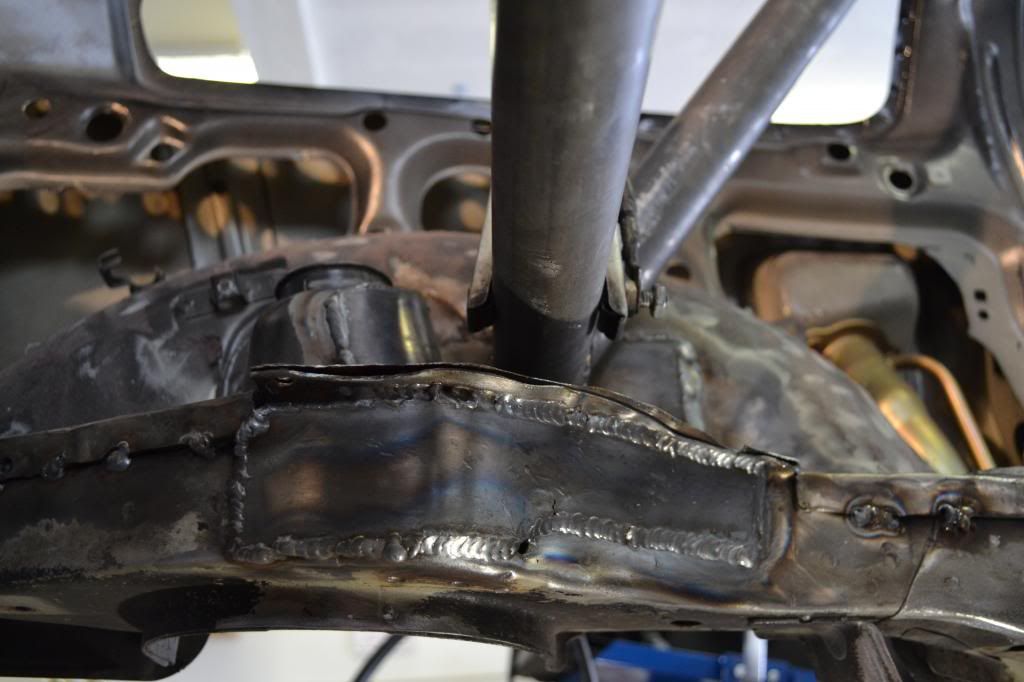
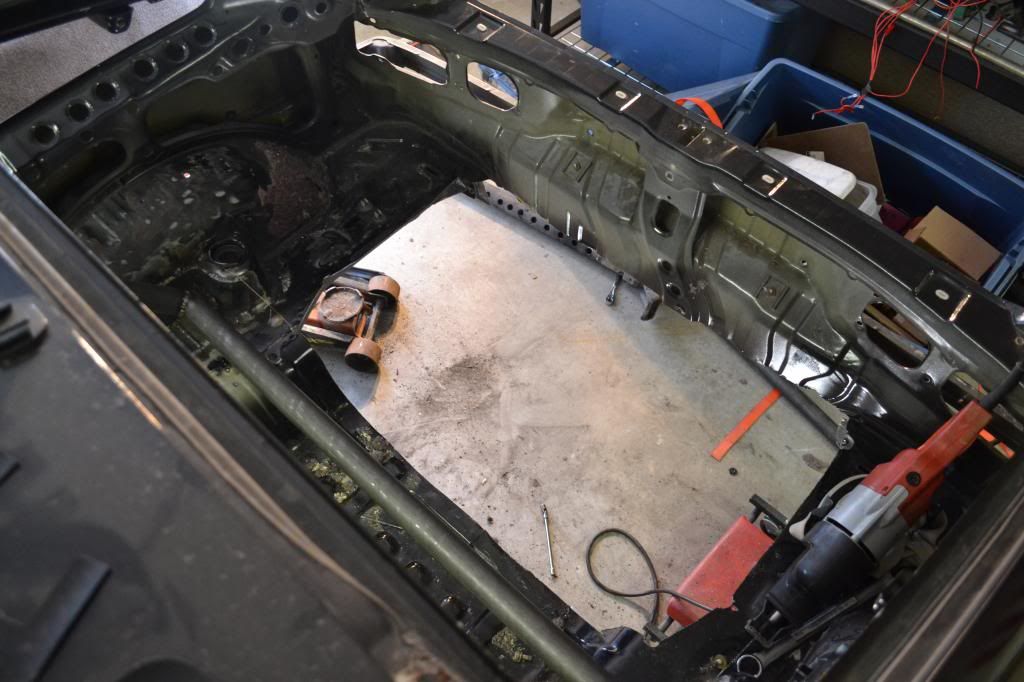
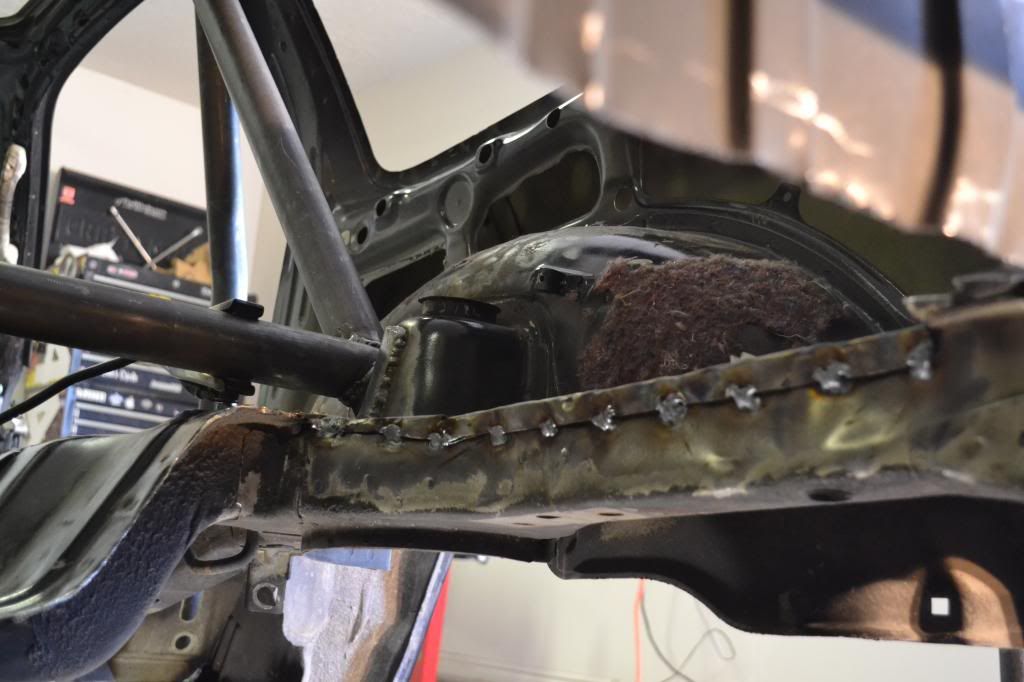
rear floor removal complete!
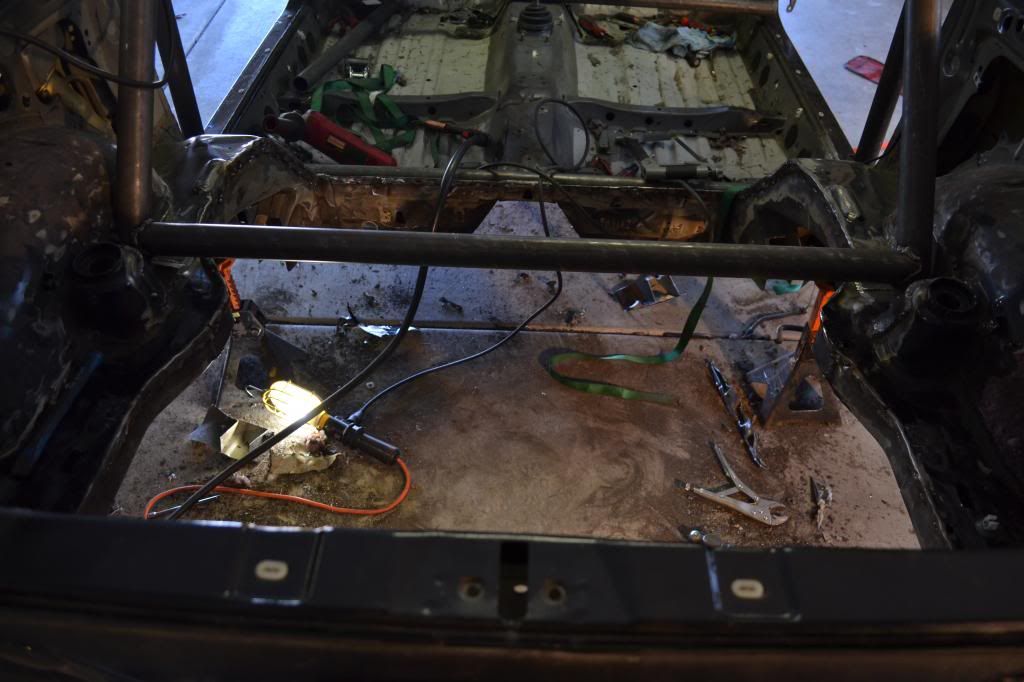
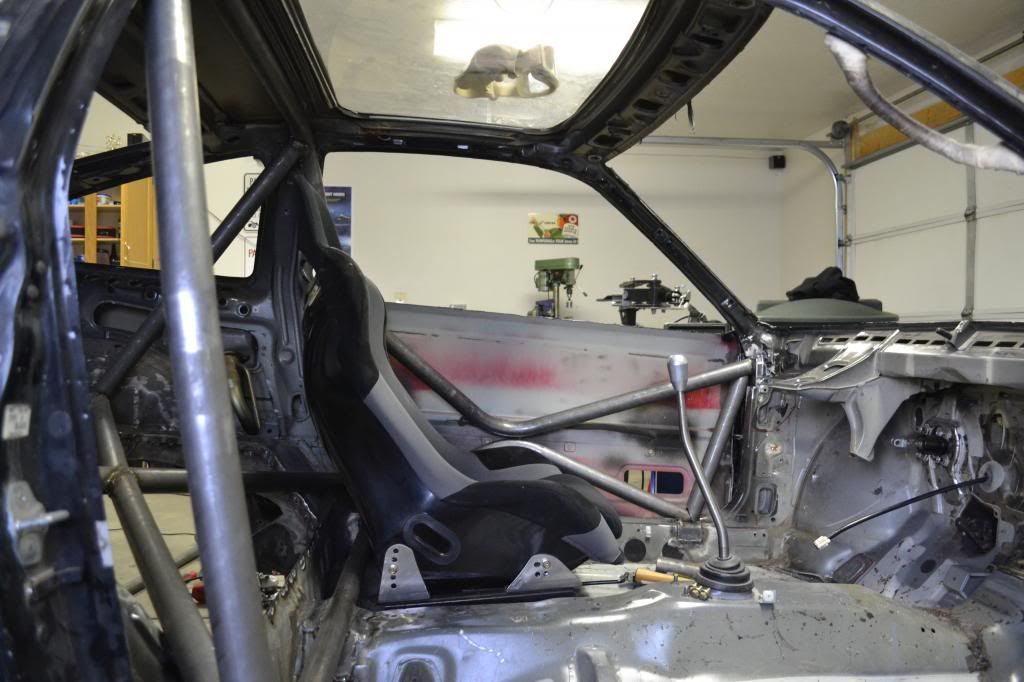
lower cross brace installed. the center cross will also be used for the Mumford mount bracing.
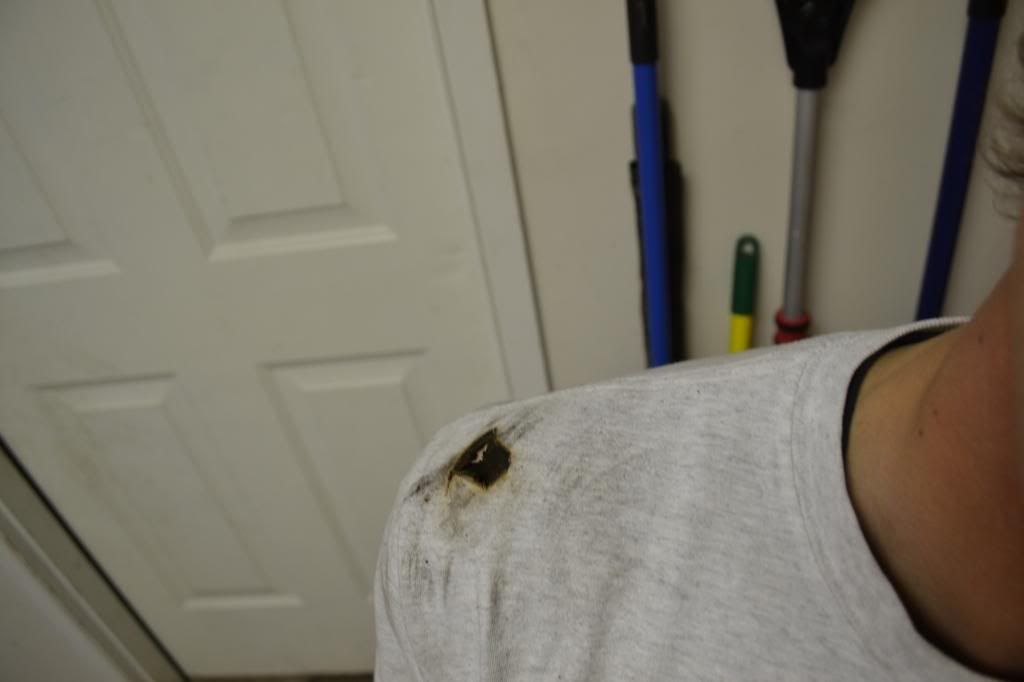
and I caught my shirt on fire
 jsgprod
05 Apr 2013
jsgprod
05 Apr 2013
lower cross brace installed. the center cross will also be used for the Mumford mount bracing.
I just noticed this thread today myself! Looks good Aren!
Looking at this photo though, I'm going to guess you plan on mounting a fuel cell behind the rear axle?
Jay
Aren D.
05 Apr 2013
Anyway I am planing to put the tank in the stock location on the passenger side. Right now I am planing to use a 3 gal tank, there was a rule I believe about having to have a 5 gallon tank for ep but I cannot find anything in the 2013 rules about that so I'm going 3 for xp. Someday ill build a good ew and go ep however.
Aren D.
06 Apr 2013
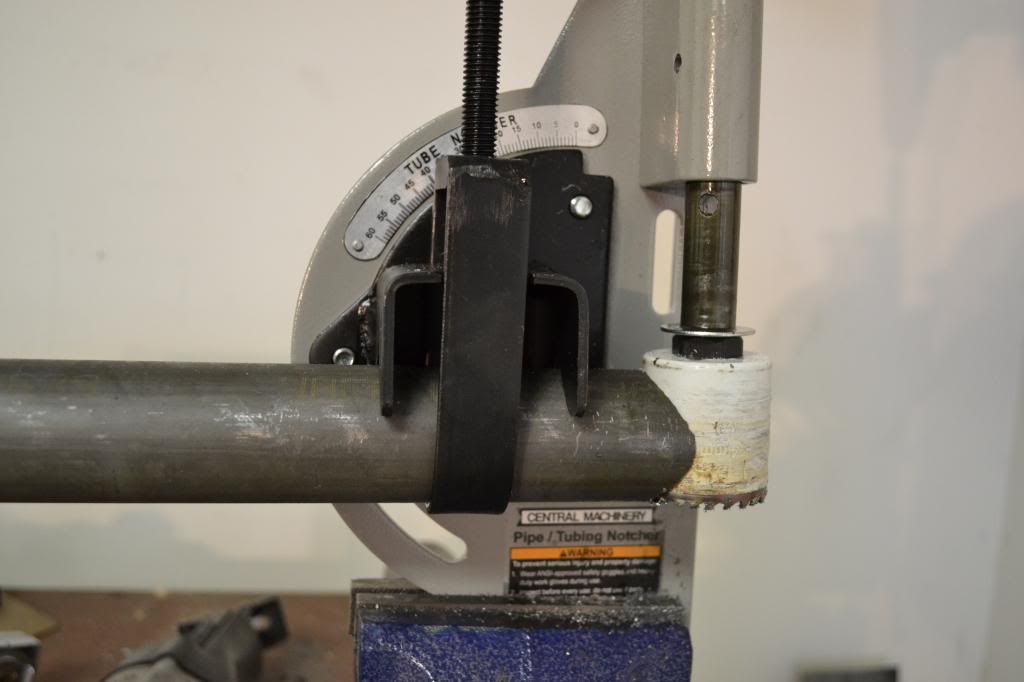
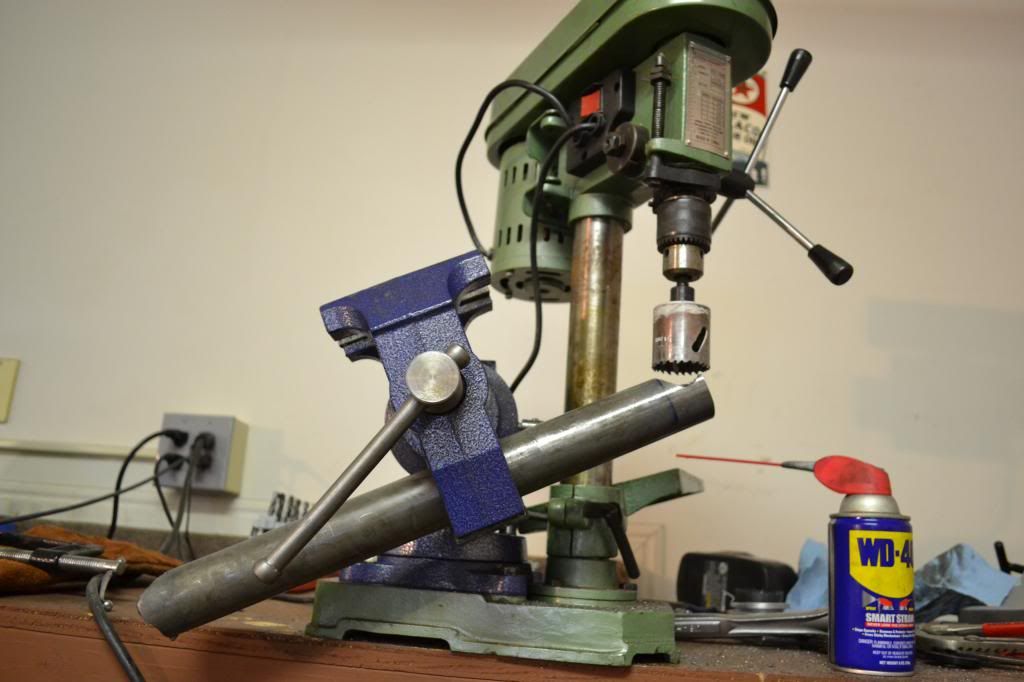
Well my tube notcher bushings already failed (it was a harborfreight one so what did I expect?) any way I put this thing together and it works way better, wish I would have done it before.
Then I removed the windshield, remaining sound deading inside the car, and a butt load of brackets under the dash.
And started my side braces, my car is not having a fwd upper hoop, but I am planing to reinforce the entire car as if it did have a full cage but keep the cg a little lower with out all the metal over head.
then I guess I left my gas on and all my shield leaked out, so I just tacked it together and only got the left side ready for weld once i get some more shield.
PICS
kind of an idea of how much room there will be: