 Sign In
 Create Account
Ha-ha smartass!
From what I can tell it is identical in both port opening size/shape and screw holes to the Pr3 you sent me, so I assume just a stock one.

B Series Crx Build Thread
Started by Lymitliss, Apr 27 2010 06:11 PM
517 replies to this topic
#61
 Posted 30 June 2010 - 01:56 AM
-
- King Luke
-

- Group: 2012 Contributor
- Location:Seattle, Wa
-
Drives: 1986 CRX Si B18C1, 1973 240Z V8 Conversion
 View Garage
 Back to top
#62
Posted 15 July 2010 - 01:44 AM
-
- King Luke
-
- Group: 2012 Contributor
- Location:Seattle, Wa
-
Drives: 1986 CRX Si B18C1, 1973 240Z V8 Conversion
View Garage
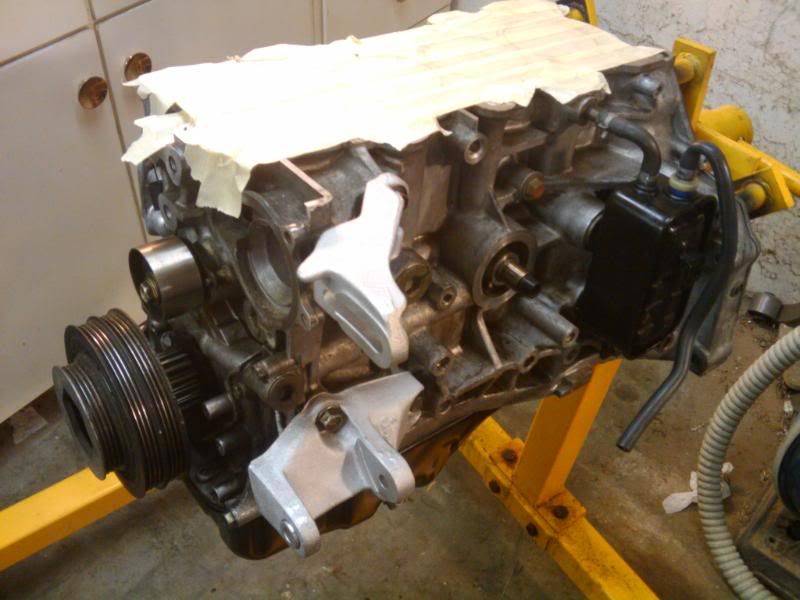
Putting the new bearings in/re-installing the crank-
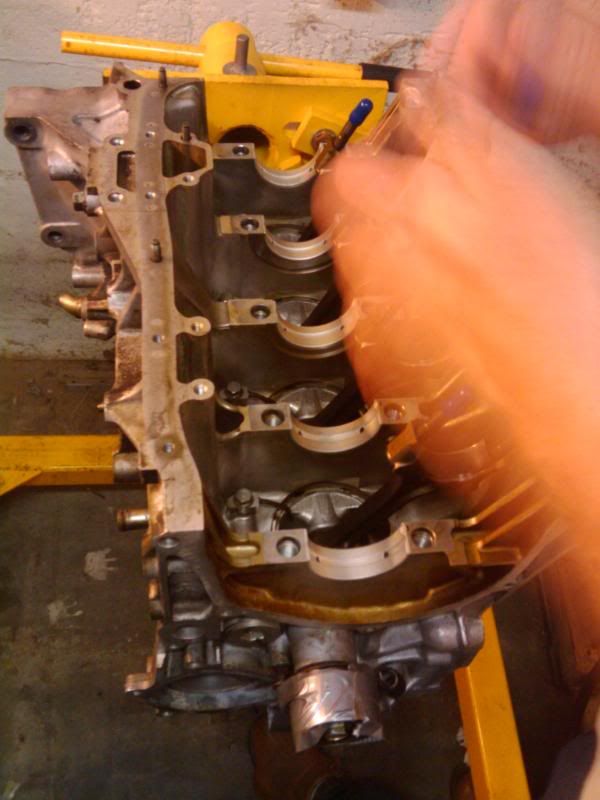
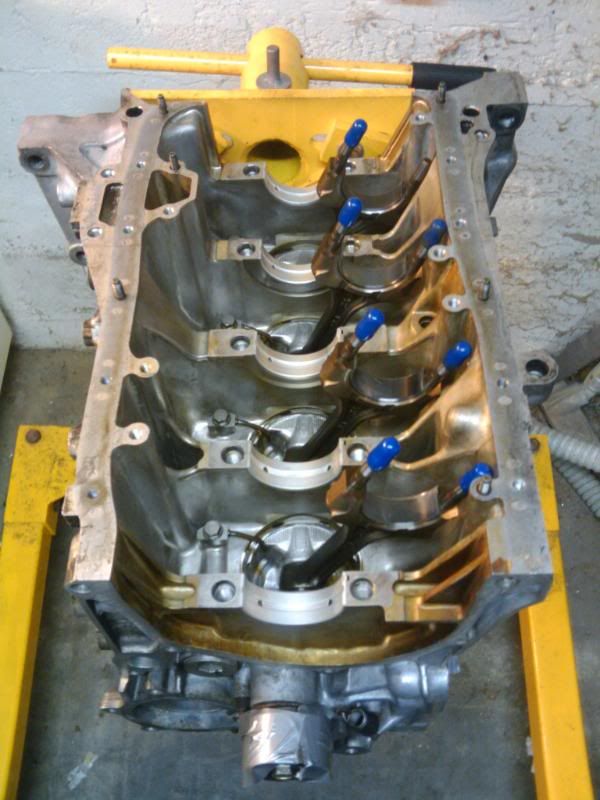
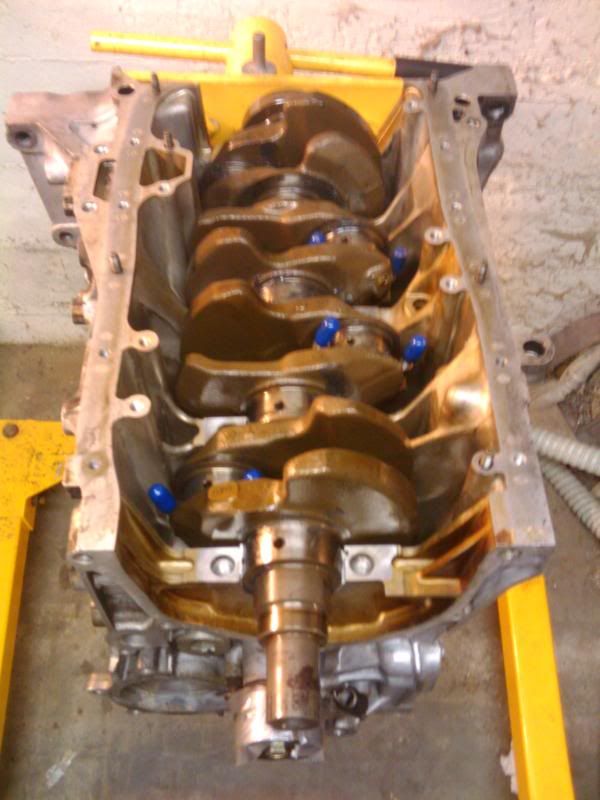
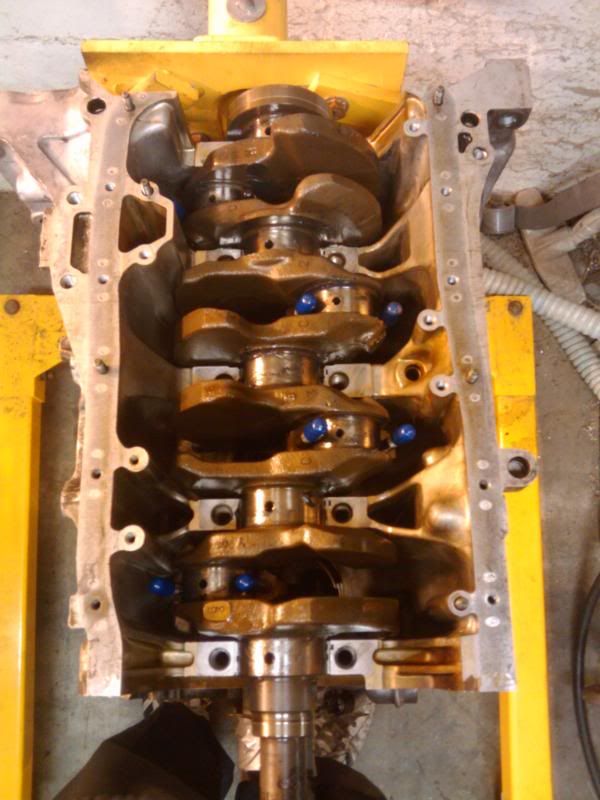
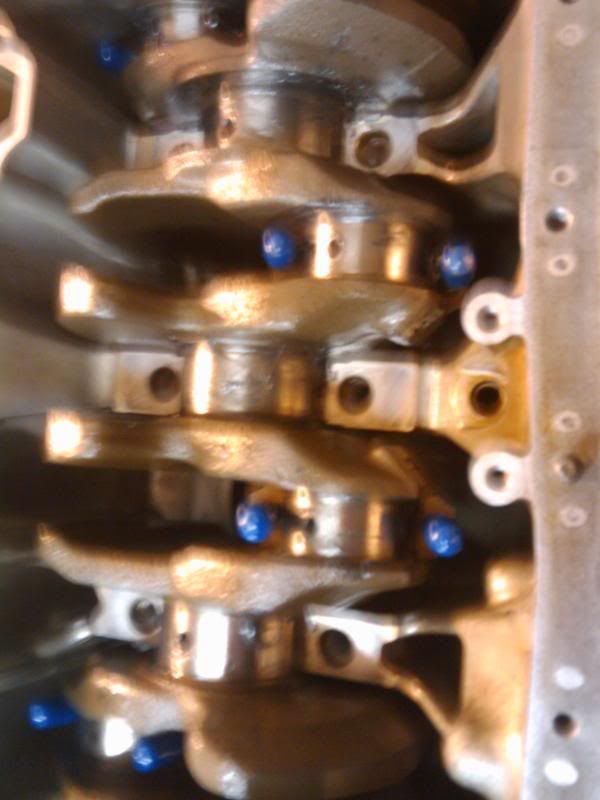
and as you can see I need to start getting this together fast, I'm running out of room!
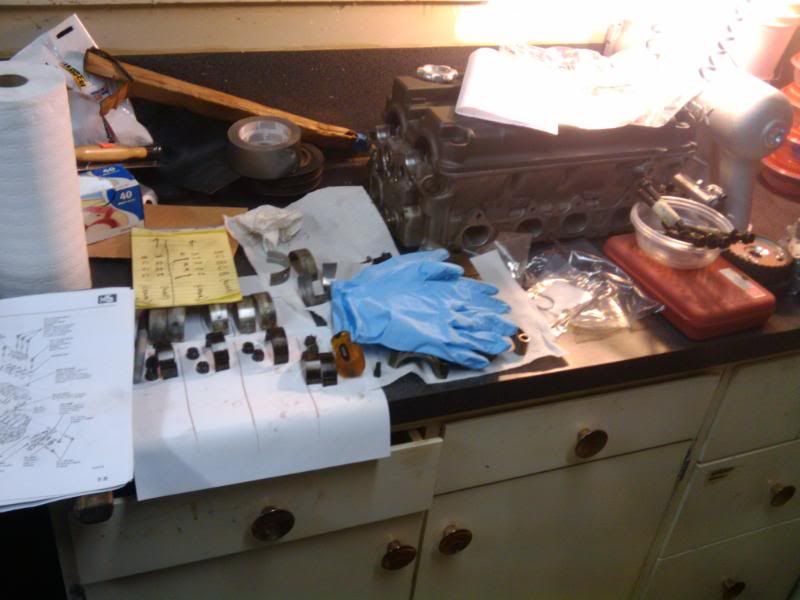
and as you can see I need to start getting this together fast, I'm running out of room!
#63
Posted 15 July 2010 - 11:34 AM
-

- ホンダ、夢の力
-
- Group: 2012 Contributor
- Location:Nashville TN.
-
Drives: -------- 1986' CRX Si (X2) -------- 1993' GMC Sanoma SLE
-
Image Gallery
Looking good man! And yes, you are almost out of room. lol

#64
Posted 17 July 2010 - 03:08 AM
-
- King Luke
-
- Group: 2012 Contributor
- Location:Seattle, Wa
-
Drives: 1986 CRX Si B18C1, 1973 240Z V8 Conversion
View Garage
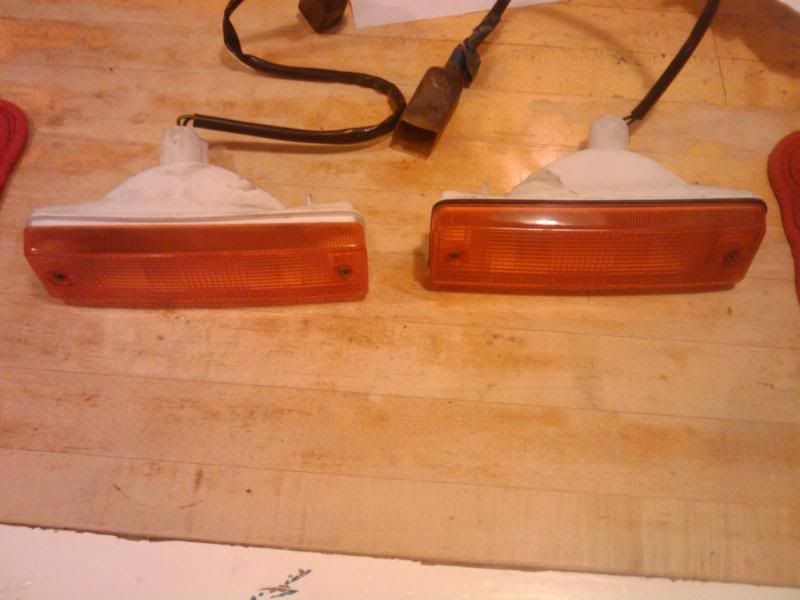
I also received my bumper lights from a certain "Sway", for the body portion of my project.

#65
Posted 21 July 2010 - 03:08 PM
-
- King Luke
-
- Group: 2012 Contributor
- Location:Seattle, Wa
-
Drives: 1986 CRX Si B18C1, 1973 240Z V8 Conversion
View Garage
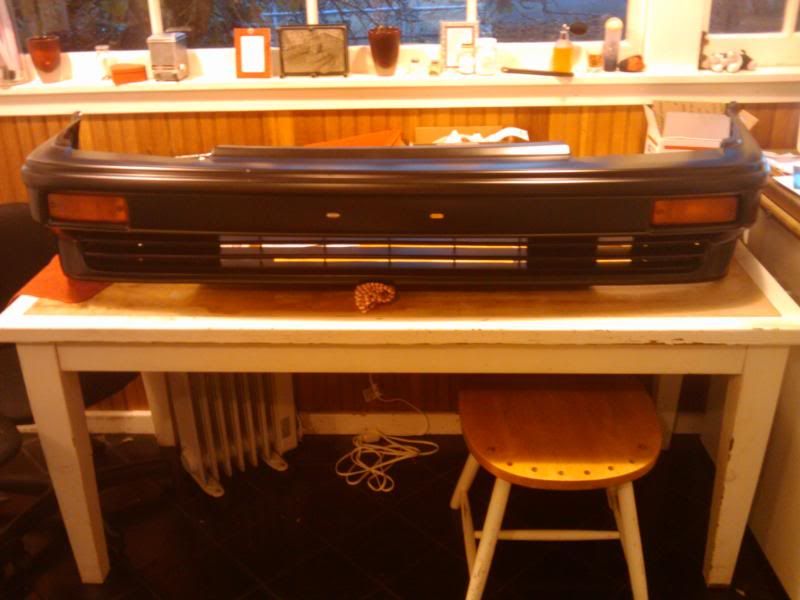
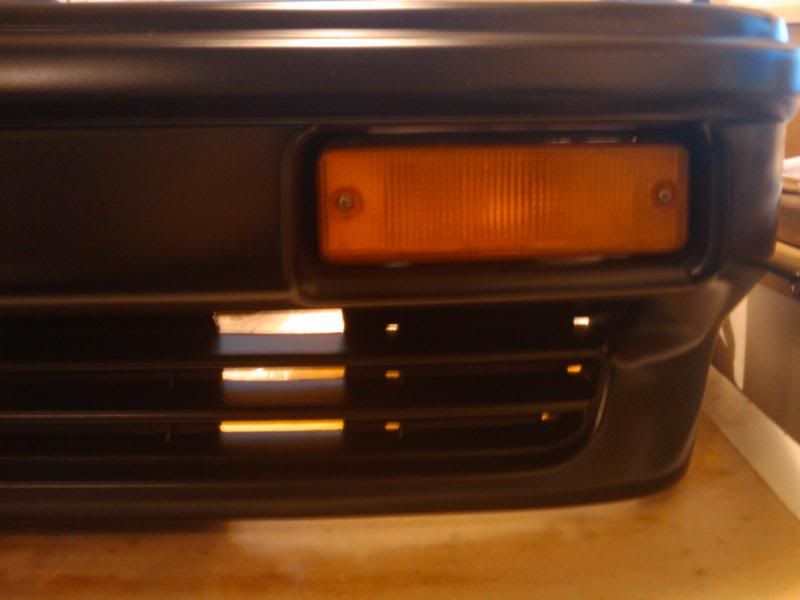
I also managed to snag what was said to be the last brand new Si bumper, or at least one of them.
#66
Posted 23 July 2010 - 09:17 AM
-
- ホンダ、夢の力
-
- Group: 2012 Contributor
- Location:Nashville TN.
-
Drives: -------- 1986' CRX Si (X2) -------- 1993' GMC Sanoma SLE
-
Image Gallery
wow, lucky...  I need one now too. lol
I need one now too. lol
#67
Posted 24 July 2010 - 03:14 AM
-
- King Luke
-
- Group: 2012 Contributor
- Location:Seattle, Wa
-
Drives: 1986 CRX Si B18C1, 1973 240Z V8 Conversion
View Garage
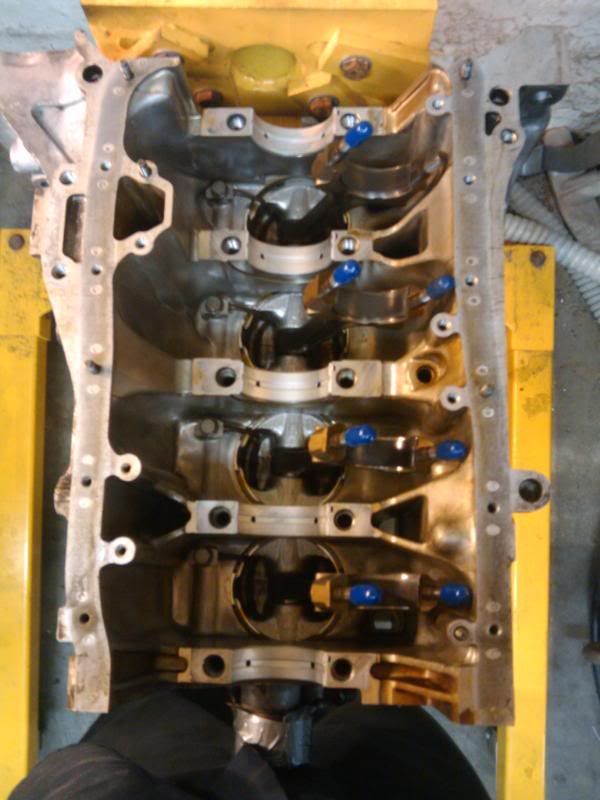
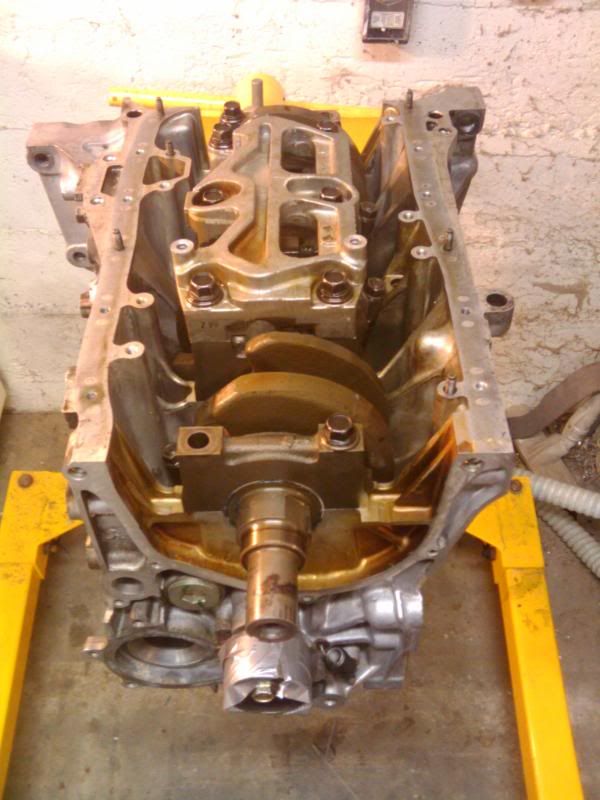
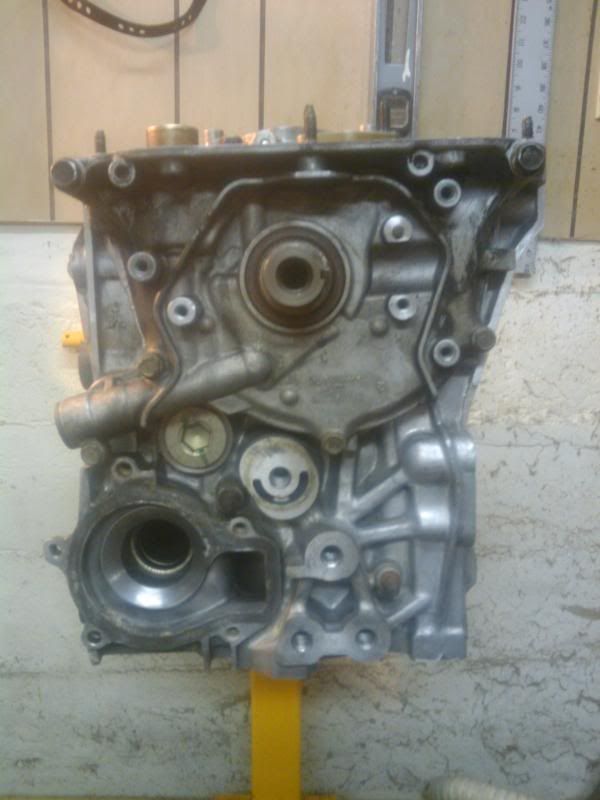
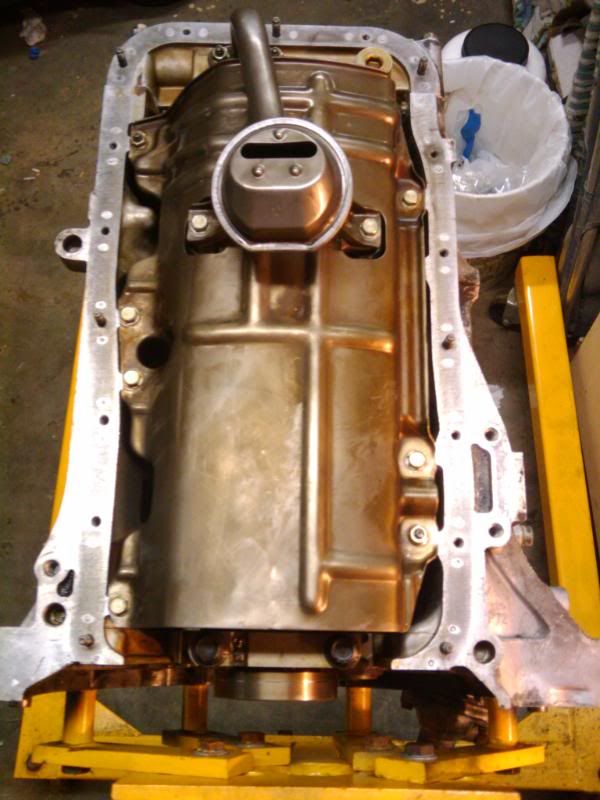
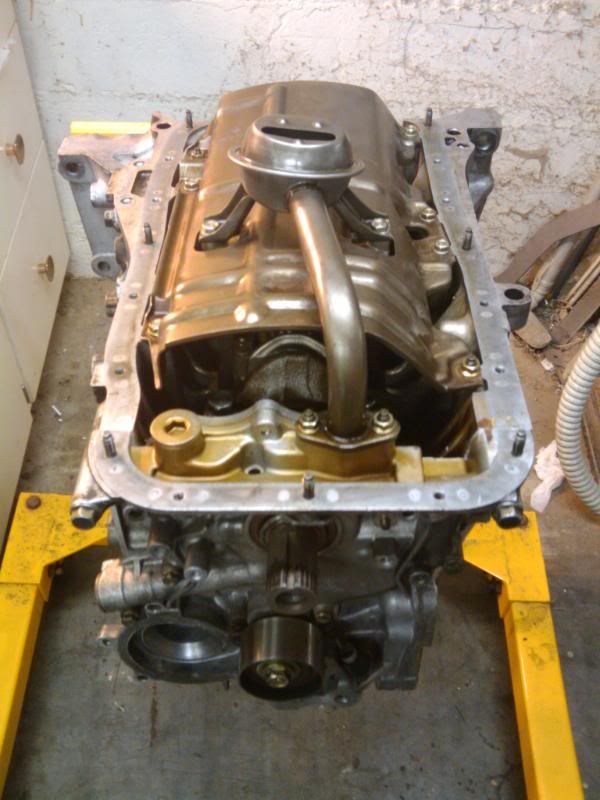
Got the oil pickup and baffle on, going to do the rear main seal tomorrow and hopefully put the oil pan on unless I find something I missed!
#68
Posted 25 July 2010 - 01:35 AM
-
- King Luke
-
- Group: 2012 Contributor
- Location:Seattle, Wa
-
Drives: 1986 CRX Si B18C1, 1973 240Z V8 Conversion
View Garage
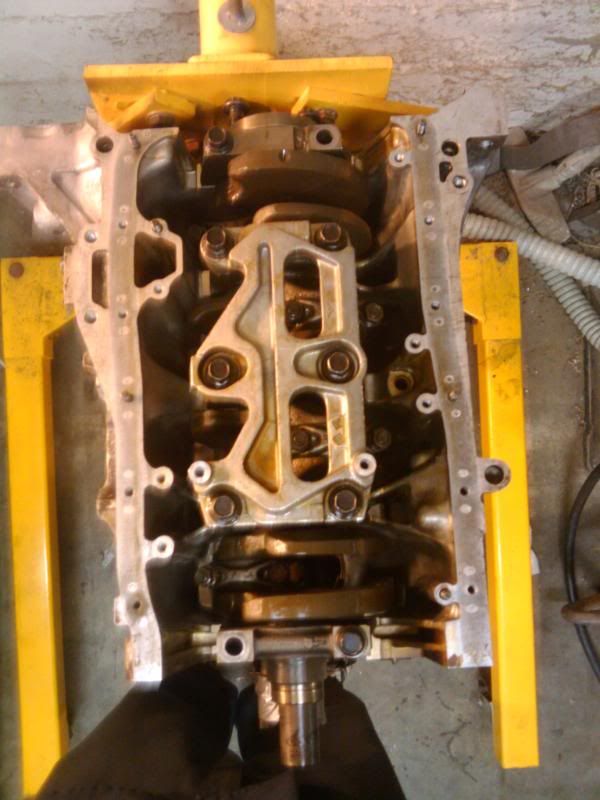
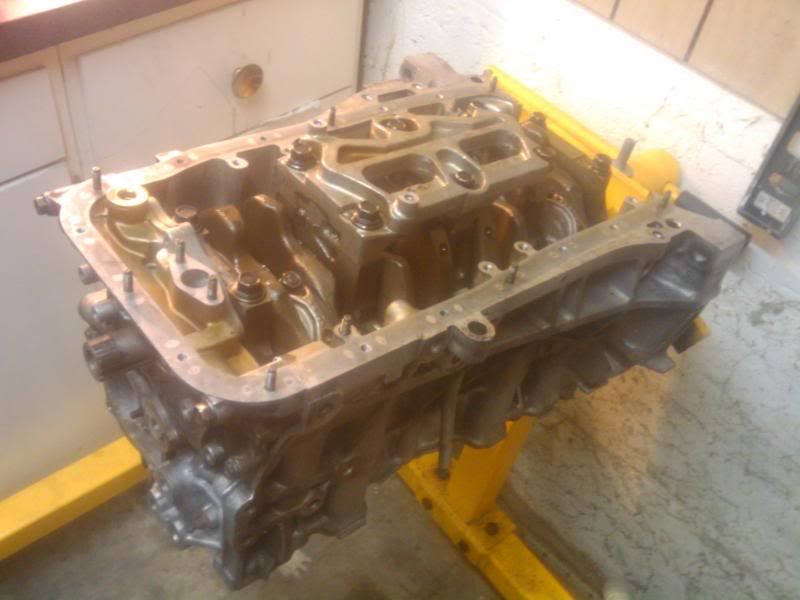
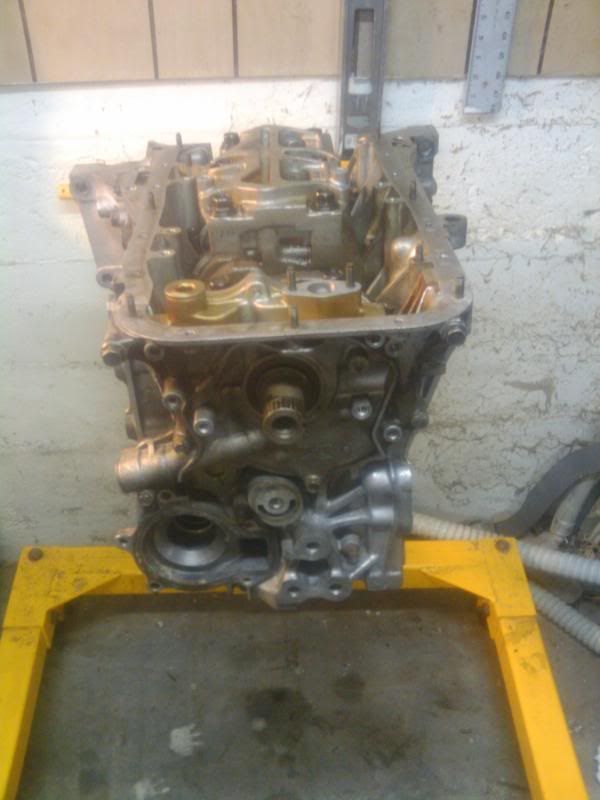
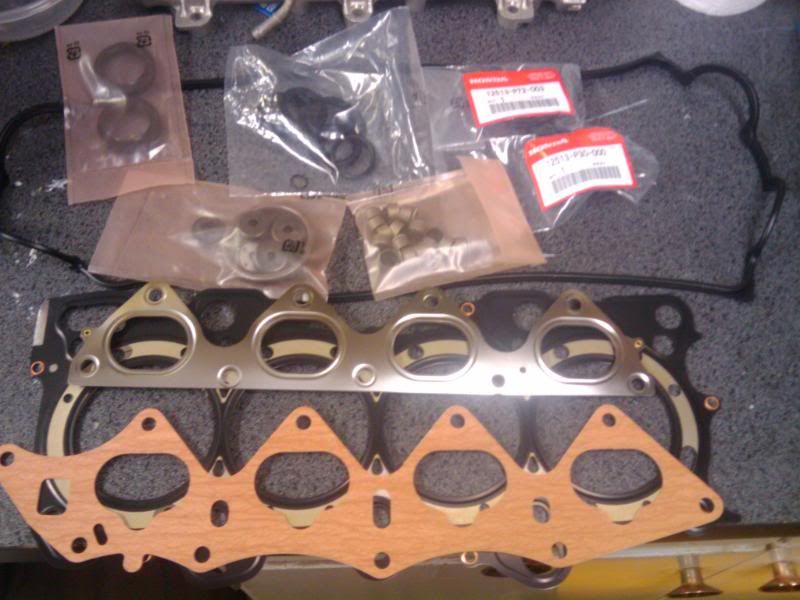
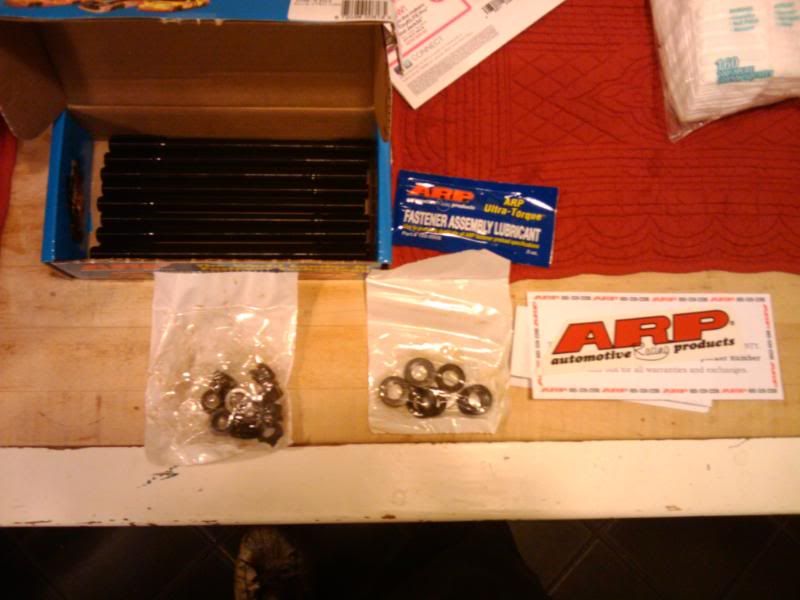
Got the bottom end closed up today, also got my head gasket set ordered, and my headstuds ordered.
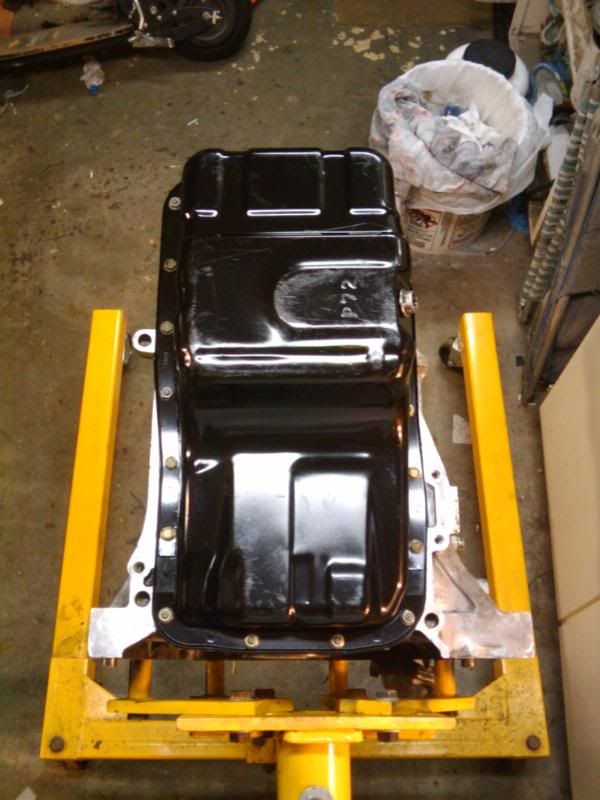
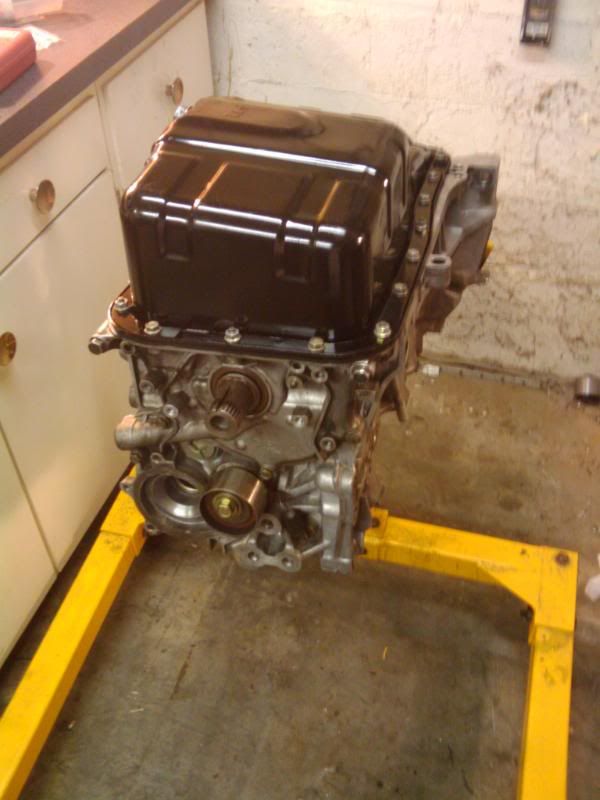
My counter is clearing!
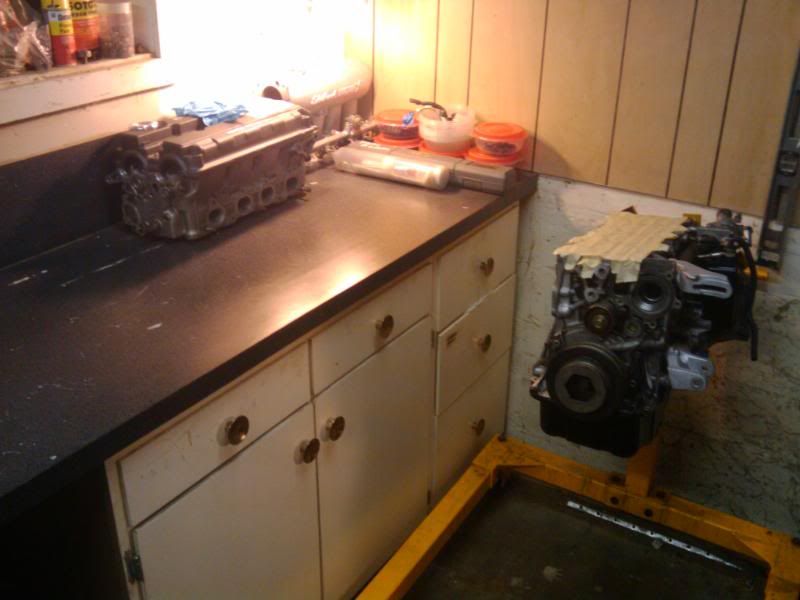
My counter is clearing!
#69
Posted 25 July 2010 - 12:16 PM
-

- Leadfoot
-
- Group: 2009 Contributing Member
- Location:Vegas Son
-
Drives: 1986 Honda CiviC SI
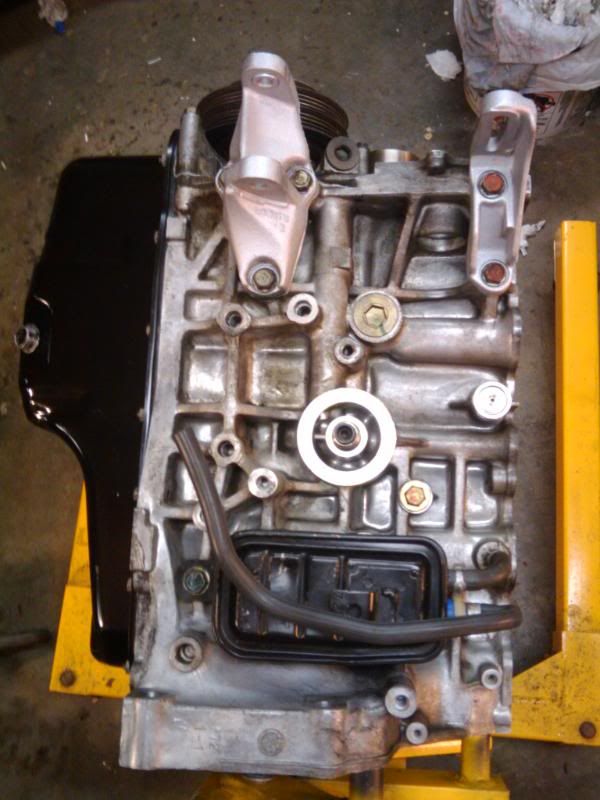
this is a proper build,
id recomend leaving the Altinater brackets off the motor will make things easier when installing motor
id recomend leaving the Altinater brackets off the motor will make things easier when installing motor
#70
Posted 27 July 2010 - 02:52 PM
-
- King Luke
-
- Group: 2012 Contributor
- Location:Seattle, Wa
-
Drives: 1986 CRX Si B18C1, 1973 240Z V8 Conversion
View Garage
Yeah I probably should, but if I can manage it would be nice to hoist the engine in using them!
Here are pics from last night, I was doing some valve lapping. I'm going to pick up my head gasket kit when I go in for work too.
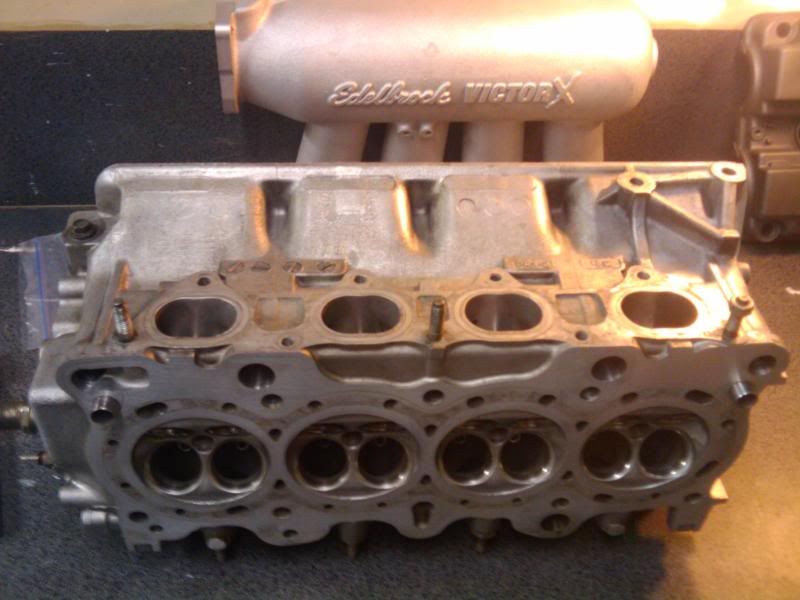
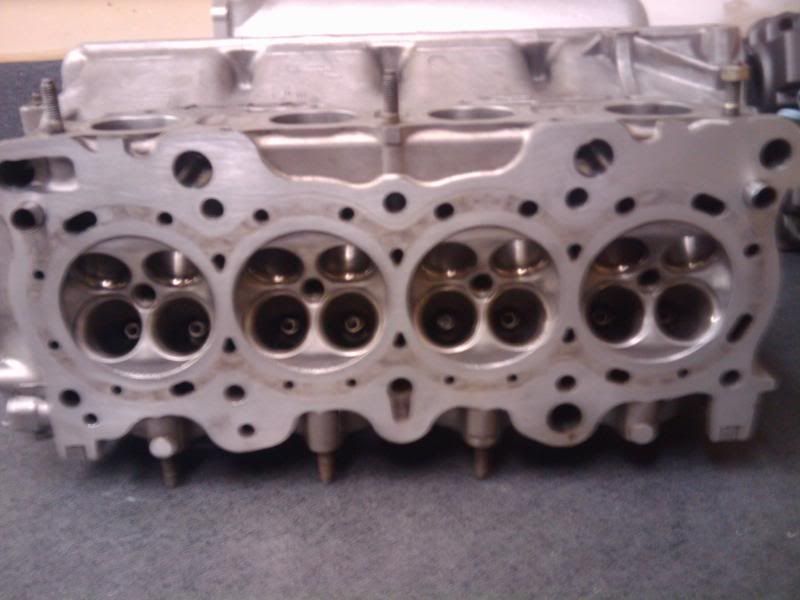
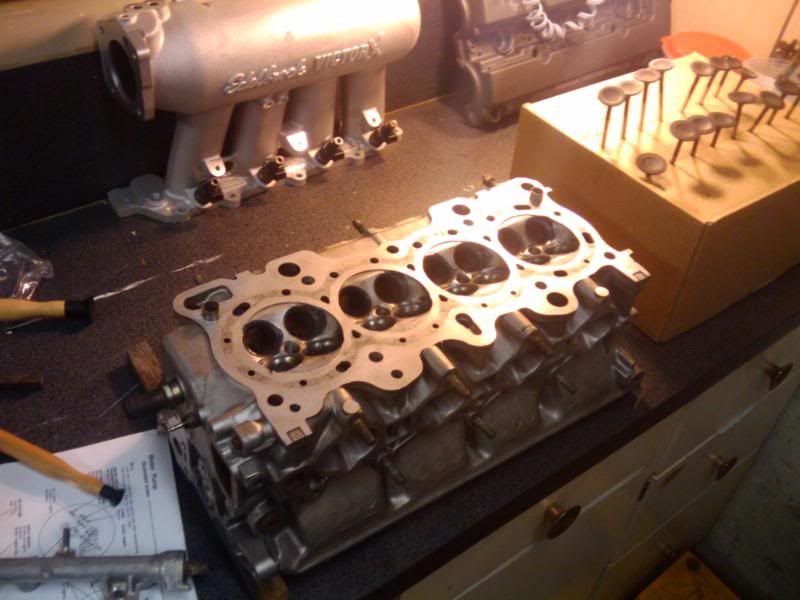
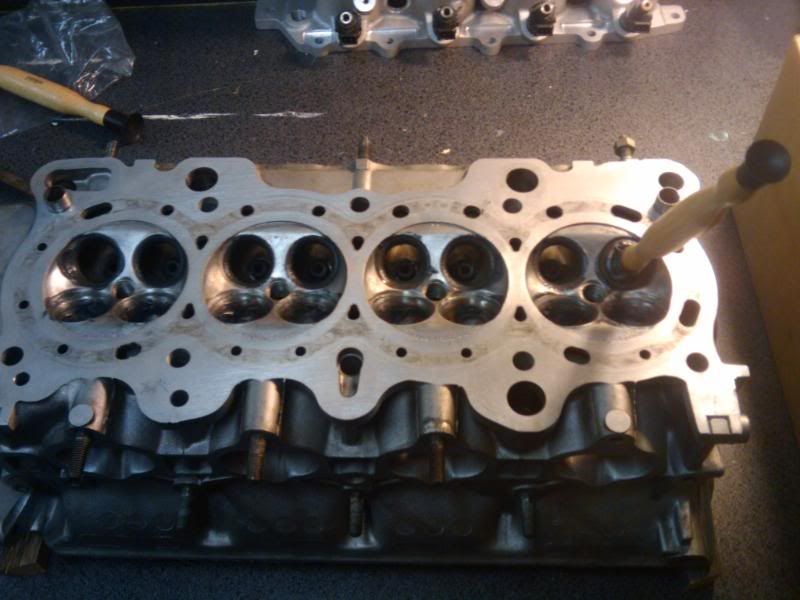
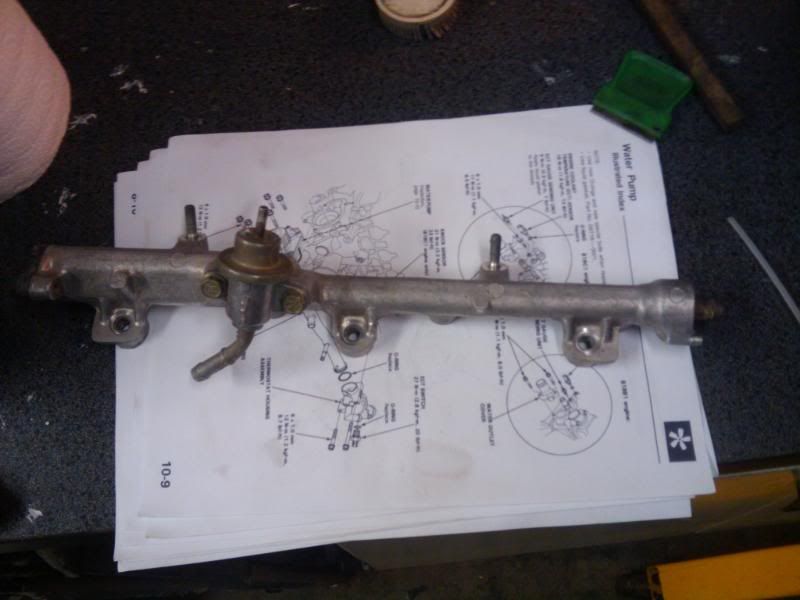
And I decided to clean up my fuel rail a little bit, I'm filing off the casting marks, and I think I'm going to cut off the unused mounting bolts, maybe polish the whole thing a bit.
Here are pics from last night, I was doing some valve lapping. I'm going to pick up my head gasket kit when I go in for work too.
And I decided to clean up my fuel rail a little bit, I'm filing off the casting marks, and I think I'm going to cut off the unused mounting bolts, maybe polish the whole thing a bit.
#71
Posted 27 July 2010 - 10:16 PM
-
- Leadfoot
-
- Group: 2009 Contributing Member
- Location:Mooresville, NC
-
Drives: 1986 Crx Si

DO WORK! This IS a proper build. Really inspirational. Next on my 'learning agenda" will be how to work the insides of an engine. Maybe next summer?! Thanks for the inspiration.

WagoCats HOOOOOOOO!!!!!
#72
Posted 28 July 2010 - 06:54 PM
-
- King Luke
-
- Group: 2012 Contributor
- Location:Seattle, Wa
-
Drives: 1986 CRX Si B18C1, 1973 240Z V8 Conversion
View Garage
Ha thank you very much! I was starting to get worried because of the lack of responses but it had plenty of views! Im sure it will pick up when I have more questions again.
Gonna put more pics up tonight too.
Gonna put more pics up tonight too.
#73
Posted 29 July 2010 - 03:04 PM
-
- King Luke
-
- Group: 2012 Contributor
- Location:Seattle, Wa
-
Drives: 1986 CRX Si B18C1, 1973 240Z V8 Conversion
View Garage
#74
Posted 30 July 2010 - 03:08 PM
-
- King Luke
-
- Group: 2012 Contributor
- Location:Seattle, Wa
-
Drives: 1986 CRX Si B18C1, 1973 240Z V8 Conversion
View Garage
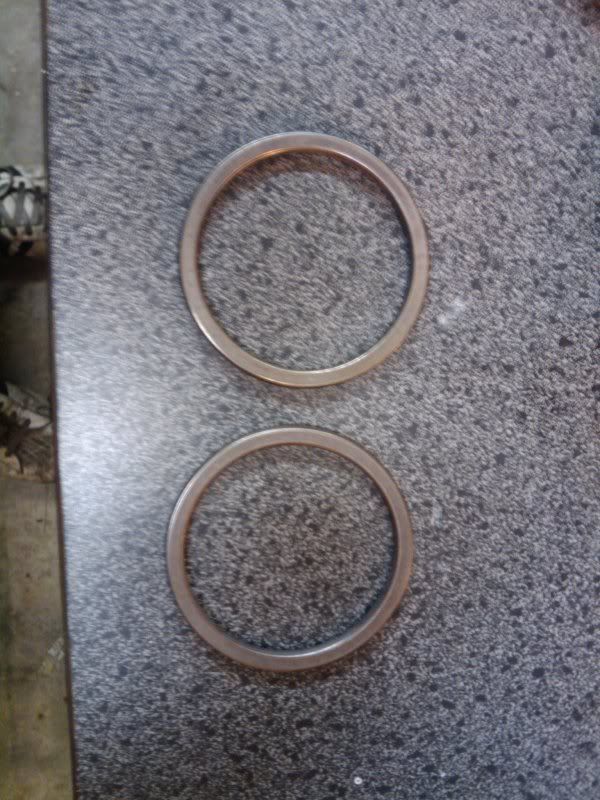
Does anyone know what these are for? They are hollow, steel rings a couple inches in diameter. By hollow I mean they are completely round and enclosed, but from the weight you can tell they are not solid steel.
They came with my cylinder head gasket kit-
They came with my cylinder head gasket kit-
#75
Posted 30 July 2010 - 03:14 PM
-

- Slowpoke
-
- Group: 2011 Contributing Member
- Location:Cobourg Ontario
-
Drives: 86 Civic Si, 76 Civic CVCC, 65 Honda S600 convertible, 65 Honda S600 Coupe, 08 Civic Si sedan
-
Image Gallery
View Garage
They look like exhaust gaskets, from the manifold to the front pipe.
QUOTE (Lymitliss @ Jul 30 2010, 04:08 PM) <{POST_SNAPBACK}>
Does anyone know what these are for? They are hollow, steel rings a couple inches in diameter. By hollow I mean they are completely round and enclosed, but from the weight you can tell they are not solid steel.
They came with my cylinder head gasket kit-
They came with my cylinder head gasket kit-


Community Forum Software by IP.Board
Licensed to: Red Pepper Racing