 Sign In
 Create Account
I was thinking the same thing, goodjob on cleaning the block. With that yellow it makes it look like a second gen.
Is that a good thing that it looks like a 2nd gen? HAHA You were thinking the same thing about what? haha


I was thinking the same thing, goodjob on cleaning the block. With that yellow it makes it look like a second gen.
Is that a good thing that it looks like a 2nd gen? HAHA You were thinking the same thing about what? haha
The Transmission will be done in the next few days, total cost is $390  less then the 4-500 he quoted me
Looks great, $420 final cost, gave him a little extra for being a big help.
Paint the engine bay black like you said, should turn out good with the color scheme combo you have going
Flat or Glossy? I like shiny so glossy I guess lol, flat is just to..... FLAT
Spoke to the machine shop, they apologized for not contacting me sooner, they haven't done anything to the engine so we talked and decided what I wanted.
Clean all of it
Head
1. 3 Angle Valve Job
2. Resurface
3. Extract a broken exhaust bolt
4. Probably a Port and Polish
Block
1. Hone
2. Deck
Crankshaft
1. Micropolish
That's what we have decided so far, anything else guys?
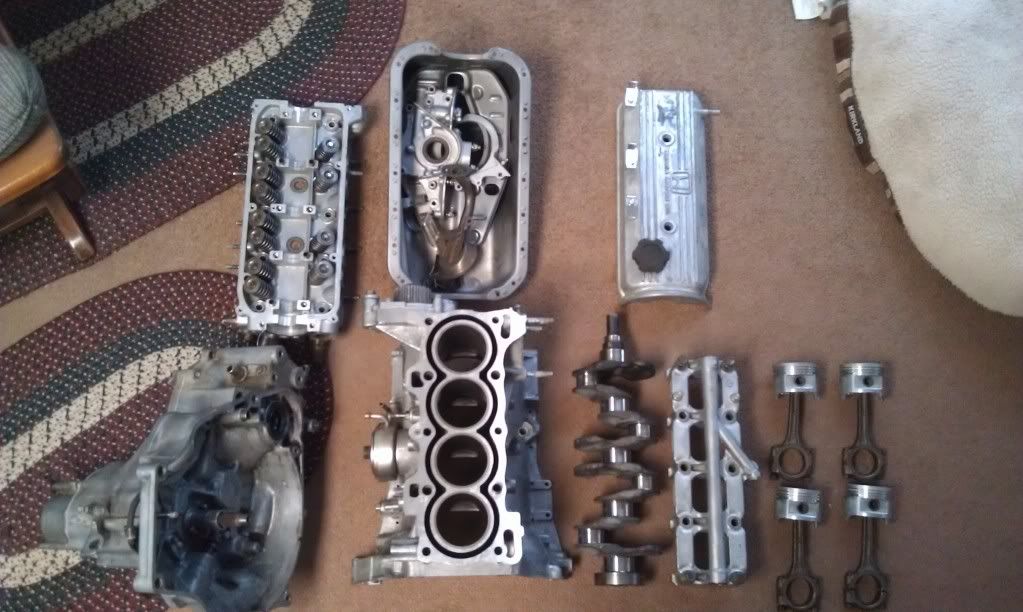
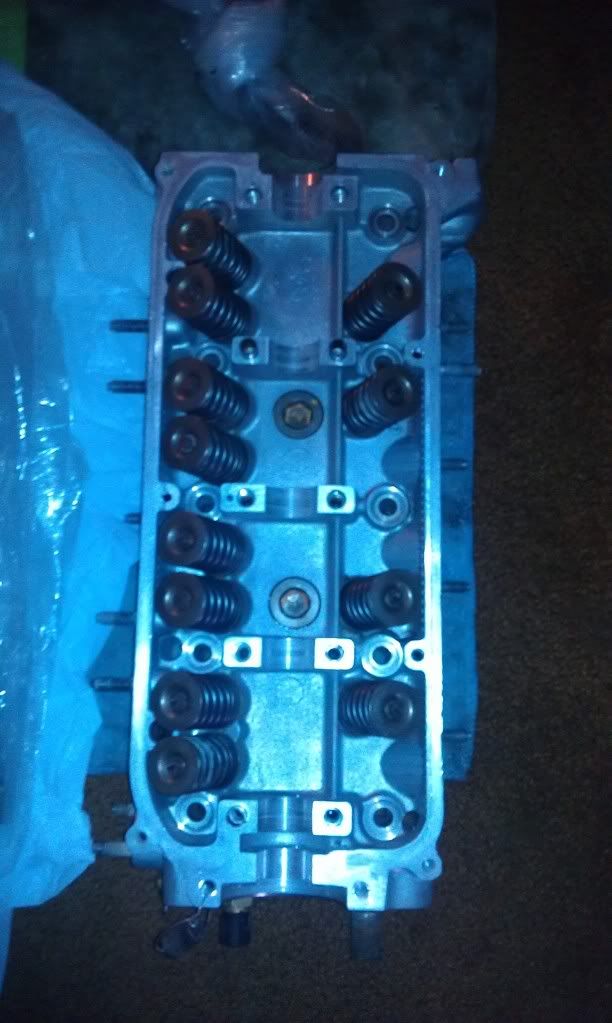
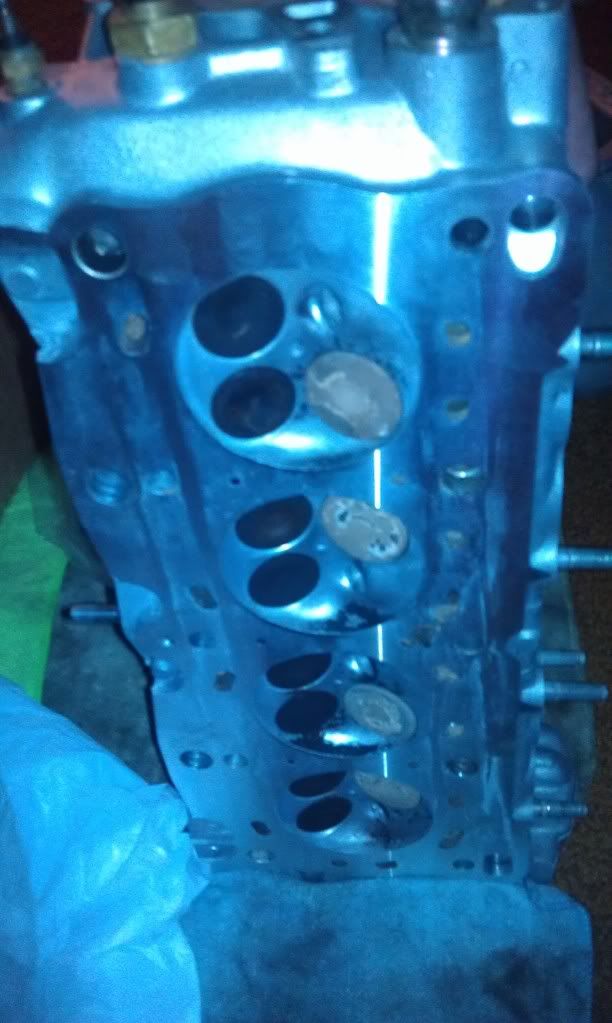
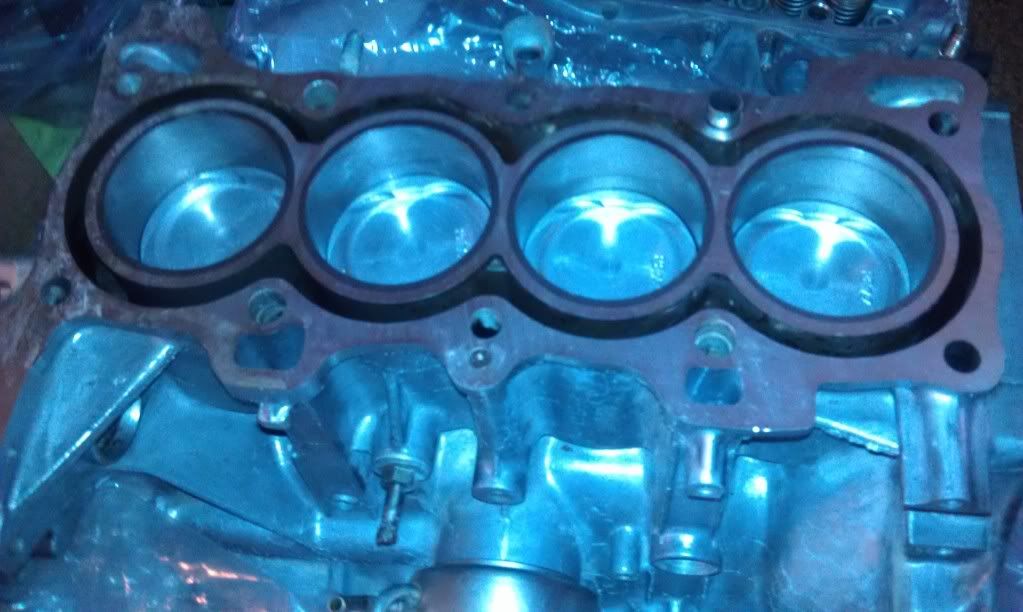
I got the Engine back from the Machine Shop.
They Hot Tanked everything
Honed the Cylinders
Decked the Block
Resurfaced the Head (I believe they took off 10 Thousands, will this bump up my compression?)
Micropolished the Crank
Extracted the Bolt
They did NOT do a valve job, they said the Valves were seating very well.
Total: $285
My uploading wasn't working, here they are (I will get better pics this weekend)
Nice. I like where this build is headed, even if the yellow would not be my personal choice. Do you have any photos of the engine after the machine work? Did the shop supply your engine parts, or did you? On your louvers, how did you attach them to the car? It looks like they fit really well.
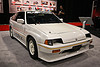
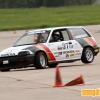
I fell in love with the Yellow and Black look. You don't see these cars around that often so I really want mine to stand out
Engine parts? I am reassembling everything by myself so I'm supplying all the parts myself, sorry if I misunderstood that.
The Louvers have not been attached yet, I'm waiting until after my REAL paint job to do that, my dad and I have a few ideas, 2 Brackets on the lower part and mount the upper part with the plug on the top tail light, not sure yet though.
I ordered the Connecting Rod Bearings and Main Bearings, I should get them in the next couple days, then I will be reassembling the Block, after that I will put the Head on and get it on the engine stand.
After that prep the engine bay for paint.
I have a question, if I am painting it the 2-Tone, how would I do that? Should I paint the whole car yellow and then paint over the bottom half to do the black? Or should I block off the bottom half, paint the top yellow, let it cure, and then cover the Yellow and do the black?
Got my plastigauge, will get more pics while I do the mains and rod bearings, should have the pistons in soon and the girdle on.
Work station

Out with the old and in with the new

Piston Rings put on

Main Bearings Installed

Plastigauge (All Bearings within Specs)

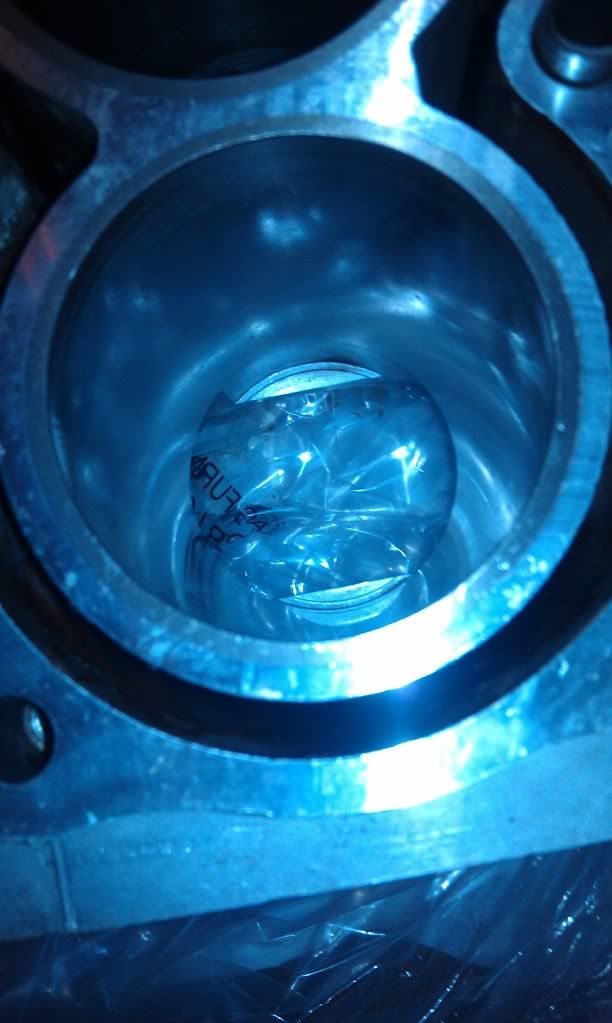
Started dropping in the Pistons, half way through my Piston Ring Compressor broke! Had to run down and get another!

It was dark by the time I got them all in, sorry about the bad lighting

Finally! Started doing the Rod Bearings, the new Bearings were less then an 1/8 of an inch thinner then the stock ones, but clearances measured within Specs

Setting up the Crankshaft for Plastigauging the Rod Bearings


Community Forum Software by IP.Board
Licensed to: Red Pepper Racing
 Back to top