 Sign In
 Create Account
we roll out


I won the raffle for the Prennro1 original!!!


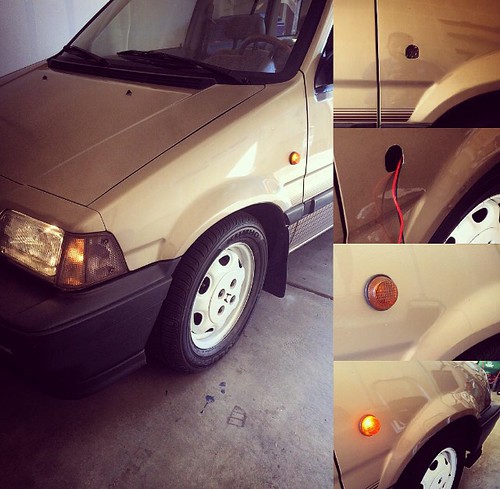
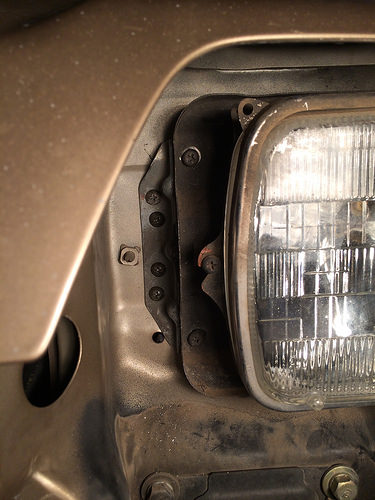
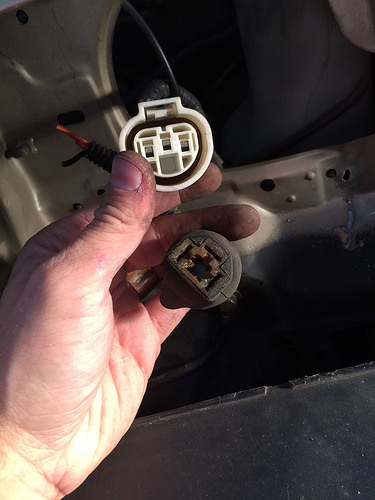
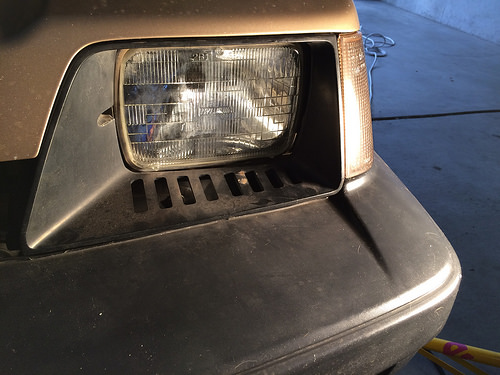
got my foglights wired to OEM foglight switch... I will show a pic of that later.

bitch it might be... luis pin!

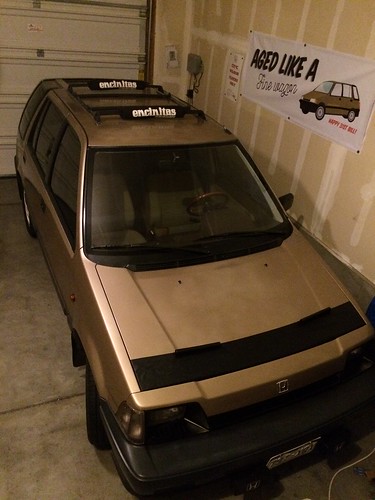
we (not me) pushed his wagon into the garage previous.


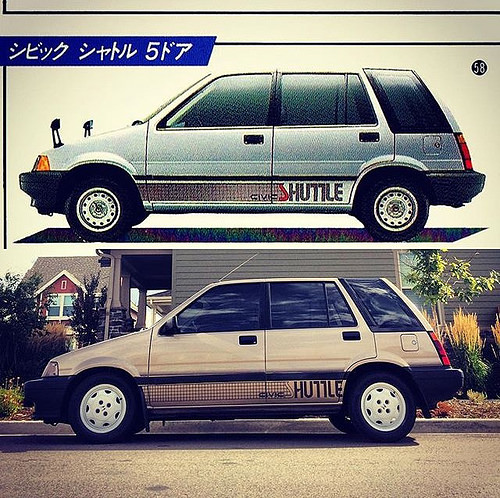
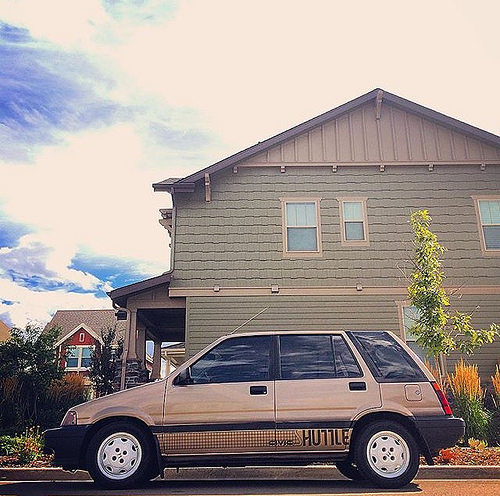
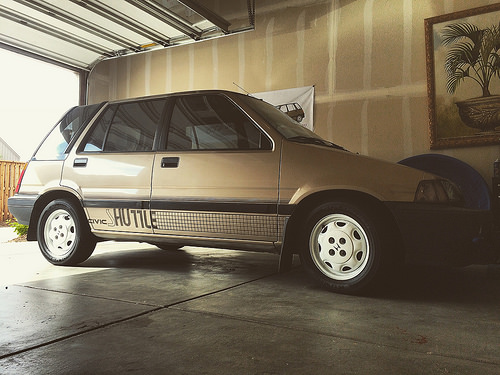
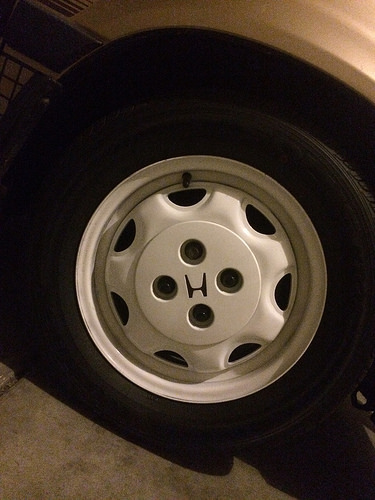
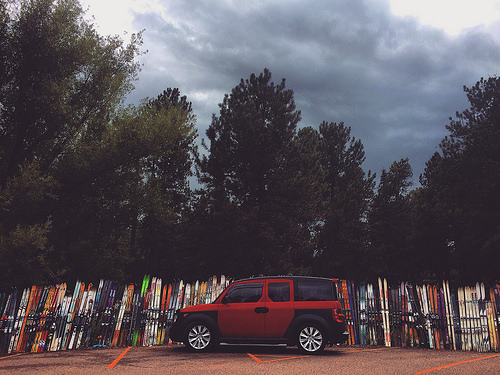
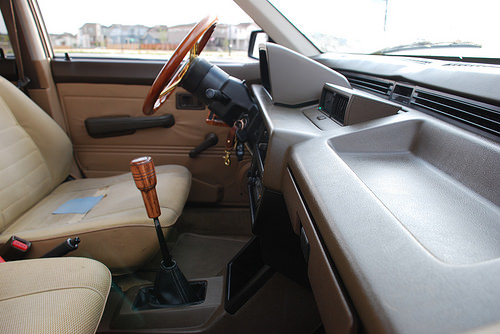
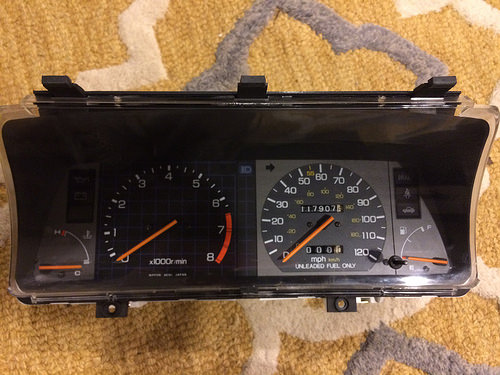
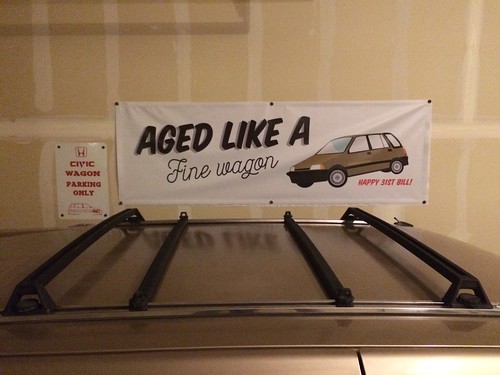
my new wheel. I forgot I didnt post a pic the other day!
Fapping furiously...
I now have fourth degree burns on my what from touching myself.
I know that game... I've run into the same problem every time I look at the wheel.

 View Garage
Soooo, you drive with no hands?? lol
I know that game... I've run into the same problem every time I look at the wheel.

Fapping furiously...
I now have fourth degree burns on my what from touching myself.
lolwut
But seriously,
Thank you.
I'm really enjoying what you're doing.

 View Garage
 View Garage
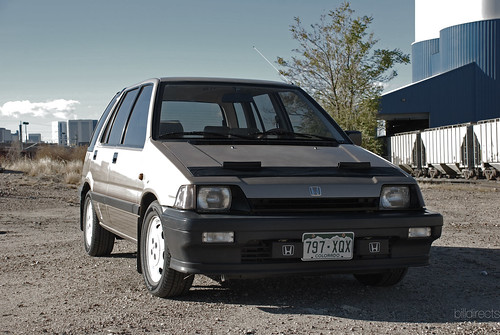
I always loved your builds. And as usuall this one turned out nicely as well. The side decal is great.
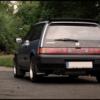
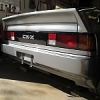
The corners originaly where grey. Not sure why, but they get this pink touch over the years...

I always loved your builds. And as usuall this one turned out nicely as well. The side decal is great.
The corners originaly where grey. Not sure why, but they get this pink touch over the years...
yeah they are purple. lols.
 View Garage
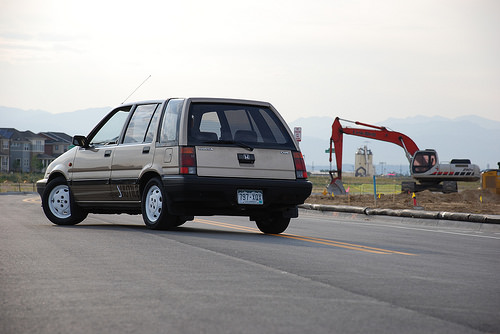
Great to see some local enthusiasm for granny's wagon, fantastic job on the resurrection!
WANTED - See my posts in the WTB section
The old long term build which I can no longer edit since my original account broke a few years back.
Great to see some local enthusiasm for granny's wagon, fantastic job on the resurrection!
Thanks dude!
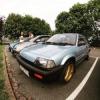
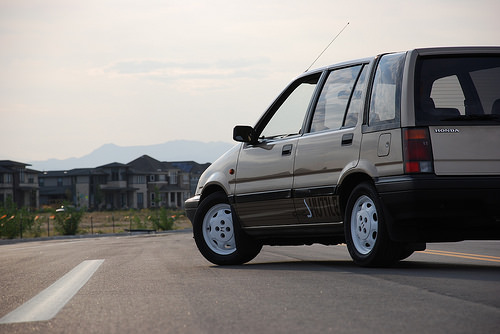
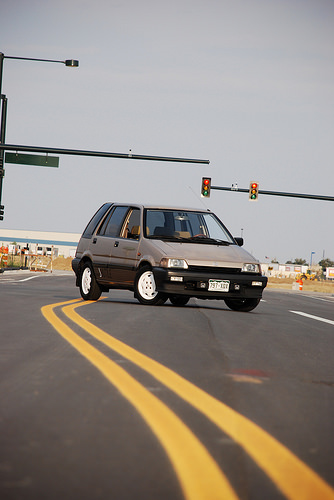
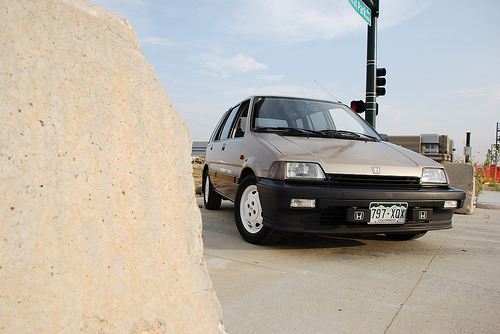
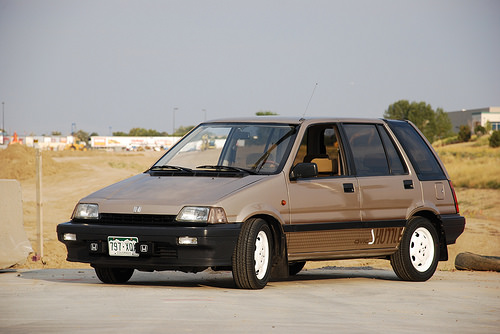
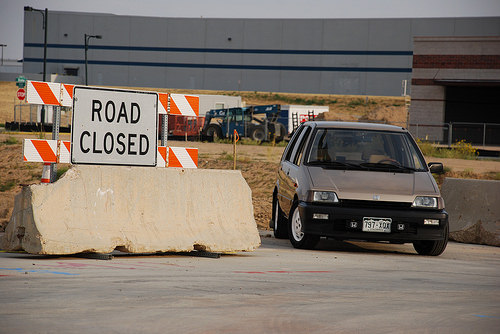
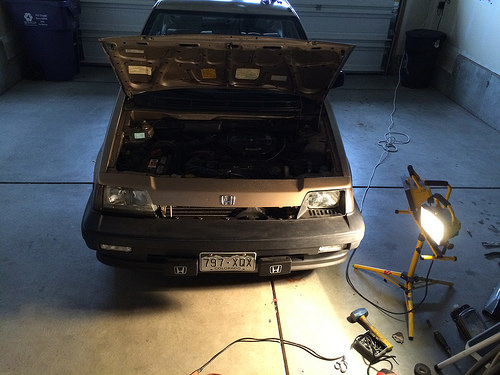
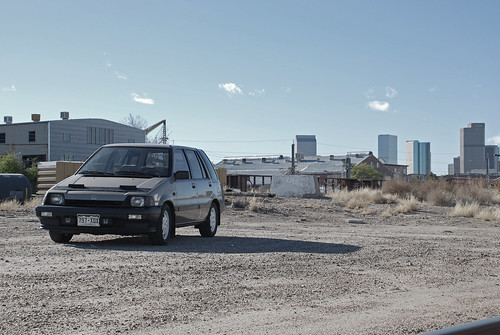
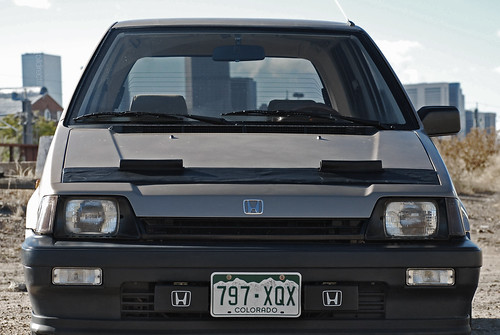
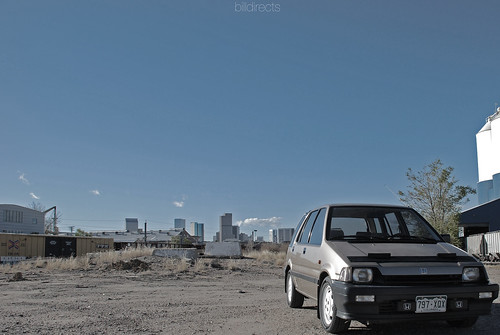
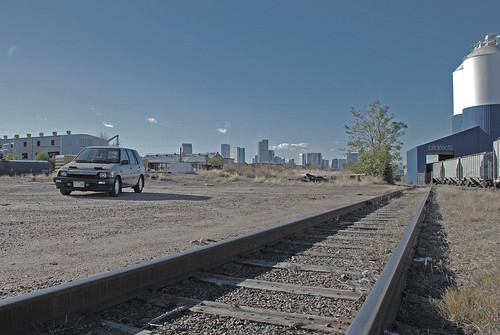
I switched jobs/careers recently. I'm now am a commercial producer. Anyways, the new gig has been keeping me extremely busy lately, plus there is a bunch of new equipment I've never used before- that I need to familiarize myself with. For instance the Canon 5D. I got caught up with my current projects and managed to squeeze in some alone time with the Canon... And I just happened to drive the wagon today...
Anyways, just getting better acquainted with a new camera.


Edited by billboard, 05 January 2016 - 12:01 PM.


Community Forum Software by IP.Board
Licensed to: Red Pepper Racing
 Back to top
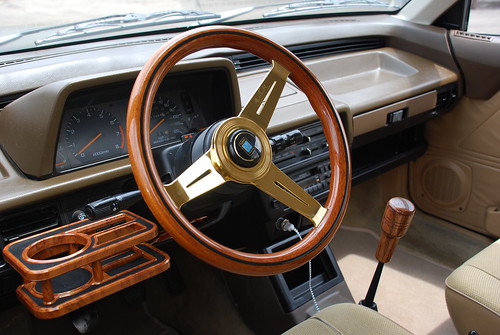

