Sign In
 Create Account
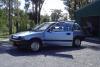


 View Garage
Hey Everyone..
Thought ide post this up here to keep track of what I have done and hopefully some of you might be interested in some of the things I’m doing.
This isn’t so much a rebuild of my car, but more of a re-shell project of swapping most of my good parts from my old shell to my new with a lot of improvements along the way.
Here is the link to my old build.
The original shell I have had since I got my licence about 8 years ago and have been slowly working on since. When I finally started to fix the rust, it was too much and finding a new body was the best option. There wasn’t mass amounts of rust like I have seen on some cars on here, but on the passenger side from half way up the a pillar and above the door the roof was basically not attached due to rust and some dodgy cover-ups someone had done before I bought the car.
I took that car off the road in 2011 and has sat in my garage patiently waiting (with a few sneaky drives up the street every now and then  ) for me to find a new shell with no rust. In Australia these cars are becoming rarer and rarer to find, especially in good condition. After looking at numerous cars, with every one of the owners assuring me there was no rust before I drive sometimes up to 3 hours away too look at them, just to find out they are full of rust and worthless.
It took me until mid-2012 to find one in nearly perfect condition. I couldn’t believe my luck when found it. It is a one owner with 112000km on it. The lady I bought it from had it since new, driven it for a few years and then left it garaged for 7 years (!) before starting to drive it again. It has a full service history (not that it matters to me) and has absolutely no rust what so ever  .
.
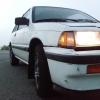
Here is a pic of when I first got it home

I drove it around for a month then cancelled the registration and parked it in the garage as well for around 11 months. During the month driving it my girlfriend jokingly started calling it "Red Rocket" and the name has stuck. It’s no rocket at the moment but once I’m finished it will be!
Thats pretty much the story of it and brings us to today.
The plan is to swap all the main parts over and do a few improvements along the way. Ill list all of the main parts here to save looking through my other tread.
Suspension:
TEIN Suspension Kit
24mm Upgrade Motoring T-bars
Full Energy Suspension Kit
David’s Bump Steer Correction Kit
David’s two-axis adjustable Panhard bar
DC2 Integra Front Strut Brace
14mm or 18mm EK Civic rear sway bar
Brakes:
S2000 Front Calipers and 280mm Discs
G1 Integra Rear Discs and Calipers
5G Accord Booster and 15/16 master cylinder (haven’t tried fitment yet but looks good)
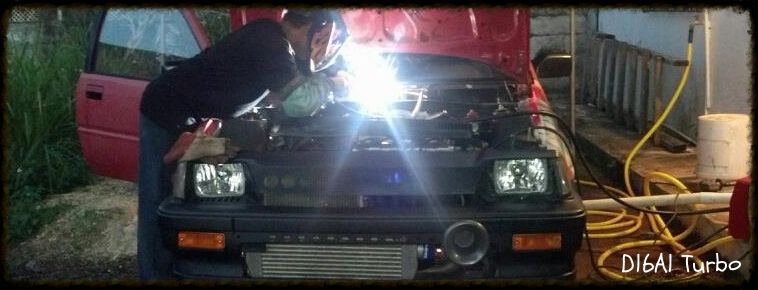
Engine:
D16A3 (same as DOHC Browntop ZC) Rebuilt 30K Km's ago
GT2560R Turbo
Custom Manifold
AVO 540X200X76mm Intercooler
2.5" Exhaust and Dump Pipe
Adaptronic e420C ECU
DSM 440cc Injectors
AEM Adjustable Cam Gears
Unorthodox Racing Crank Pulley (Racing Version)
Gearbox:
Mfactory B-series Helical LSD
Body:
Real ZC Hood 
3G Accord rear door handles (deletes the lock)
Above are the parts I have (or will have soon in the case of the camber plates and panhard rod). I will be fully rebuilding the gearbox with Syncrotech carbon syncros when I install the LSD.
Thats enough for the introduction post I think.
Cheers
Luke
 Back to top