Thanks Andrew,
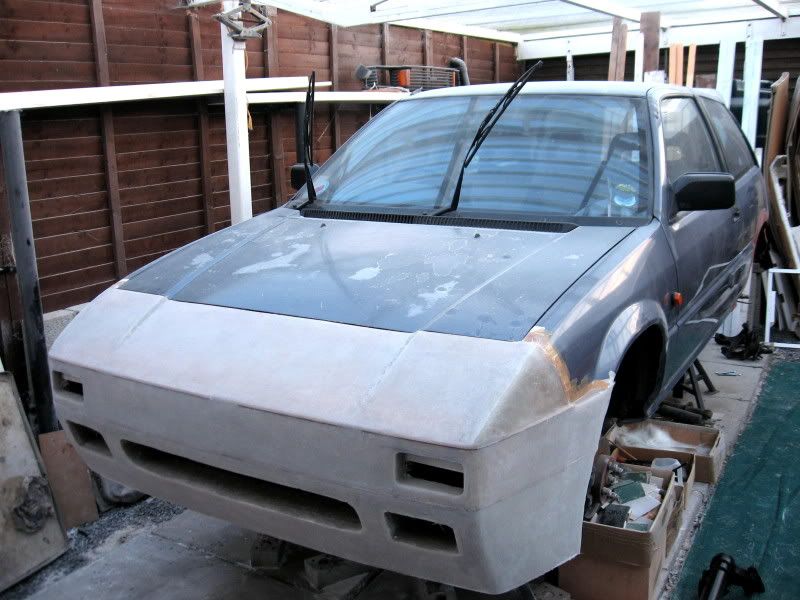
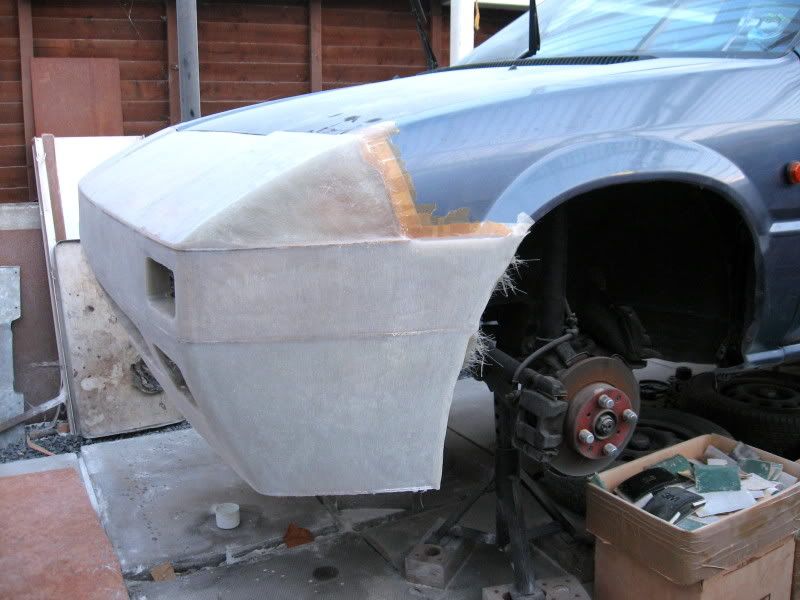
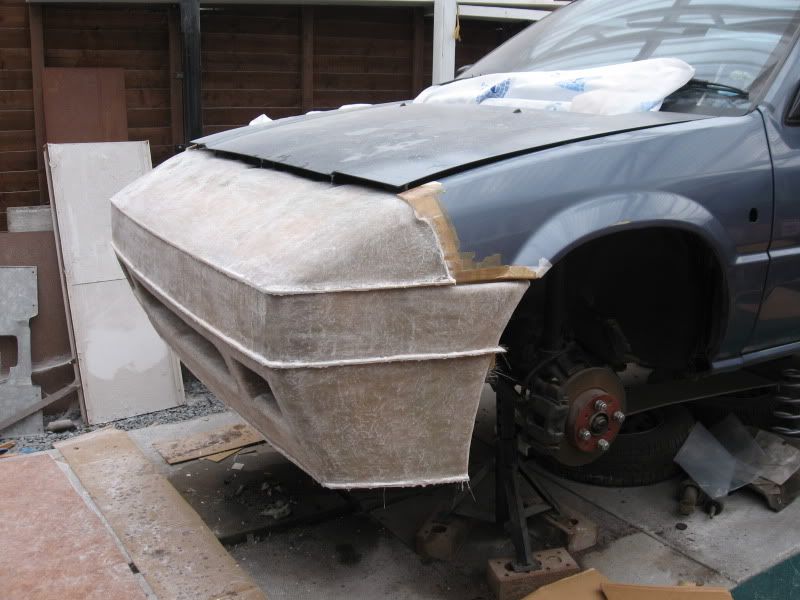
Just so that I am perfectly clear on the process please confirm my reply. After applying packing tape to all the cardboard you lay cloth and resin onto the cardboard. Let it set and then remove it from the cardboard as it doesn't stick. This then is shaped into a nice smooth finish on the outside or inside? This becomes the master for making the mold.
So how much thickness difference do you have to build into the cardboard for the resin and cloth so that it doesn't become higher than the area it has to mate to? Or is it the inside of the fiberglass that goes over the cardboard that becomes the mold shape. Sorry, but I'm not tech savvy in this area. JS
js
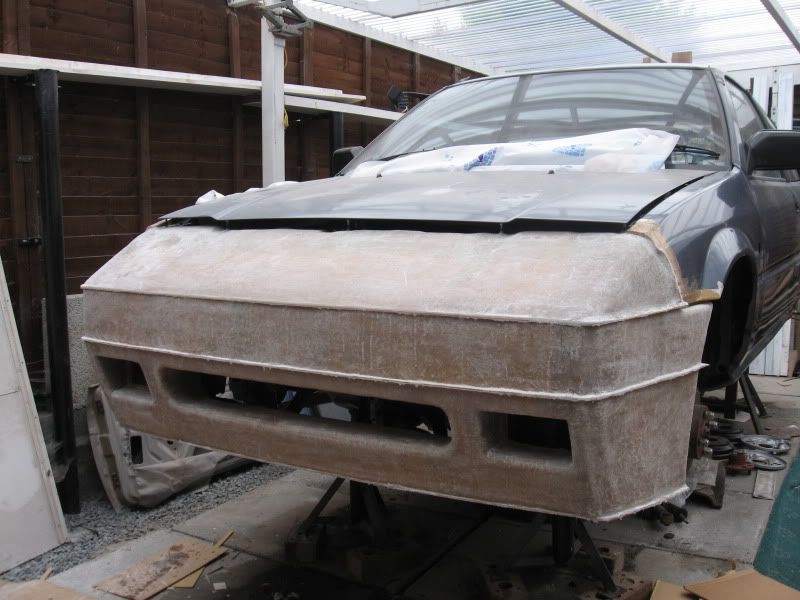
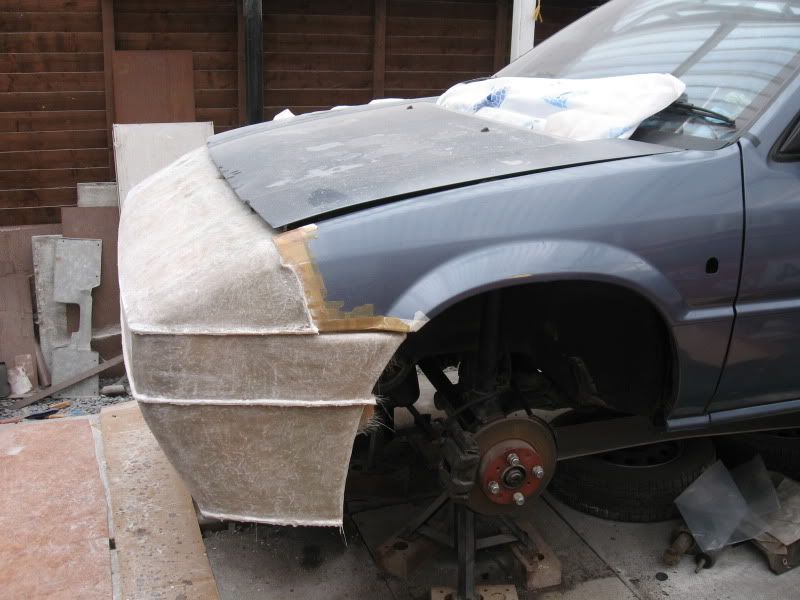
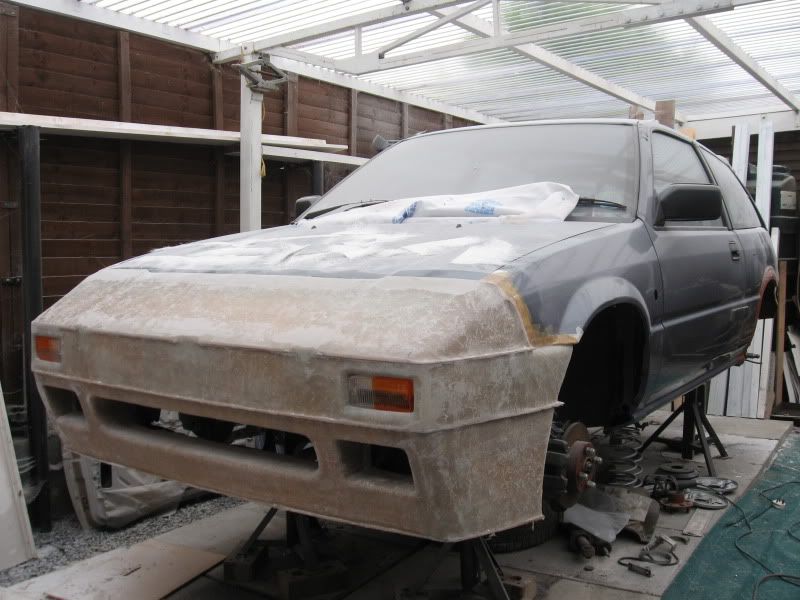
you smooth the surface on the outside of the fiberglass that has
been applied to the cardboard that has the tape on it
then you paint it and polish it and apply release agent...this is the master
next you put more fiberglass on
this is the actual mould
then you remove the mould and its smooth on the inside
you then polish it and apply release agent
then you put in gel coat,, let it harden then the fiberglass in the mould
then you pull out the panel
hopefully it comes out in one piece
hope this helps
regards andrew
it takes a lot of time
 Sign In
 Create Account


 Back to top


 View Garage