Xp Build
 Aren D.
28 Apr 2013
Aren D.
28 Apr 2013
Small update, finished up both left and right door bars (minus gussets)


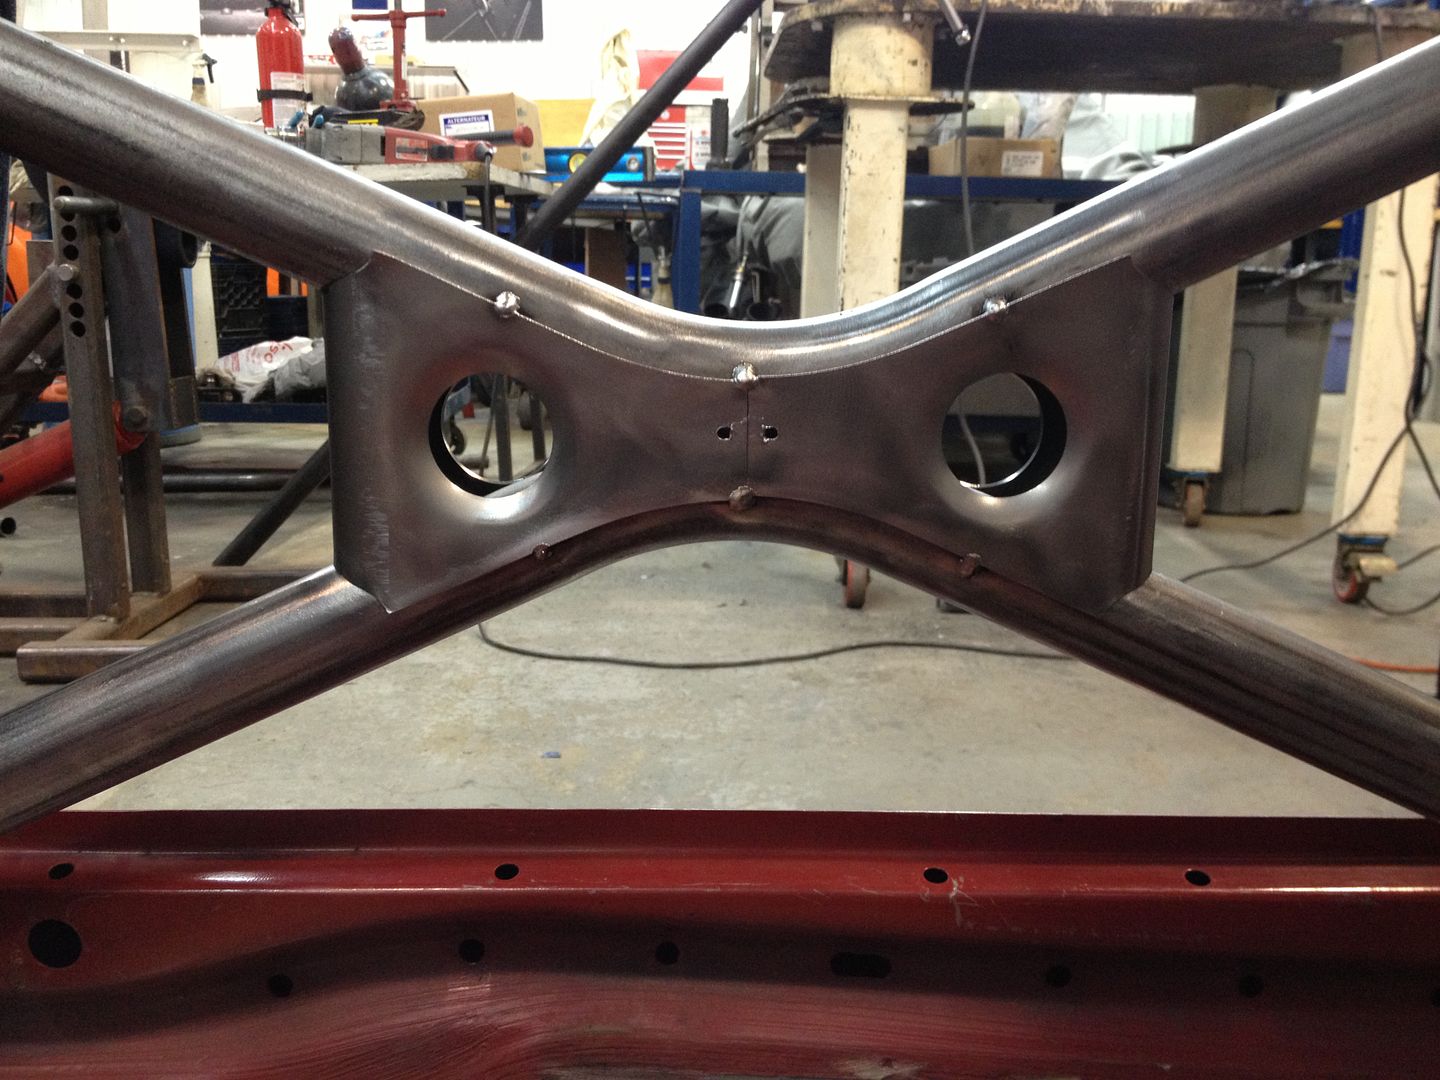
next up, building the center mount that will cross my upper door bars and front strut towers


just need to finish it up and then Ill put in the cross bars
 rallyxcrx
29 Apr 2013
rallyxcrx
29 Apr 2013
I like how this cage mounts in the door area, seams to reinforce the door opening better than most cages, Dave
 jsgprod
29 Apr 2013
jsgprod
29 Apr 2013
Small update, finished up both left and right door bars (minus gussets)
Needs More TACOS!
 chedda_j
30 Apr 2013
chedda_j
30 Apr 2013
Looks good. I have seen some pretty sick cages, they are allot of work. keep it up!
 LeKTOR
04 May 2013
LeKTOR
04 May 2013
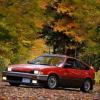
I have always preferred the hatch over the crx but hats off this rex is dope

Aren D.
17 May 2013
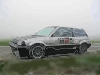
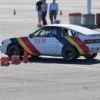
I have been pretty busy getting some seat time in my 91 civic:

But here is what I have been working on:
I Installed one side of the fwd cross bars, still need to do the right side:


Aren D.
17 May 2013
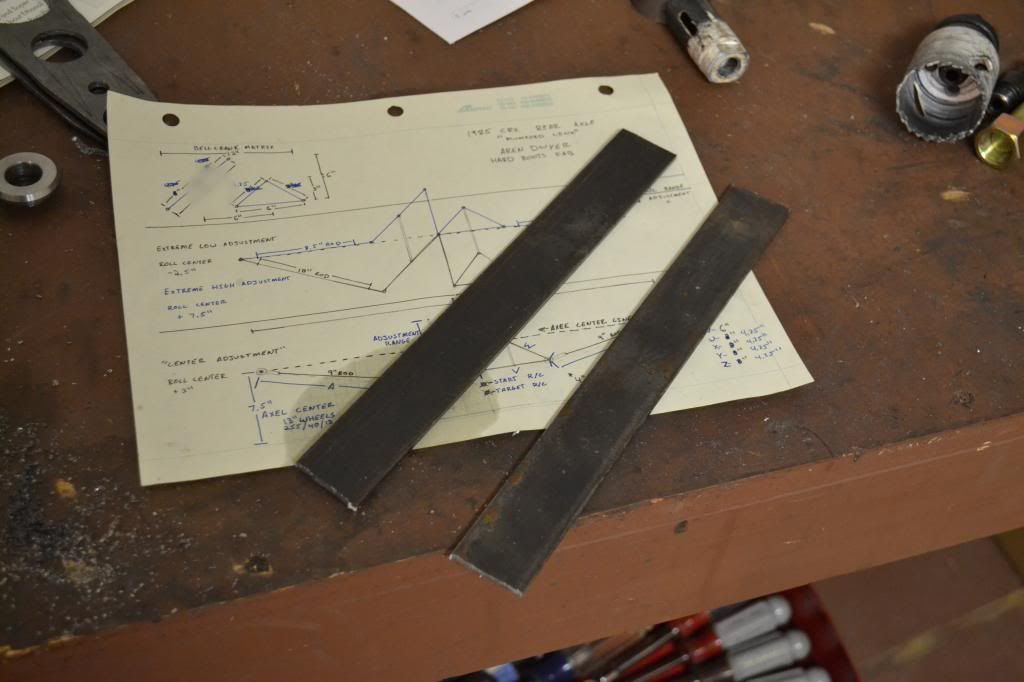
I started building the strait bell crank for the rear suspension. I have not completed it but here is the process so far:
Started out with a 1/8" piece of strait bar:

cut two sections out:

tacked two corners together so I can line up my holes exactly:


I then cut the centers to mount to the center tube.


Then installed the hole reinforcements:


Thats as far as I have made it, Ill try to finish up this bell crank tomorrow.
jsgprod
18 May 2013
Thats as far as I have made it, Ill try to finish up this bell crank tomorrow.
Sweet!
9+" centers on the bellcranks?
Aren D.
18 May 2013
the long bellcrank is 8.5" from center hole to center hole
The centers of the two bell cranks are 6" apart and will be vertically adjustable 6" using some serrated mount set up action:
Aren D.
18 May 2013
ok so worked for about an hour this morning but i have to go get some stuff done.
the parts cut out:

tacked together:

and ready for welding when I get back:

I will also have an "I" style support on each side.


