Sign In
 Create Account
 Posted by
I originally bought this as a project but I have 3 other project cars and am out of space.
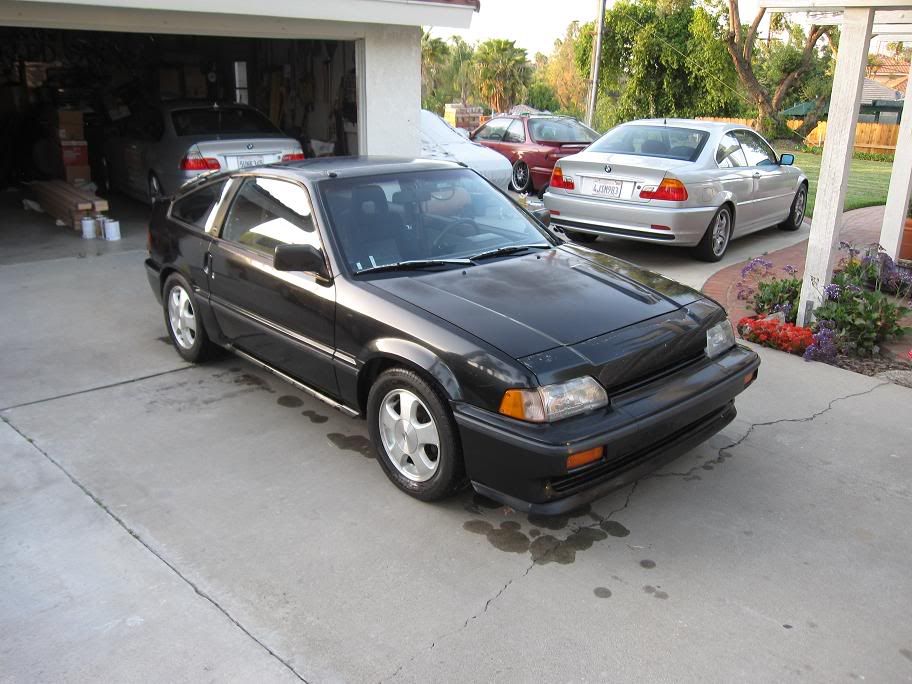
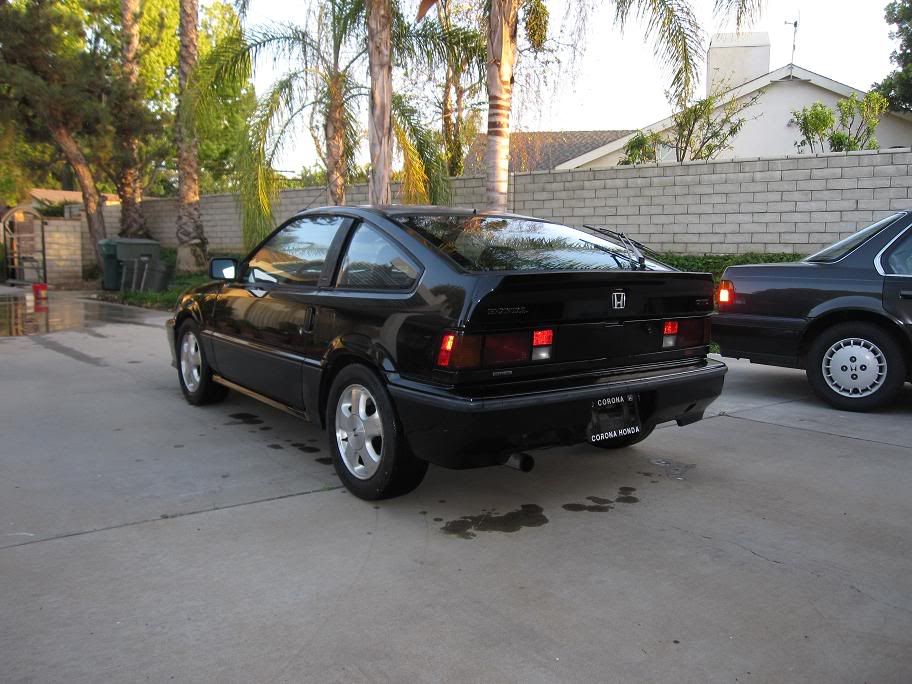
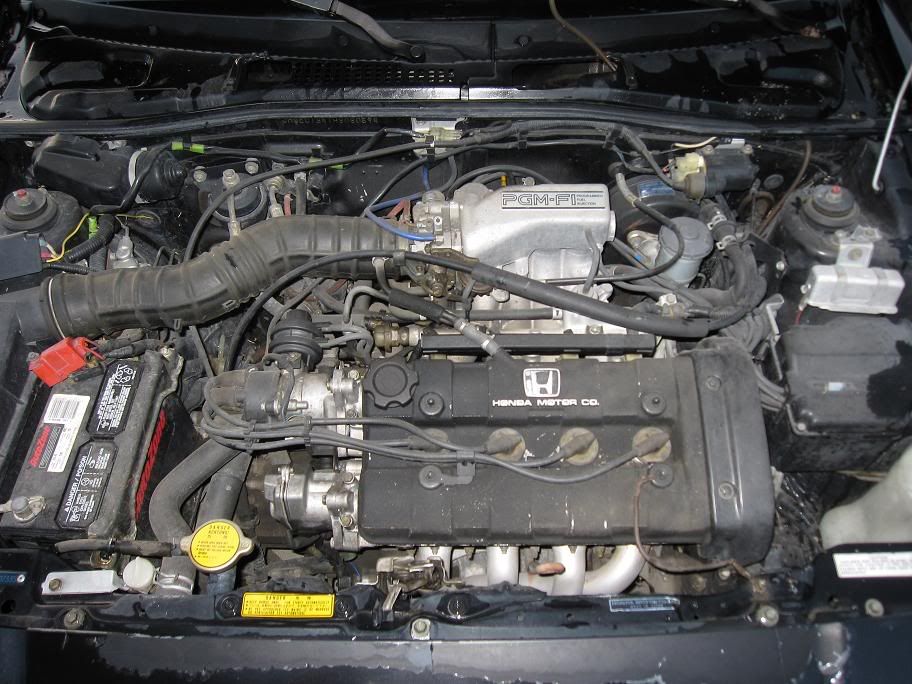
1987 CRX SI with an 1987 Integra d16 engine. Body is in good condition but has a few cracks in the plastic and clear coat is peeling. Interior is very clean.
The bad, the engine smokes sometimes but drives fine. Because of this I cannot guarantee it will pass smog so I am selling it as a non running parts car. $1000
Contact me for info [email protected]
The Mods
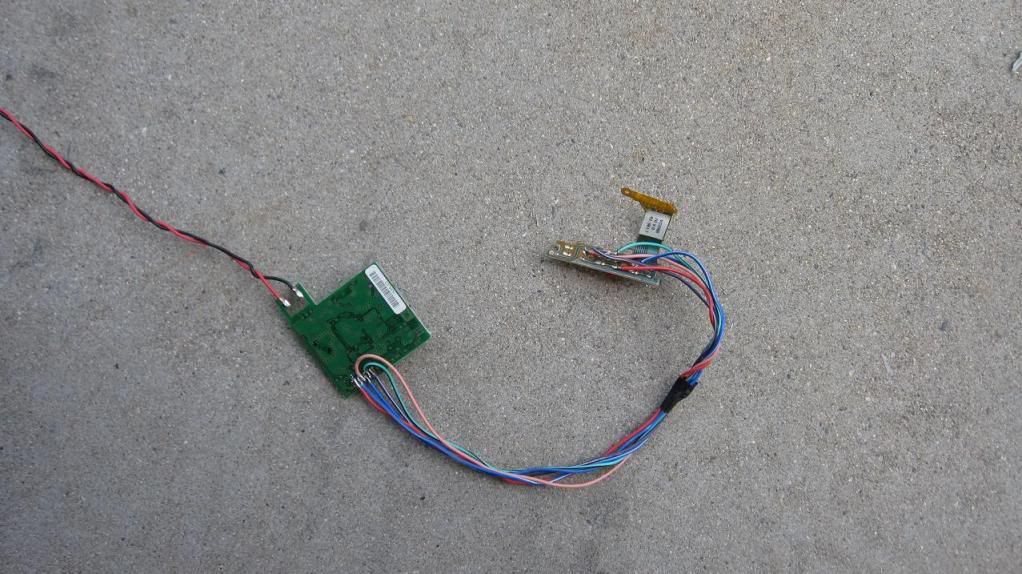
Bar'd D16
G1 Integra disc brakes in front and rear
Tokico Illumnas
Unknown lowering spring
OEM Steel ZC hood
Del Sol wheels
88 Si seats
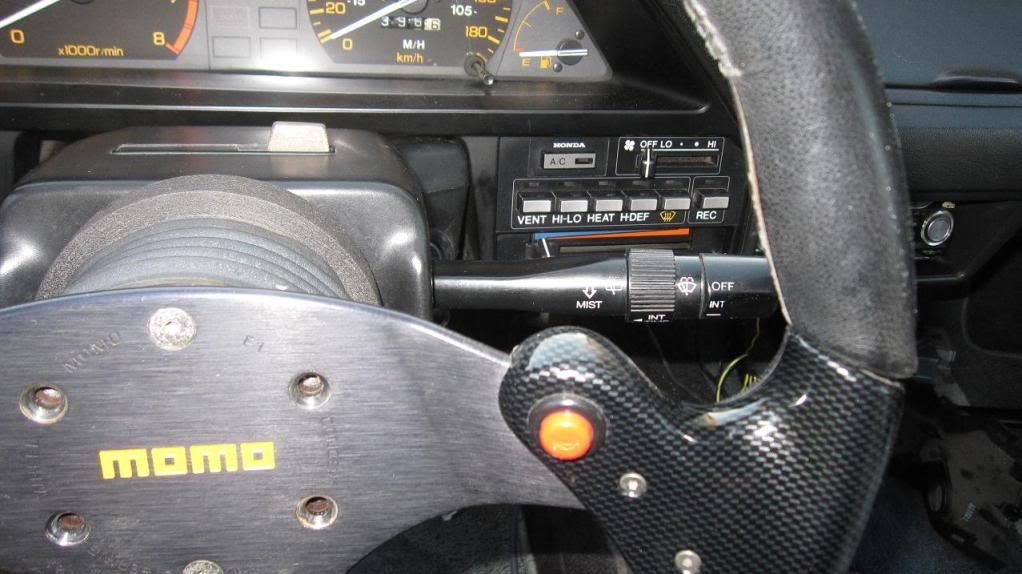
Momo Steering wheel and shift knob
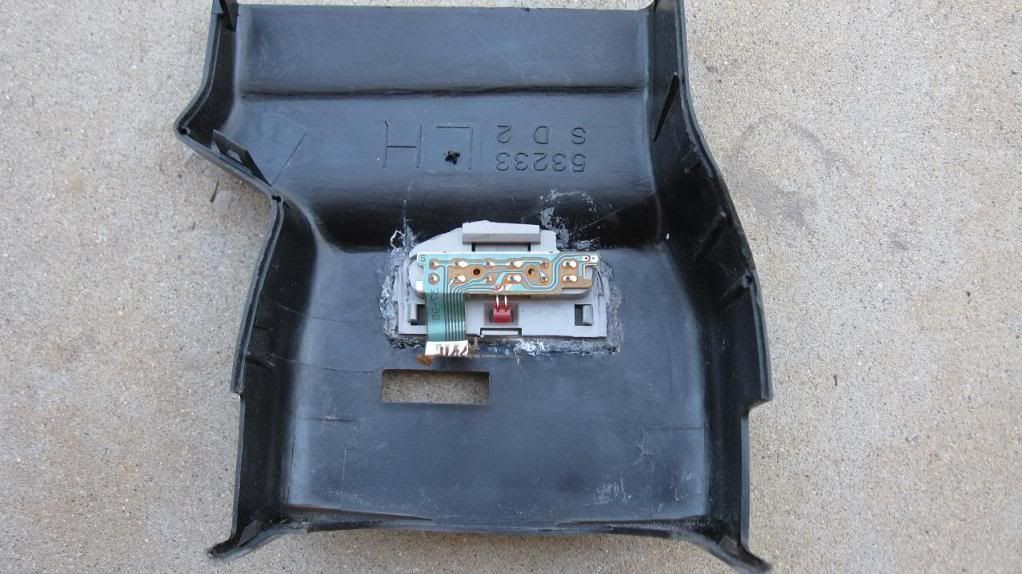
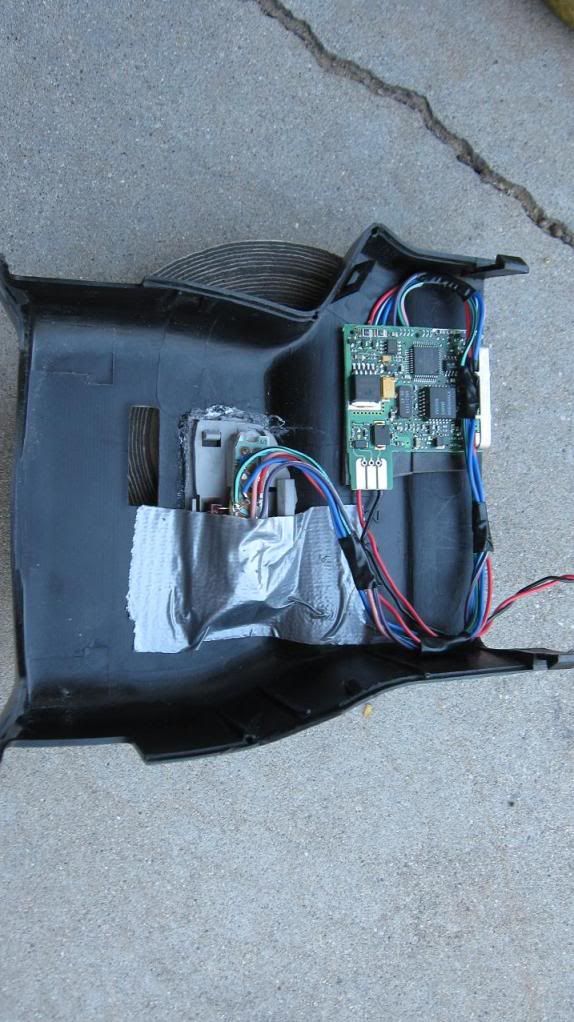
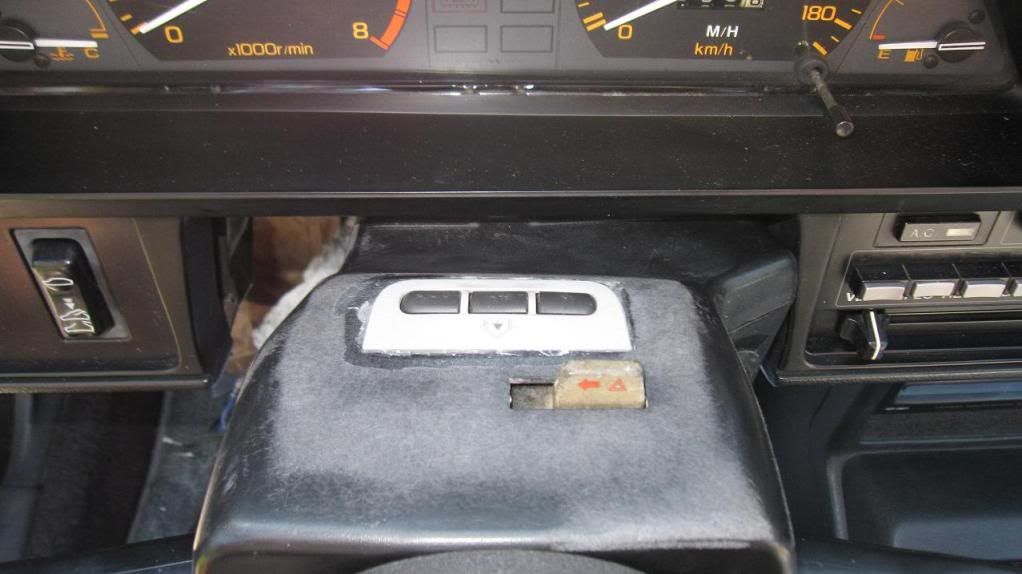
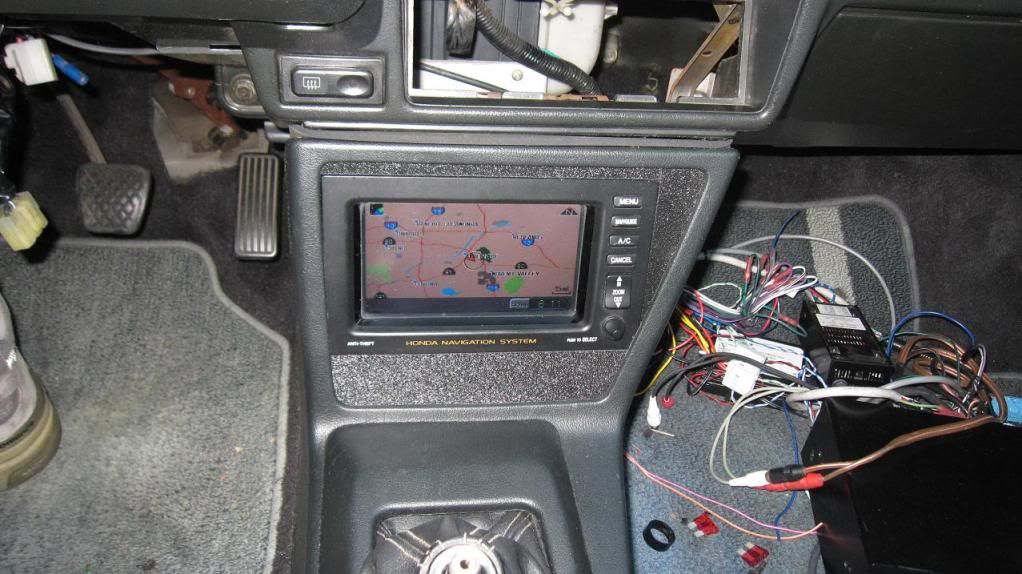
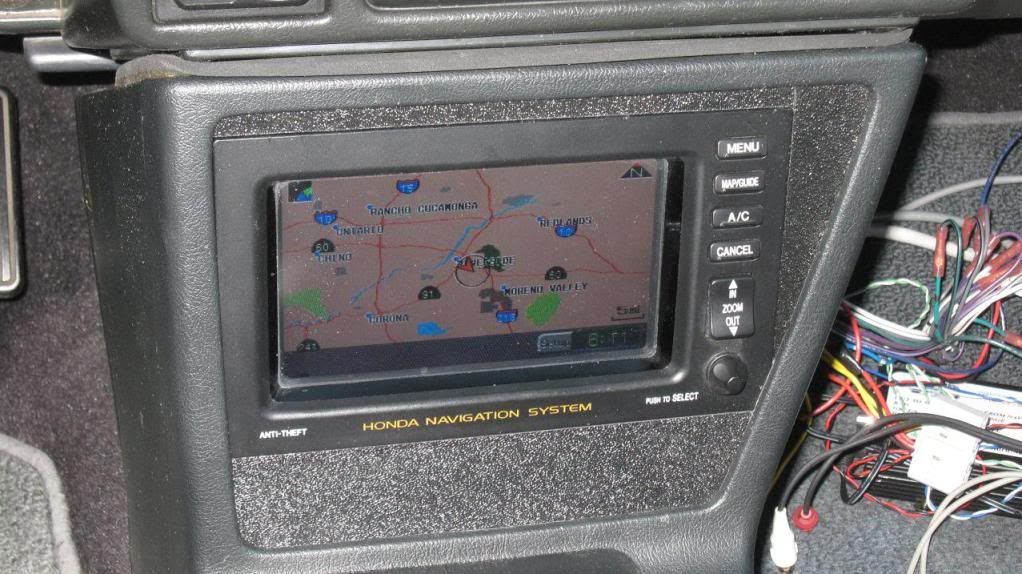
JDM Cluster
Lightspeed header
HKS muffler