3gcvc's 4wd E-ar Shuttle Thread
#1
Posted 12 October 2012 - 03:59 AM
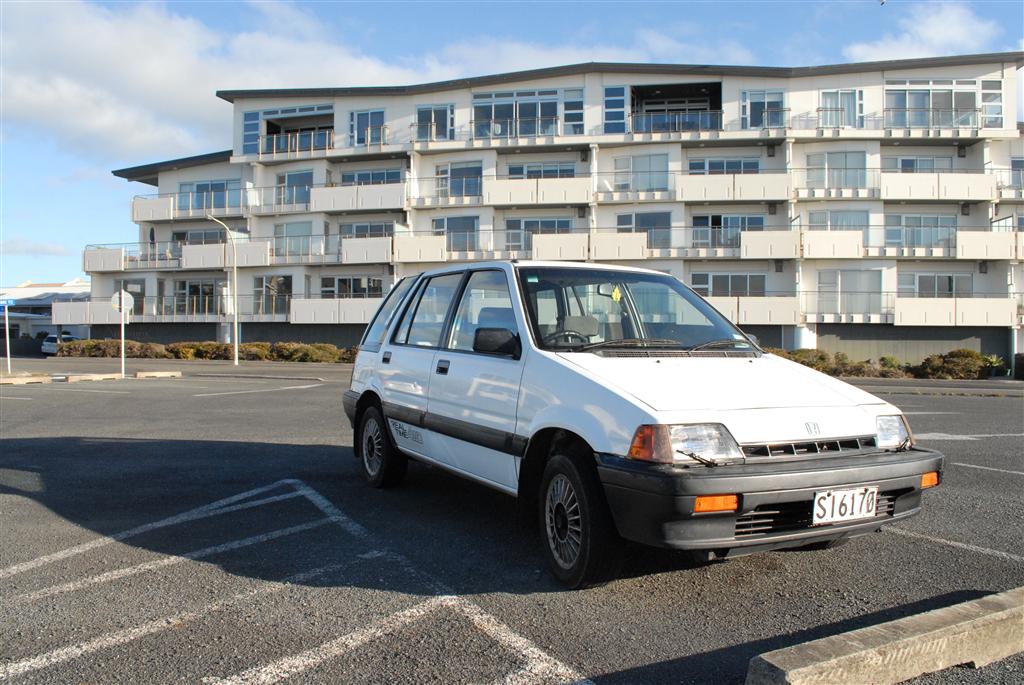
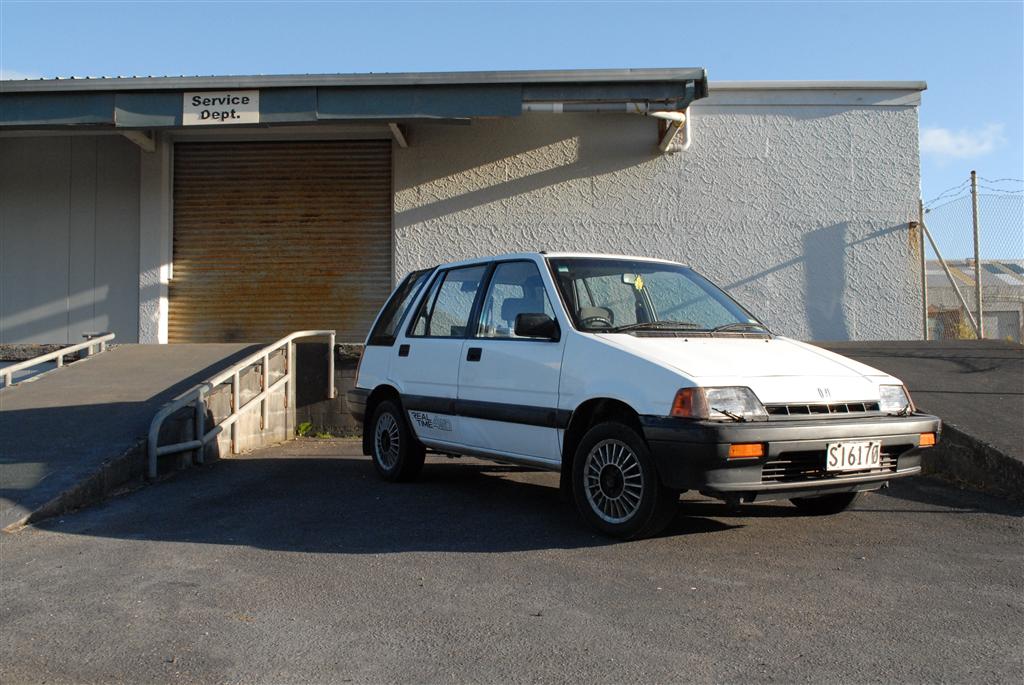
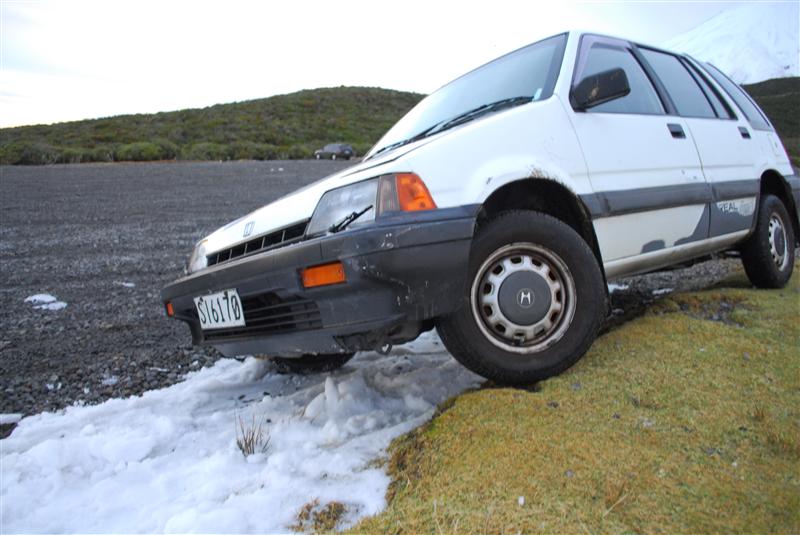
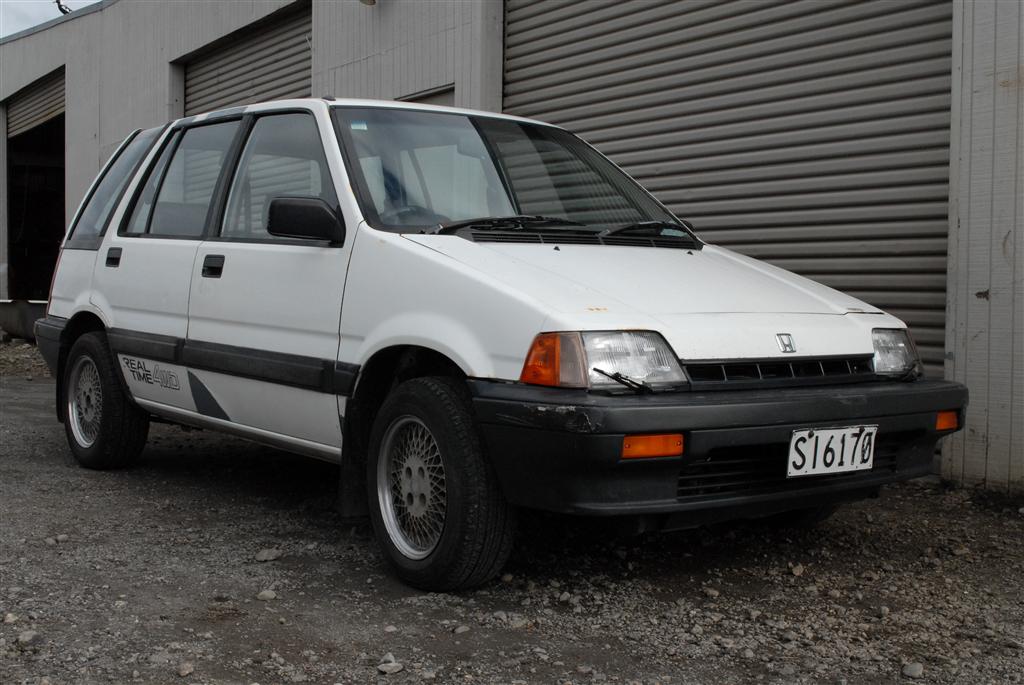
I picked this up a few months ago as it was an impound, I think the driver had no license so the cops took the car off them, it's a Japanese E-AR 1987 Shuttle RT4WD, I was offered it since I run my own wreckers yard and after a bit of looking I found that it still had live plates so I sent it through a new warrant of fitness (NZ WOF checks have to be done every 6 months to be allowed on the road) and now it's part of my fleet of 80's Honda's.
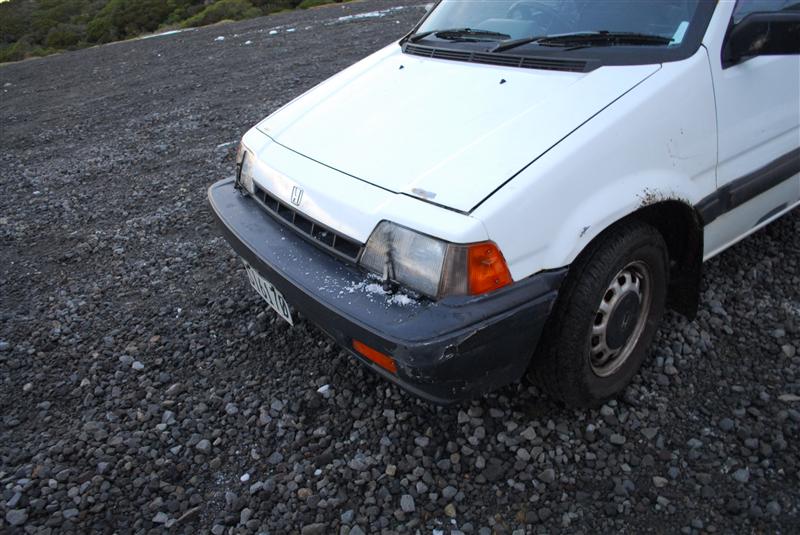
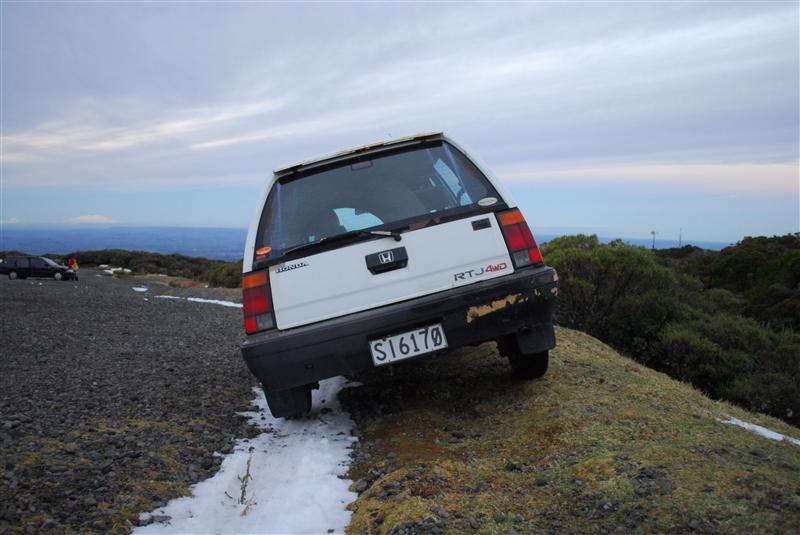
It's being used as the daily atm, even though it runs like crap, uses tonnes of fuel and now the hatch lid won't even open, right now I am cleaning up a new hatch lid to repaint and fixing the exhaust as it came off the muffler (bad repairs from a previous owner)
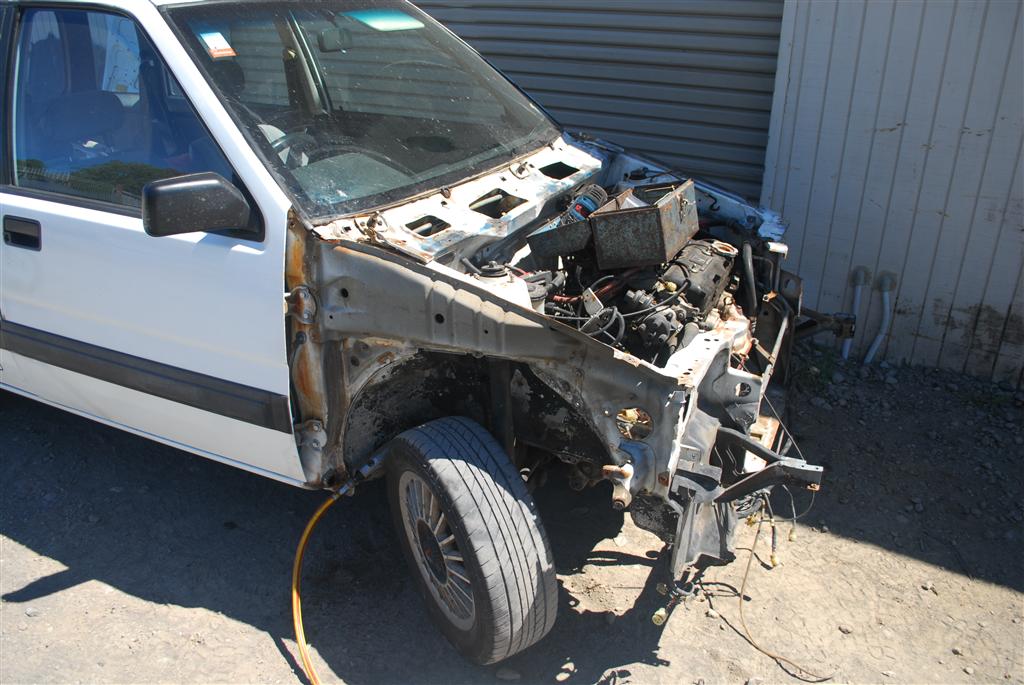
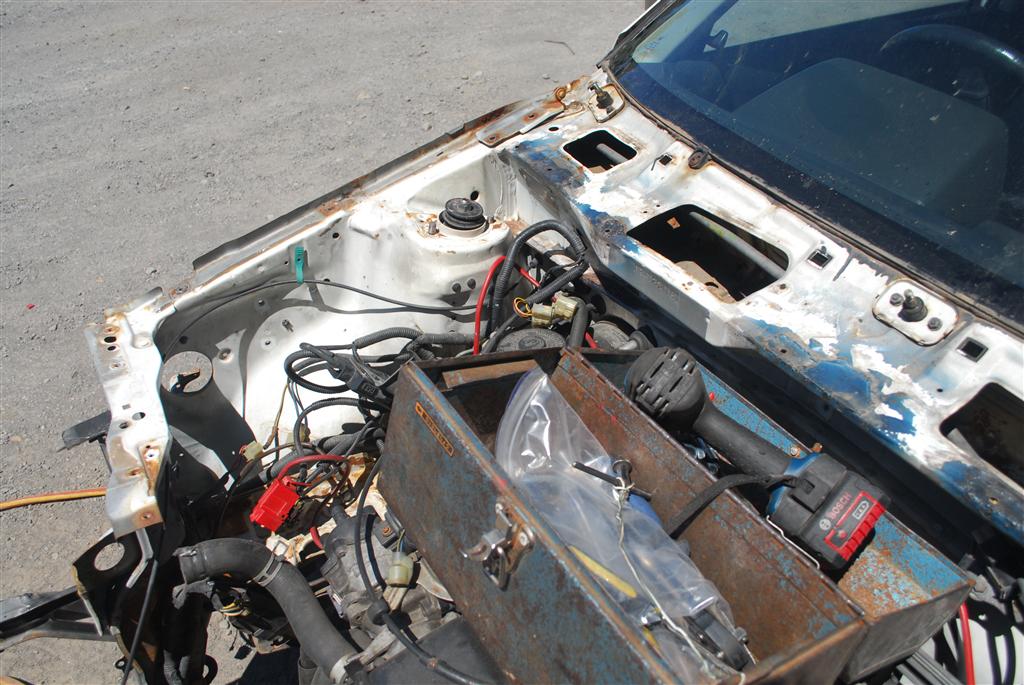
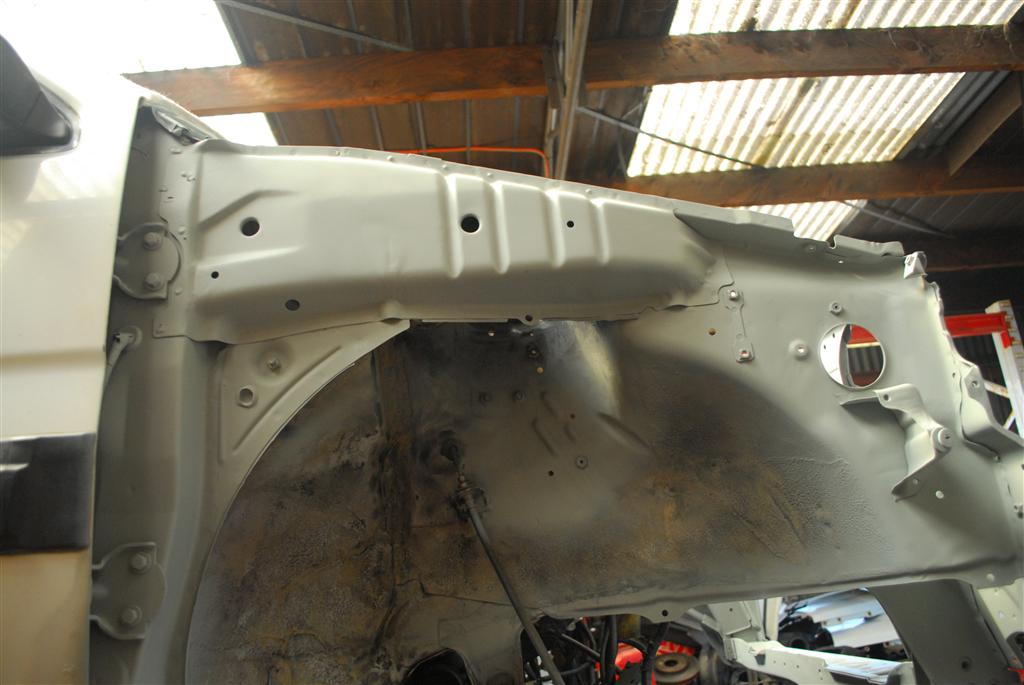
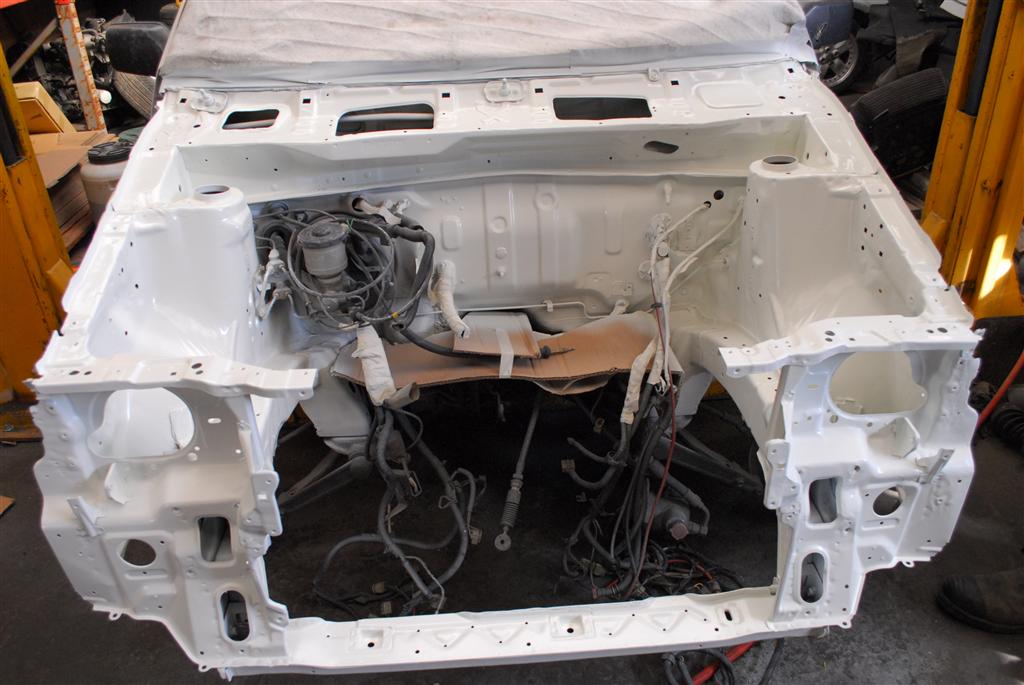
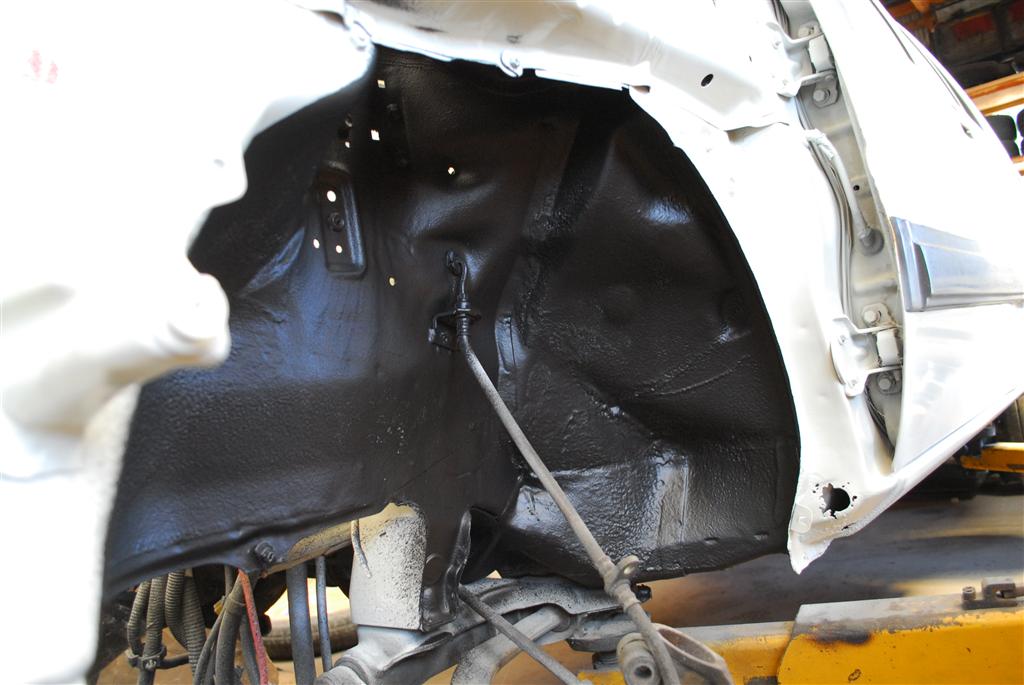
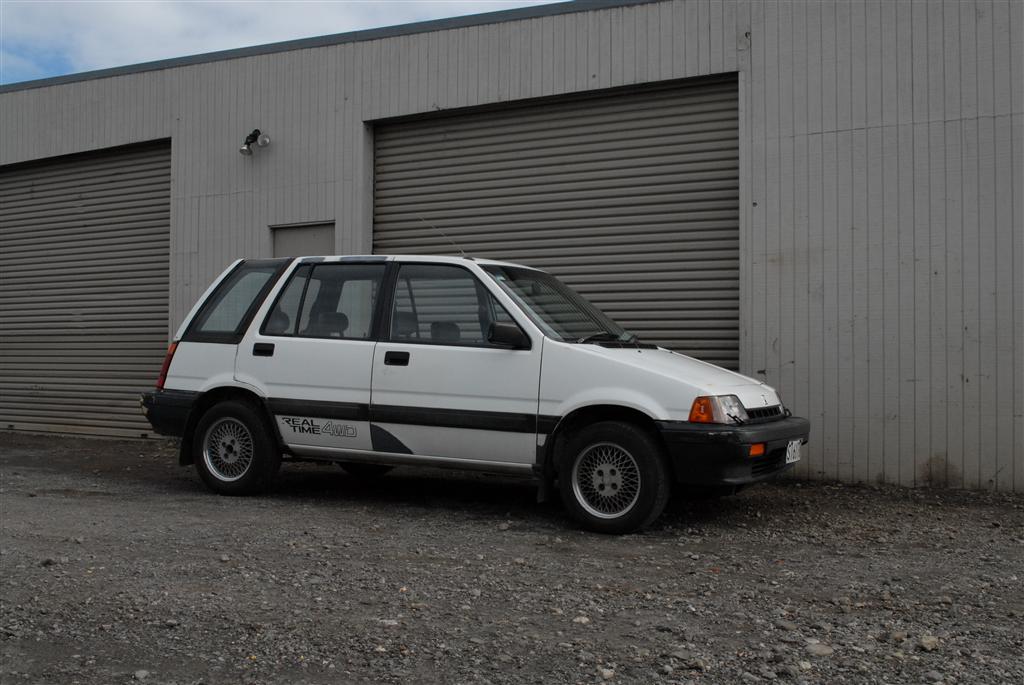
My plans for the car are install a DOHC ZC Blacktop that I have from an Integra, convert to fuel injection and OBD1 so I can tune it and then give it a good clean up cosmetically,
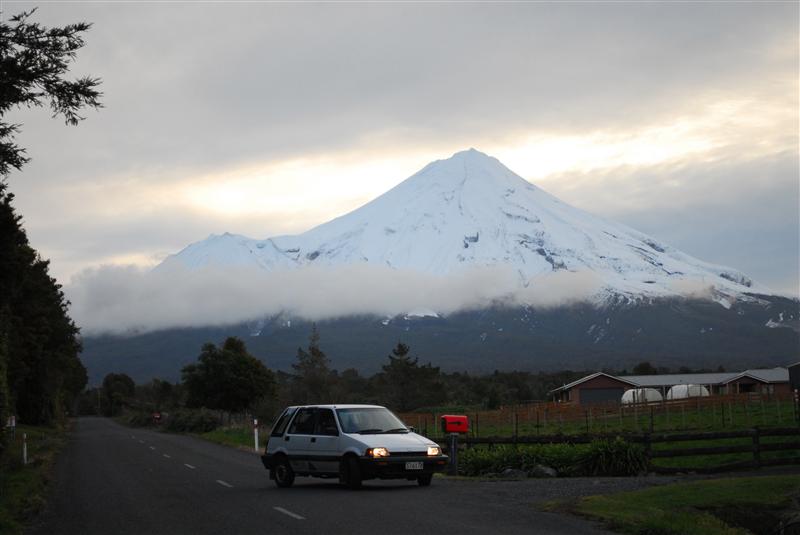
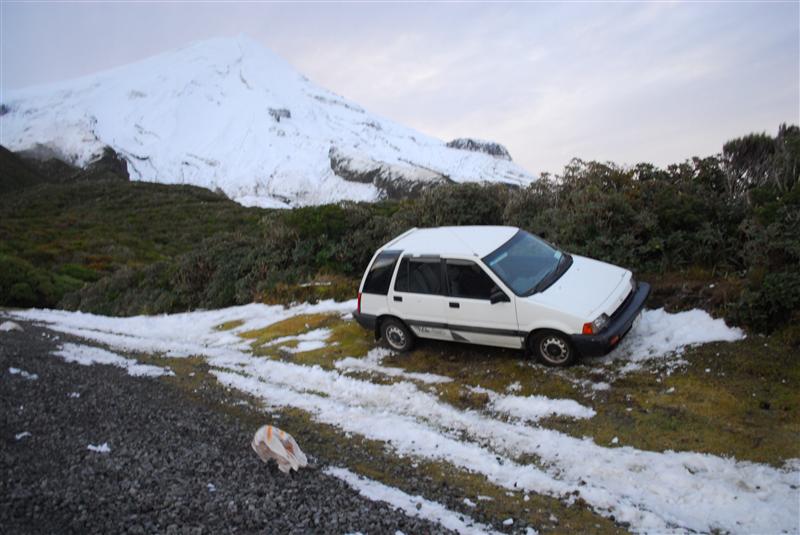
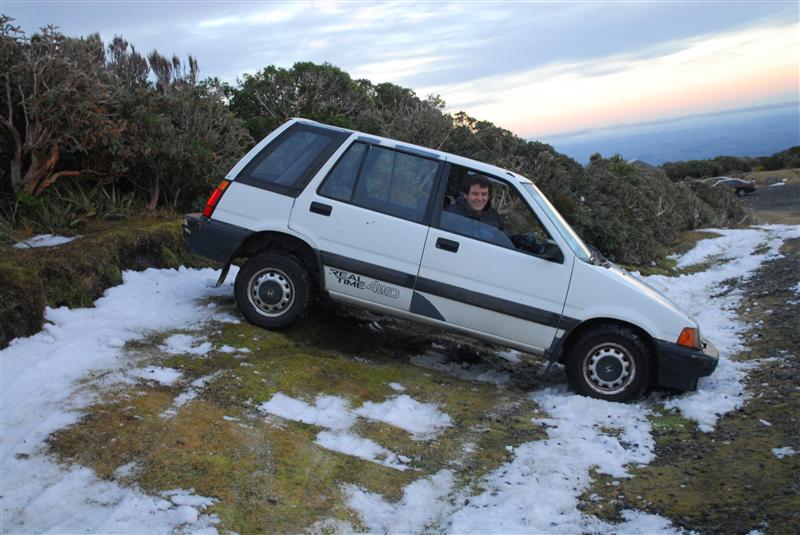
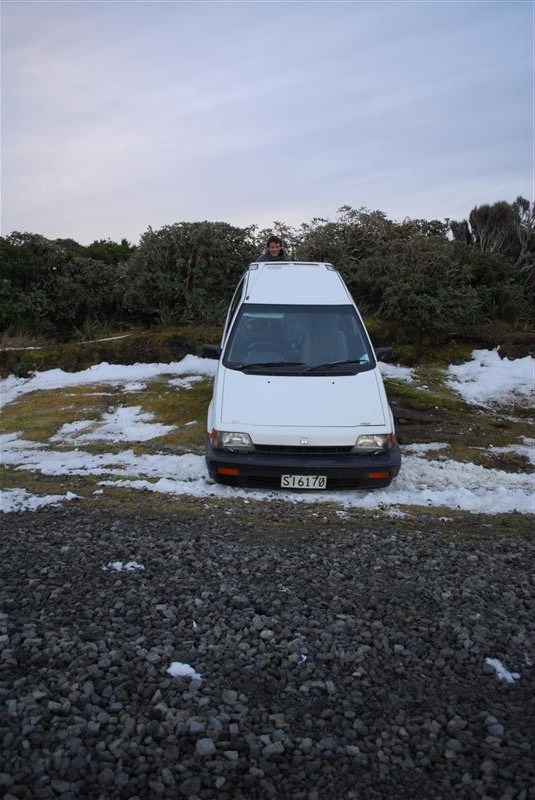
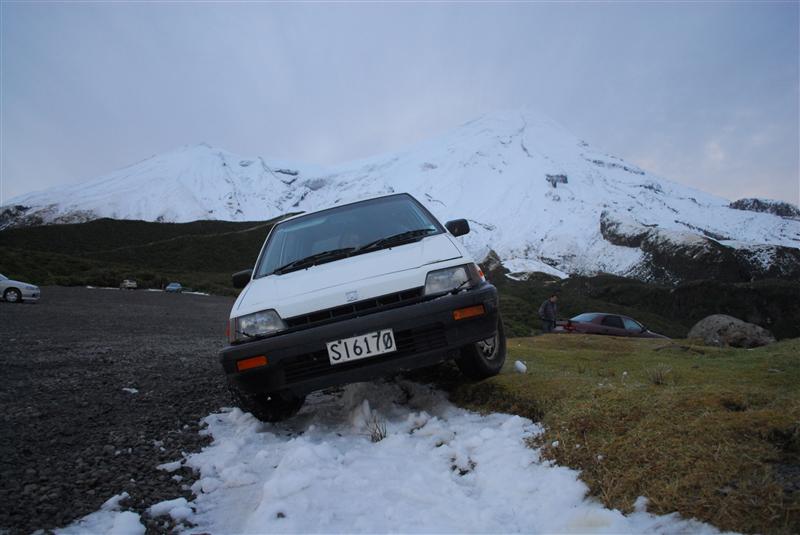
When we first got it we took it up the mountain for a bit of snow bashing
- NWClassicHonda likes this
#2
Posted 15 October 2012 - 10:04 AM
#3
Posted 11 November 2012 - 07:42 PM
Installed a Alpine 7949E source unit, 2channel amplifier under the passenger seat and CHA-S609 CD changer under the drivers seat, Will upgrade the door speakers later on. Pics to come...
Threw on some Enkei 92s I had around
Next it was time for suspension / brakes.
Got some supplies together!
Since I wanted the option to still run 13" wheels I went with the twin piston CA3 Accord calipers, these are the largest OEM Honda brakes that fit under 13 inch wheels.
Stock on the left, upgrade on the right.
Cleaned up a brake booster, treated the rust then repainted, since the stock one cant fit the 15/16inch master cylinder required for the calipers!
Greased the sliding pins then installed the rotor, brake caliper and pads. Brake pads I used are C-Plus Ceramic.
After inspection and adjustment of the rear brakes.
And some bleeding of the brakes...
Filthiest fluid I have ever seen, no wonder the brakes were so shocking!
The result is nothing short of amazing compared to what came off, Plenty of stopping power and nice pedal feel just what the doctor ordered!
Suspension is the next part to figure out, the 3G Hatch Koni's I tried in the front are too short at stock 4WD ride height and thus top out I need to work out what to try next...
#4
Posted 11 November 2012 - 09:02 PM
Screech
------------------------
16 Ford RS (2.3l, DS)
84 Civic 2000S (B20Z2 2.0l, SMF)
#5
Posted 11 November 2012 - 11:10 PM
#6
Posted 11 November 2012 - 11:15 PM
B, i am sore at mine
C.do you know how to get a flywheel for that.?
Mine is the manuel versiion with a granny gear
#7
Posted 12 November 2012 - 06:18 PM
#8
Posted 15 November 2012 - 07:25 PM
YES!!! Finally another Civic on RPR with headlight wipers!!! Though mine are not current on mine as its just extra weight for me. Though I have to ask, have you got a source on replacement wiper blades for the headlights?
Haven't tried, I have headlight wipers on my Legend also, it will be a bit interesting when I try that, but I'll let you know how I get on when I get there,
A I am happy you got that wagon
B, i am sore at mine
C.do you know how to get a flywheel for that.?
Mine is the manuel versiion with a granny gear
Thanks,
I am assuming it is either a EW, ZC / D16A1 flywheel, yeah SL (super low) gear is mean,
Very nice work Alex...looks like this is gona be one heck of a build...can't wait to see more updates!!...
Lol yeah, we shall add it to all of my other current builds.... not sure how much attention this will receive just yet, needs to be used right now which is why it is getting a fair bit of attention, like brakes, motor, suspension etc, just not up to my standards as it sits that's for sure
#9
Posted 20 November 2012 - 12:04 AM
The entire tool selection at Sears or the contents of a Snap-On truck will do you no good if you do not know how to use them.
#10
Posted 28 November 2012 - 05:39 PM
Sanded back and painted the grey primer white, & gave the car a good cut and polish to tidy it up outside. also gave the bumpers a quick sand down and paint in a couple of spots where it was super rough.
Fitted some Old Bridgestone wheels I had around for a change up.
Looks a lot more respectable now though much more work to do
- cahitapower, NWClassicHonda, ArnyBoy and 1 other like this
#11
Posted 30 November 2012 - 10:30 PM
The entire tool selection at Sears or the contents of a Snap-On truck will do you no good if you do not know how to use them.
#12
Posted 02 December 2012 - 10:29 AM
Screech
------------------------
16 Ford RS (2.3l, DS)
84 Civic 2000S (B20Z2 2.0l, SMF)
#13
Posted 02 December 2012 - 04:00 PM
"for all your pre-1988 Honda restoration needs 206-940-8173"
"vouch thread"
http://www.redpepper...l=&fromsearch=1
1g, 2g, 3g Civic
1g CRX
1g Integra
1g, 2g, 3g Accord
1g, 2g, 3g Prelude
cars, parts, collectibles and more!
http://www.nwclassichonda.com
#14
Posted 02 December 2012 - 05:06 PM
The 85 prelude master cylinder would fit the stock booster. What year are the brake calipers from again? Do they bolt on to the stock brackets?
Yes the 85 twin carb prelude master cylinder fits the stock booster but its only 7/8inch bore,
The twin piston calipers use a 15/16inch master cylinder from factory hence the booster upgrade to fit it.
The calipers are from a 3rd gen Accord 85-89 JDM market only so there is probably not much chance on finding them on a US car, Yes they bolt up to the stock brackets.
Essentially these brakes are the same size as the G1 Teg upgrade (they use 1G teg rotors & I think even the brake pads are the same) but with twin piston calipers.
#15
Posted 24 February 2013 - 10:47 PM
Update;
Have been using this beast as a parts pickup and driving all around the country.
On Friday the motor had a lack of power and was missing occasionally, this eventually led to us getting stranded on the side of the road. The cambelt tensioner failed and allowed the cam timing to change and bend the valves. #3 cylinder was also running quite lean as the sparkplug was melted.
When we got it back I stripped it down ready to take the motor out.
Motor and box out!
Started using wire grinding wheels to clean up all the surface rust.
Cut out some rust and welded in some patches ( no pics of the finished patch sorry guys)
Used rust converter and primer on all the bare steel and the remains of rust.
Then laid the primer.
Laid down 3 coats of NH82 Greek White!
Fresh coat of rubberized coating under the wheel wells.
There is still some rust that needs to be welded up here and there such as in the picture above below the door hinges and a little around the front windscreen which I will tidy up later on. Also there is a bit of overspray to clean up in the engine bay.