Finally I have had the chance to look at building the spherical torsion bar and control arm conversion kits. I am just waiting on the arrival of bearings and materials then I can start making these beauties. They will be pretty straight forward. The only major differences between mine and the ones that David used to make is that my housings will be built of 6061 aluminum rather than steel, really only because the materials quite a bit easier to work with and to install.
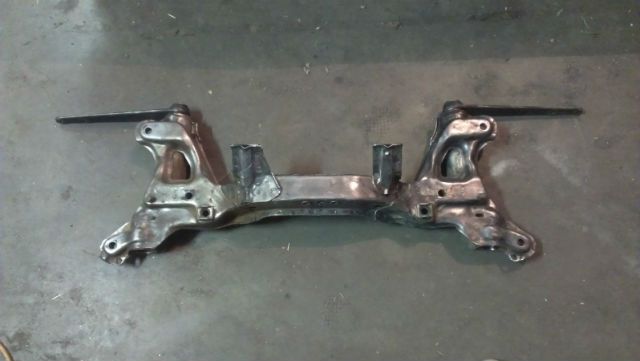
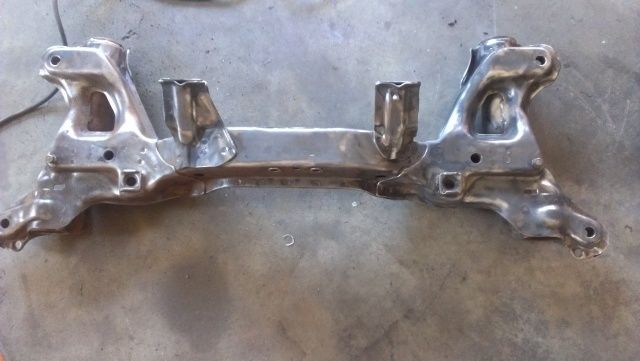
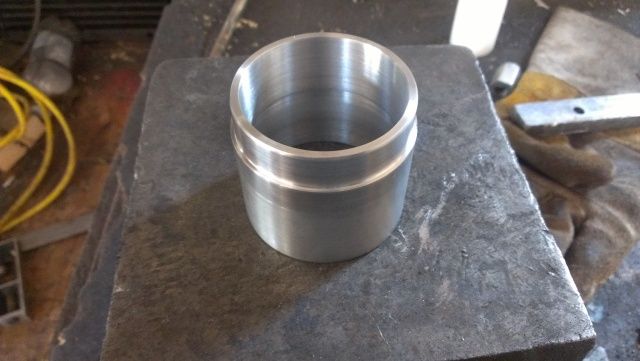
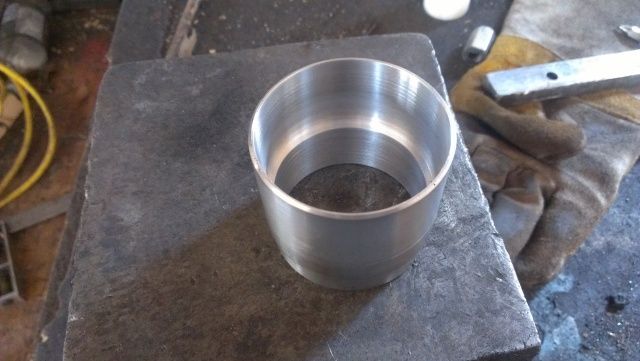
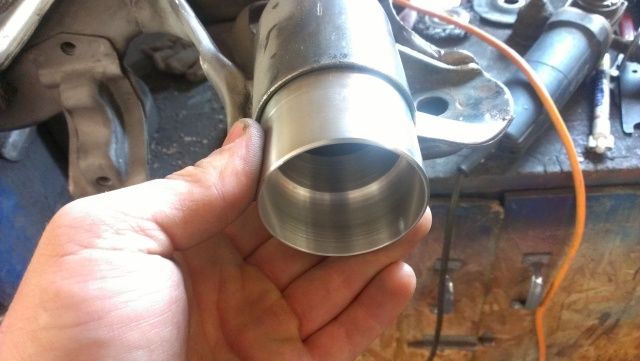
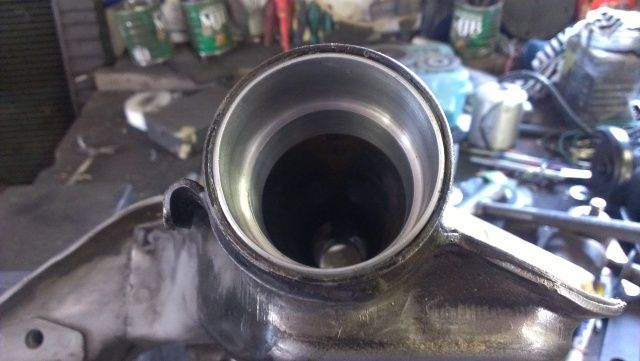
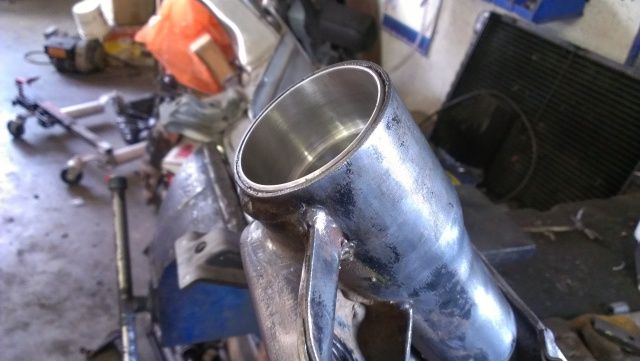
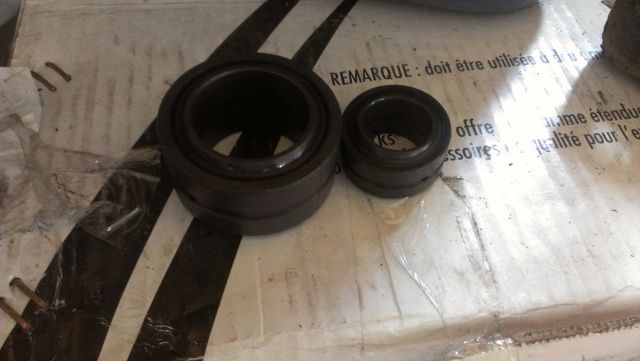
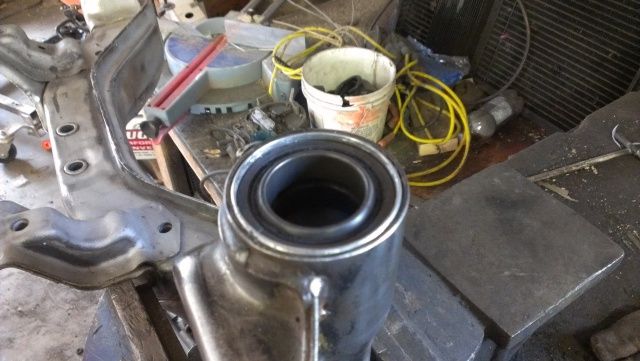
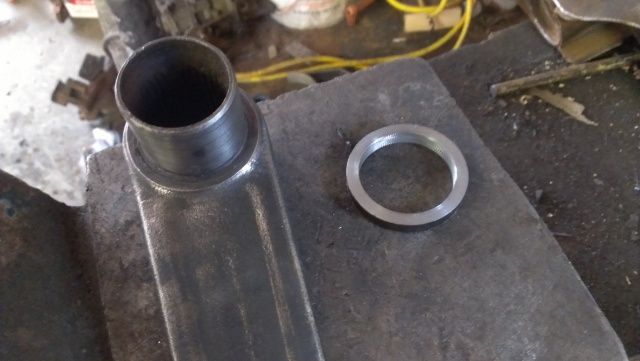
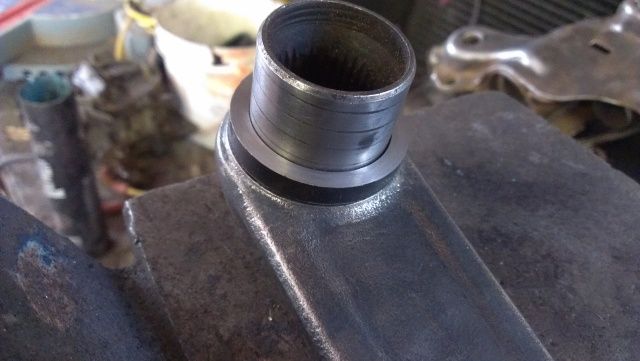
Here are a couple pictures of the removal of the bushings, sleeves and torsion bars to get the subframe prepped.
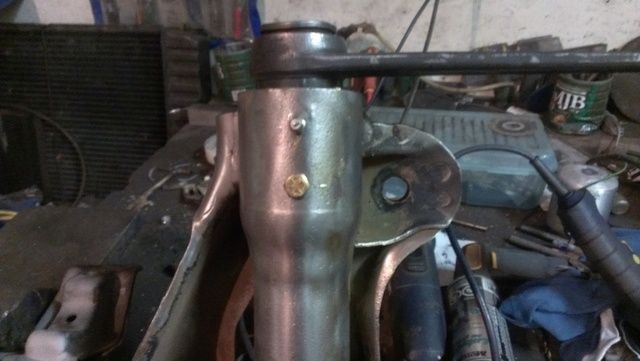
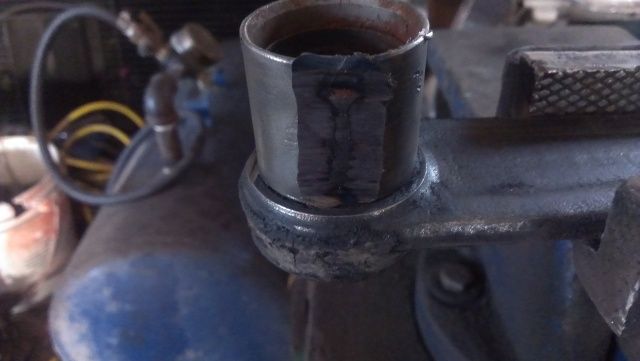
The cutting of the old sleeve using my reciprocating saw.
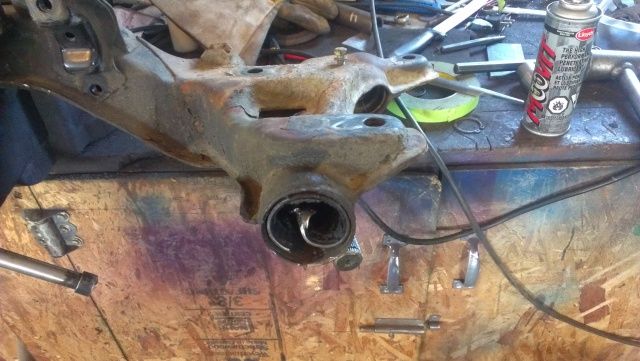
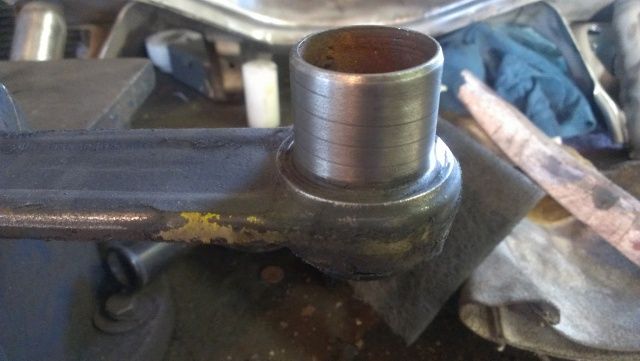
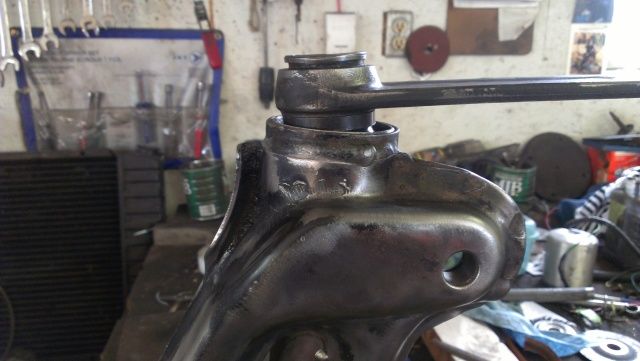
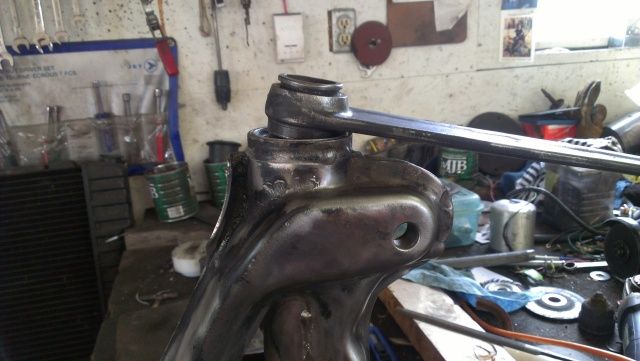
Removing the torsion bar caps
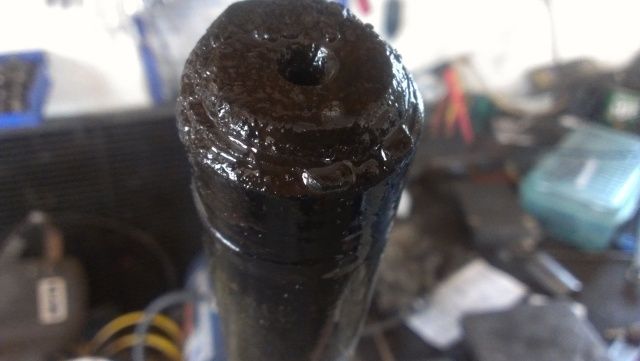
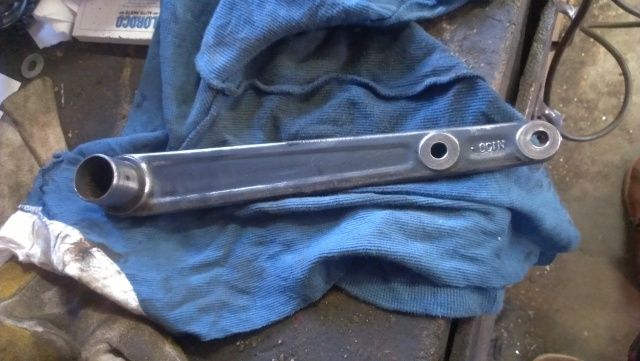
And the terrible torsion bar snap rings.
3
Spherical Torsions And Control Arms
Started by chedda_j, Aug 29 2012 06:12 PM
46 replies to this topic
#1
Posted 29 August 2012 - 06:12 PM
#2
Posted 29 August 2012 - 11:14 PM
More as come as of today, I sandblasted what I could of the subframe, then used a wire wheel and a grinder to get some of the more stubborn rust and old paint off. I have plans on painting in red like the car, but I will need to be cleaned very well prior to that. Here is a photo.
Now David talks of removing the torsion bar sleeve in one of his threads, he recommends you use a file and remove material from only one side. I went the faster route with a hand grinder, removing just enough material so that I could use a pair of pliers and pull it off. See below me removing the sleeve, also cleaning and more cleaning of the torsion arm and housing.
Here is a photo of the control arm housing, obviously needing a little more sanding with the air grinder.
So all in all, its coming along. I am very torn about what I want to do with the control arm housing. Me and David had a discussion a while back and we both agreed that it might be best if we just remove the steel housing that sits in the sub-frame and replace it with something a little bigger. Mind-you the spherical I can fit in this location is still pretty large. So I will probably stick with that just because its a whole lot more work for the customer and will require drilling and welding if someone was to replace said housing.
Materials are ordered, bearings are ordered. Now I sing 'the waiting is the hardest part" because I don't know about you guys, but I'm stoked.
#3
Posted 30 August 2012 - 12:27 AM
Just as well I have a spare subframe available. Be interested in doing this one. Good work there again.
anjin aka Ian
"I can't believe it - Ive just been passed by a sh!tbox"
#4
Posted 30 August 2012 - 07:34 AM
Since you have it out and stripped, now would be a good time to weld the seams around it. Stitch welding the perimeter should be more than sufficient, I also ran a bead around the edges of the steering rack bracket when I did mine.
As for if it was absolutely necessary, who knows? But I never worry about it breaking or cracking now.
Jay
If you love the Elise, drive a Se7en - Caterham or whatever...
It has even less content than the Elise, is less graceful looking
...and changes direction like a ping pong ball whacked by Thor.
#5
Posted 30 August 2012 - 11:04 AM
I was thinking that but with the large plug welds every 3/4" I don't think it's necessary. A plug weld being much stronger than a stitch, with no fracture point, should hold the two pieces together forever. With welding comes stress and if not properly done could twist that subframe like butter, throwing out alignment. I'm never going to run more than 300 hp, I think I'm safe. But I still might do it for fun.
#6
Posted 30 August 2012 - 01:01 PM
yessss!!!!!!!............count me in...
#7
Posted 03 September 2012 - 09:11 PM
just wondering...will there be a traction bar kit done as well with this kit like davids to help the bearing??....
#8
Posted 03 September 2012 - 10:30 PM
Most likely there is going to be a traction bar available. I will likely use pre-swedged aluminum or steel tubes to reduce the cost and good steel on steel sphericals. For the brackets, it will include steel brackets that will mount to the torsion bar arms and to the rad support. Rather than welding the bracket to the rad support, it will be bolt in, with machined sleeves reduce any kind of squishing. You can see a prime example of this on the subframe where the transmission mount is connected.
I cant make a traction bar until the subframe has been completed and installed, as this one is my spare and free for experiment. But once its done, I will order the materials and make one asap. I would like to sell the whole kit together, but I have a feeling, just like the rear sphericals, that I wont sell more than a kit or two a year, and likely to be sold in pieces.
- timmydogg likes this
#9
Posted 04 September 2012 - 01:54 AM
i see....i will most likely buy 2 bearing kit and one traction bars....these are great i dont see why it wont sell...i think everyone thats serious about there 1/3gens should get them....
cant wait to see your progress on this...
#10
Posted 06 September 2012 - 10:52 AM
#11
Posted 11 September 2012 - 08:17 PM
OK finally got some time to do some damn machining. Here we go:
So I started with some 6061 Aluminum and machined it down to make the sleeve below.
To install the sleeve I used a little bit of grease and a piece of wood and a mallet to tap it into place. It took quite a bit of hammering to get it in all the way, next side I will probably just use a press.
Continued below.
#12
Posted 11 September 2012 - 08:24 PM
Here are the spherical bearings for the Torsion Bar and for the Control Arms soon to come.
And the bearing installed. I used a 2" pipe, which will be included in the package, to install the bearings. Also using a little grease. I may install the bearing first for you guys prior to shipping.
Here is the spacer for the torsion bar arm.
And Installed (just slips over)
And the arm installed, which I was able to tap into place with a mallot once again. You can see the arm rotated to each side to show articulation.
#13
Posted 11 September 2012 - 10:57 PM
Very nice work. I like that articulation.
For the sleeve, how about having the sleeve/spherical bearing in the freezer and heating up the subframe. Works for wheel hub bearings in making it easier to do.
anjin aka Ian
"I can't believe it - Ive just been passed by a sh!tbox"
#14
Posted 12 September 2012 - 01:20 AM
Oh for sure, that I have done before. I will install the bearings before the purchasers receive them. When installing the final piece into the subframe, a good freezing of the bearing assembly, and a light heating of the housing will make the install verry easy.