Sign In
 Create Account


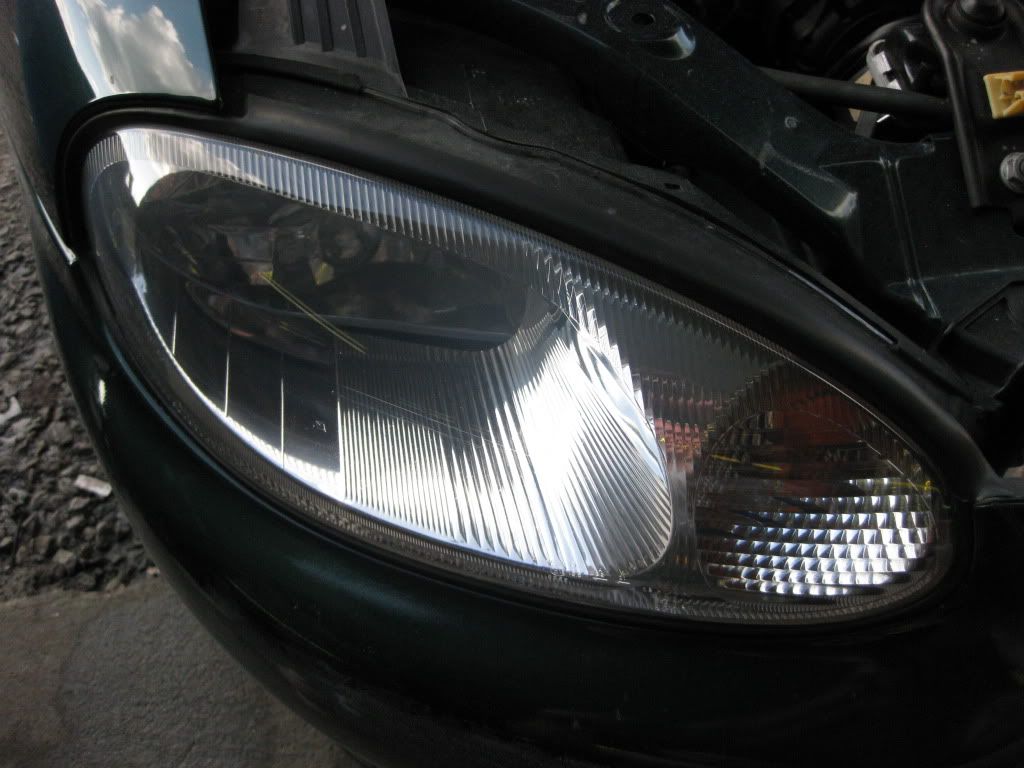
 This same method applies to ALL of the above. The car on the table today is my girlfriends Mazda Miata (fuuuuuuuuuuuunnnnnnnnn car...
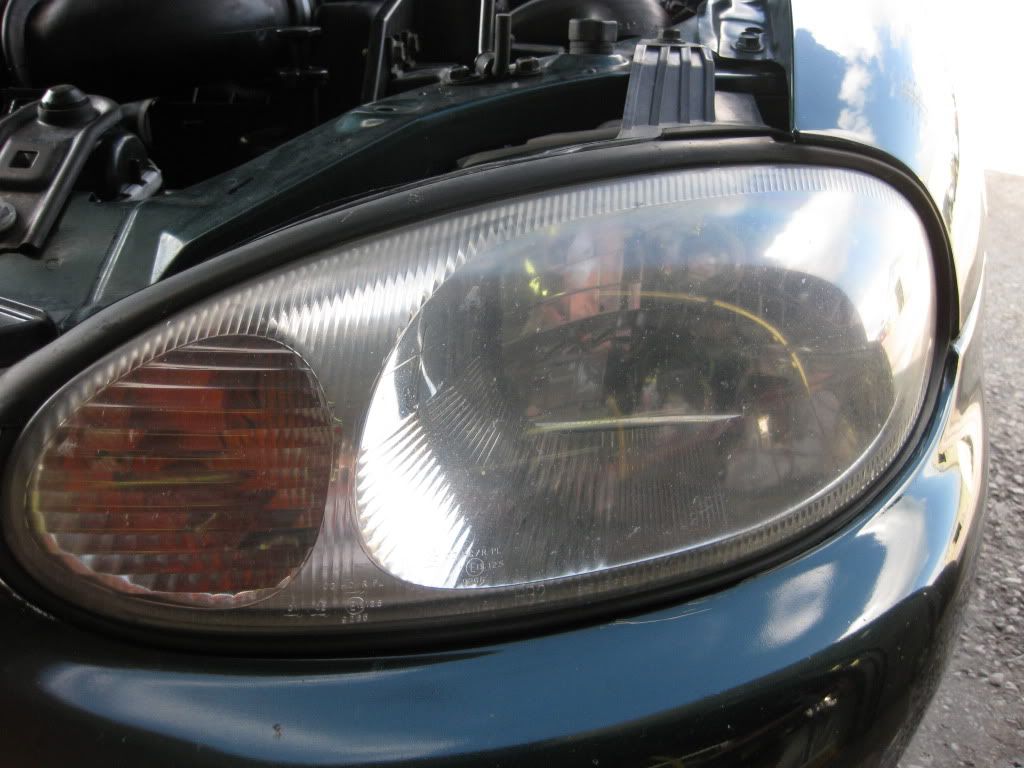
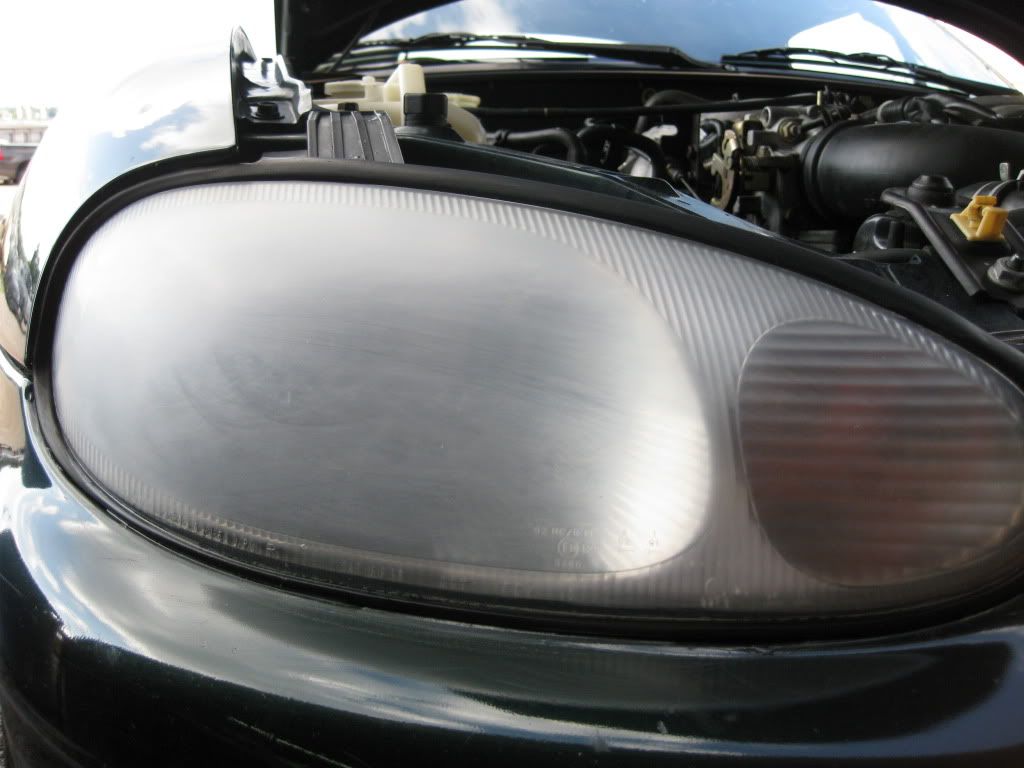
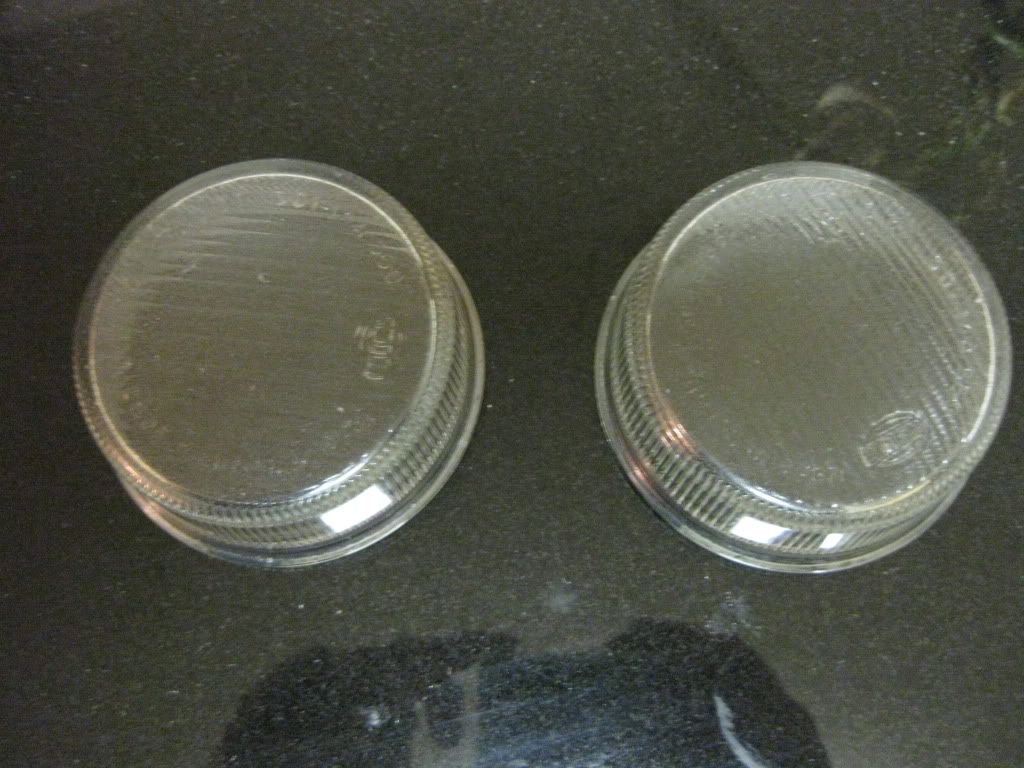
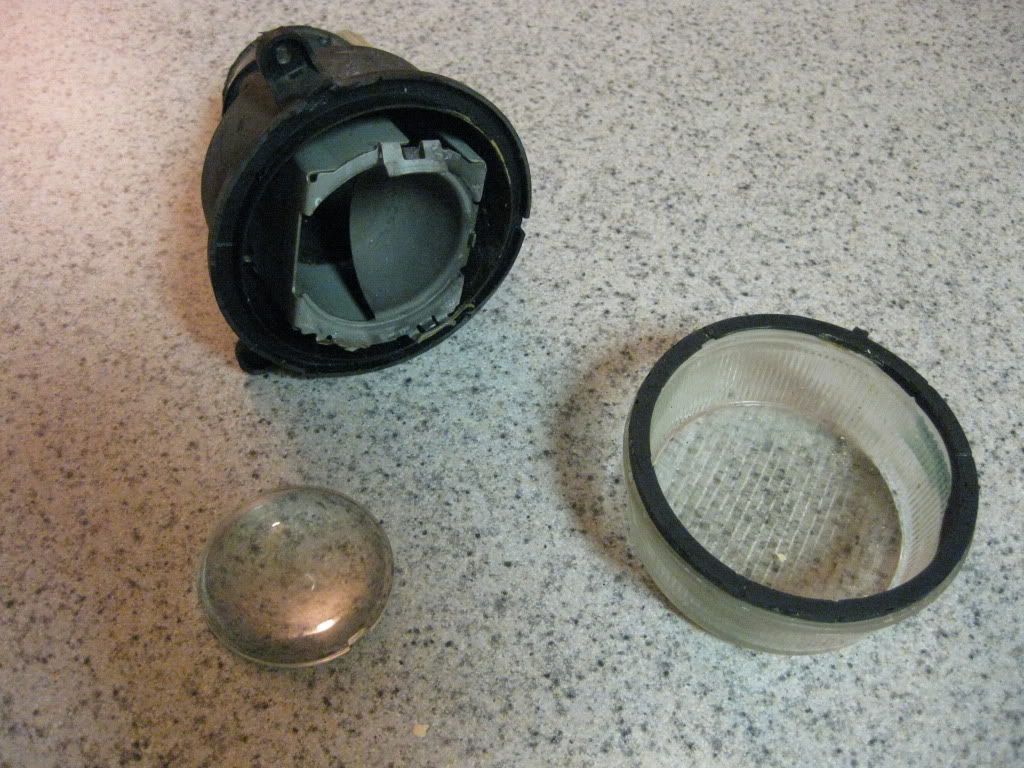
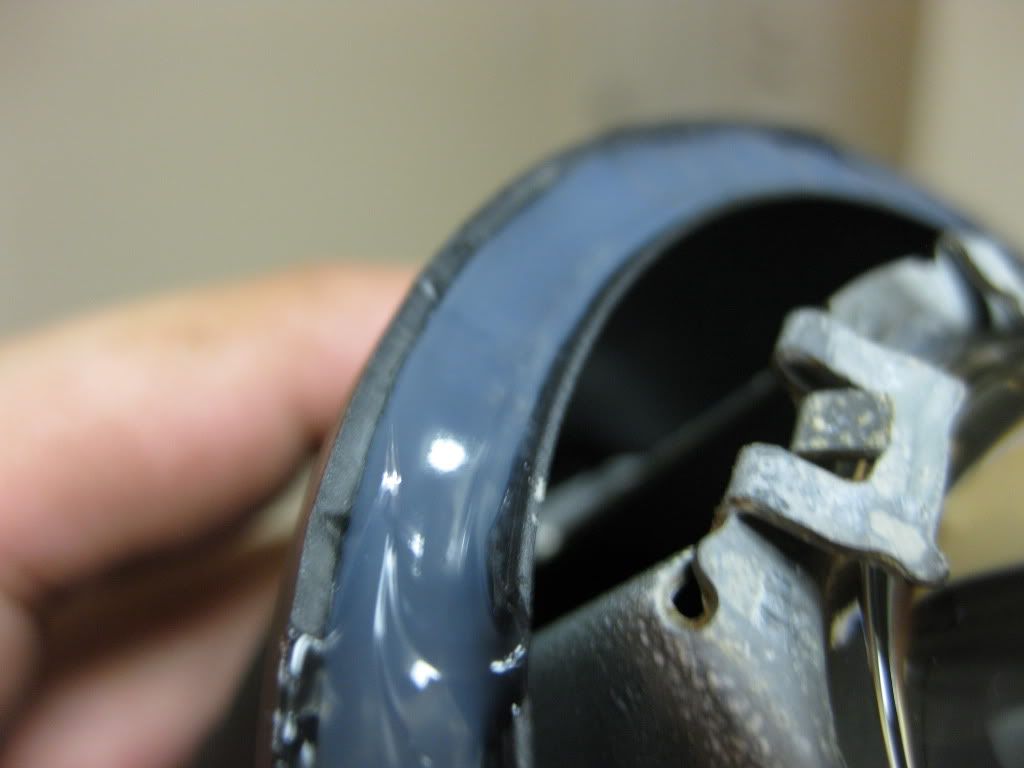
  ) The headlights are plastic and the Hella foggs are glass. Some lights can become so dis-colored that the oxidation, due usually to leaks in the light, will be on the inside of the lense. In which case you will actually have to separate the lense from the light body to clean the inside of the plastic. If this is the case of your lights see the foglight fix I do near the bottom to see how I separated the lights before begining repair.
 Plastic headlight in desprate need of repair. (I've seen worse,,, but I'm picky about my lights)
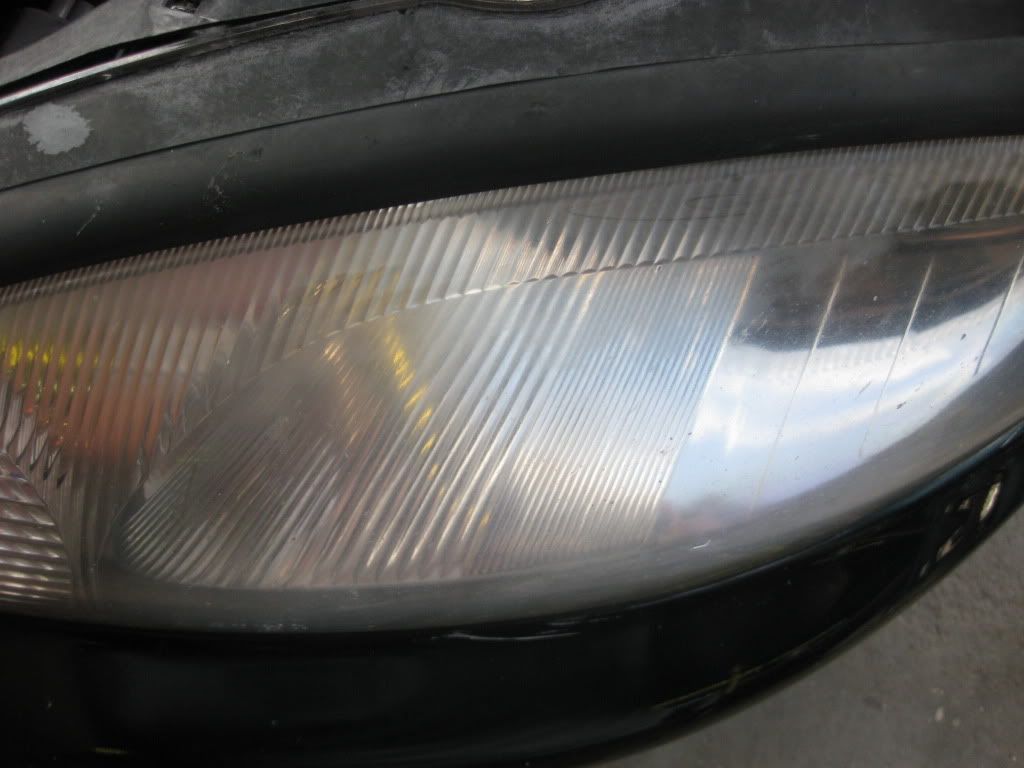
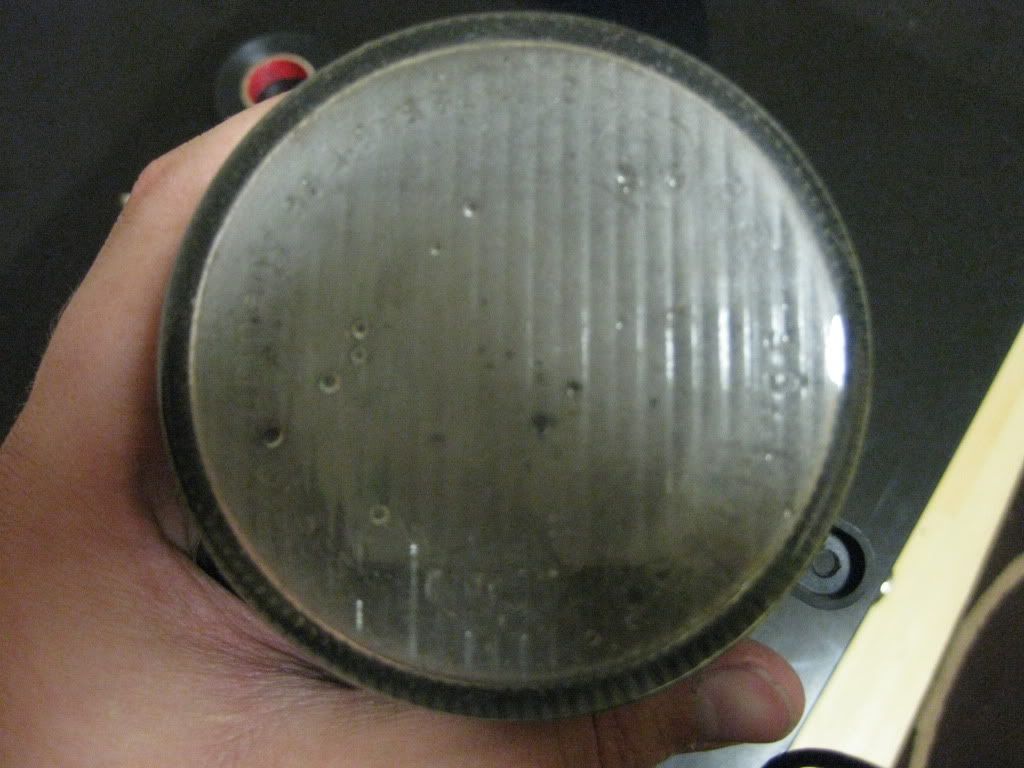
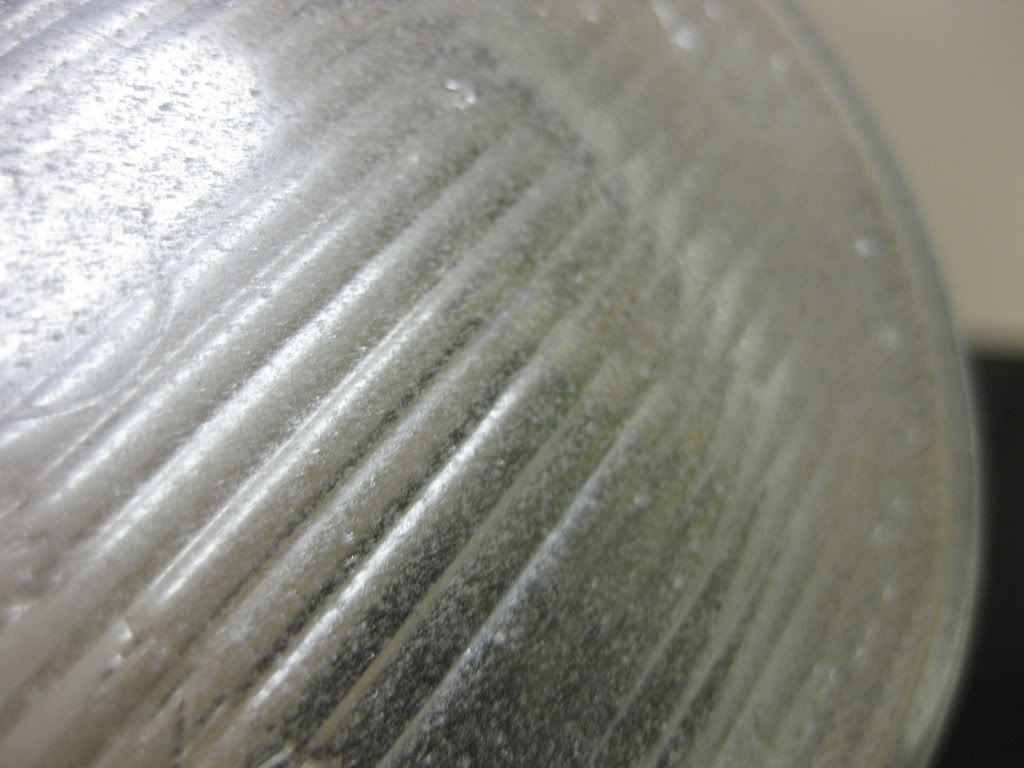
Here you can actually see the milky build up
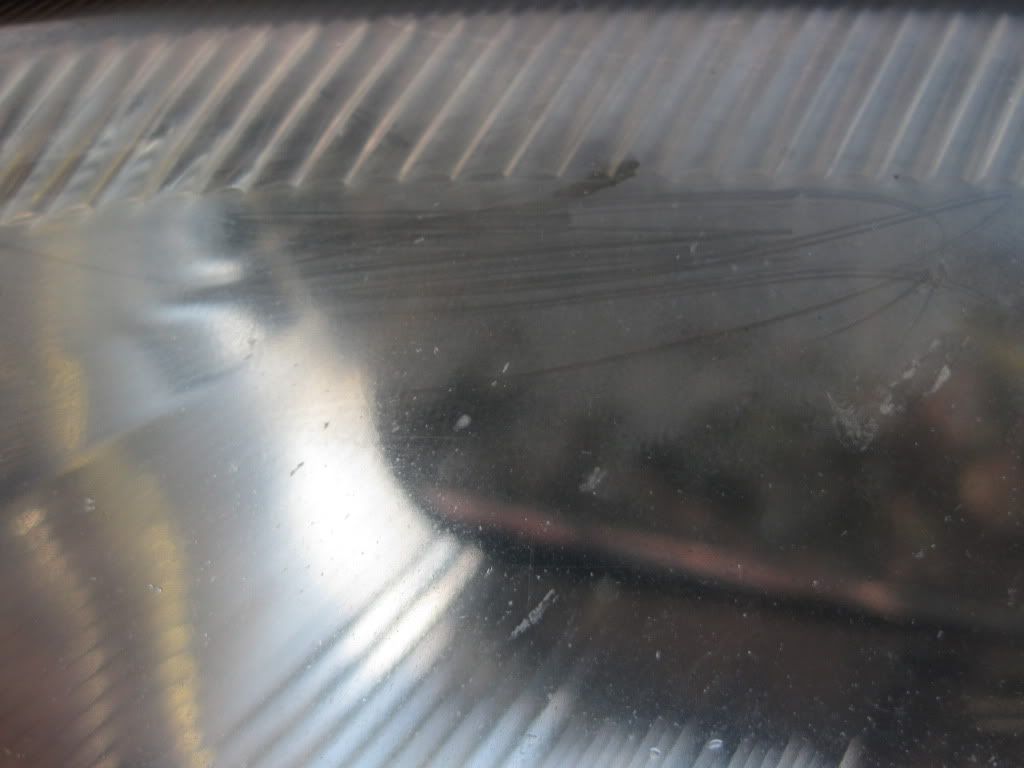
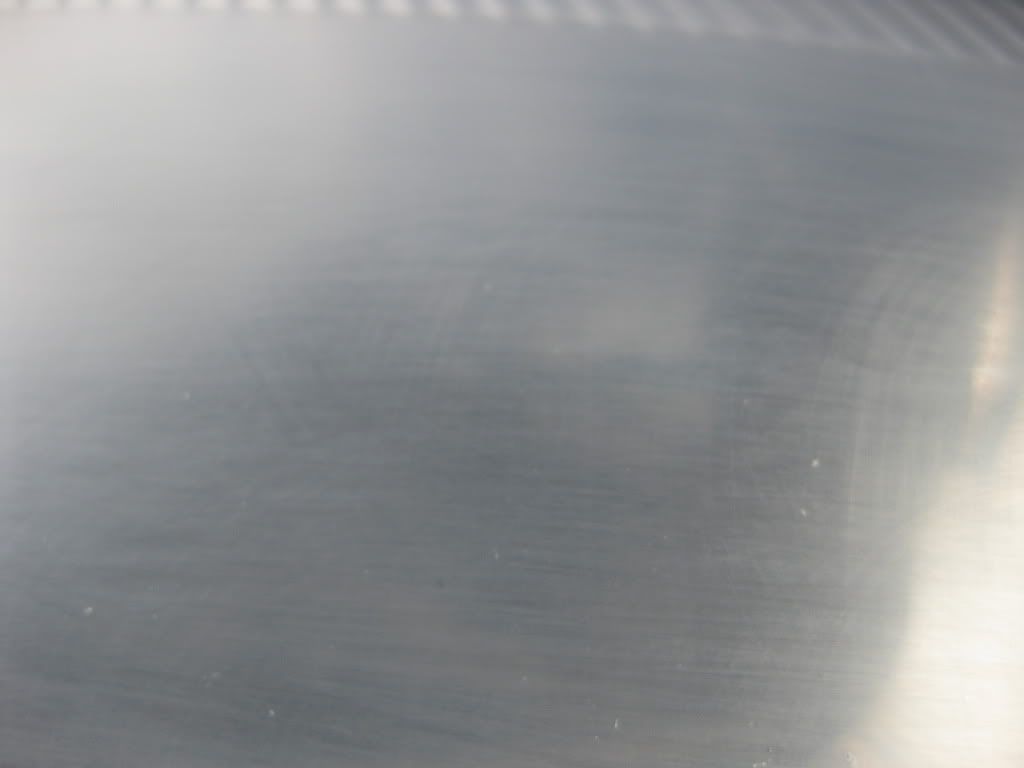
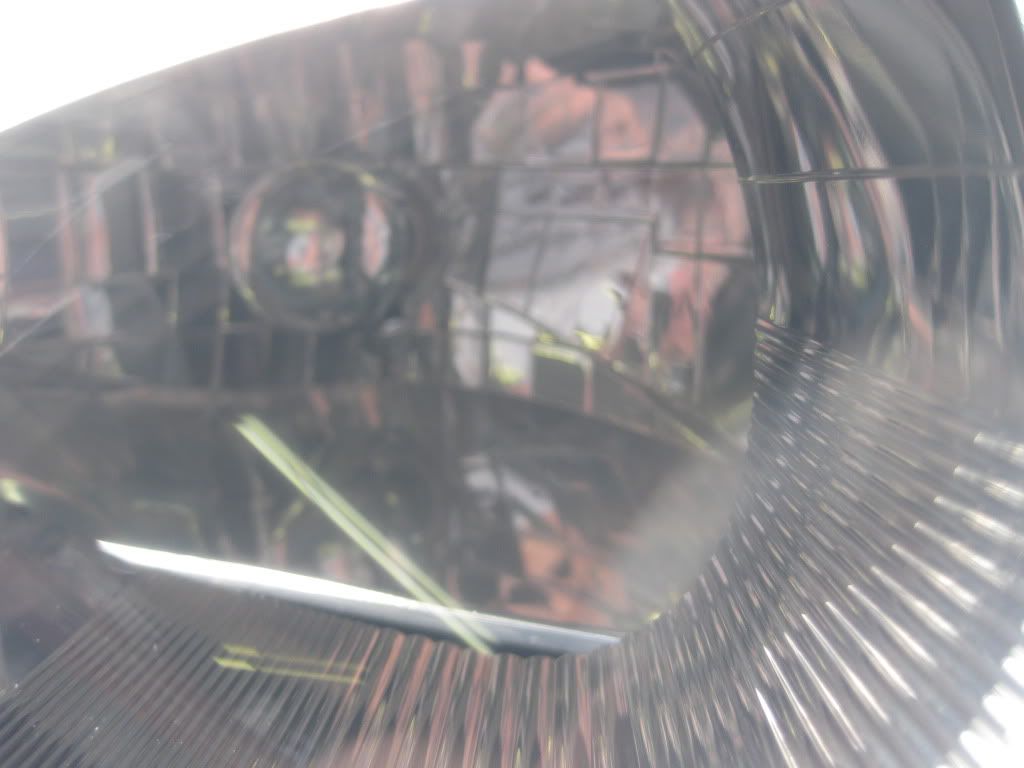
This shot is from the lense facing directly to the bulb... see all the minute scratches and chipps from rocks, washing, etc... ?
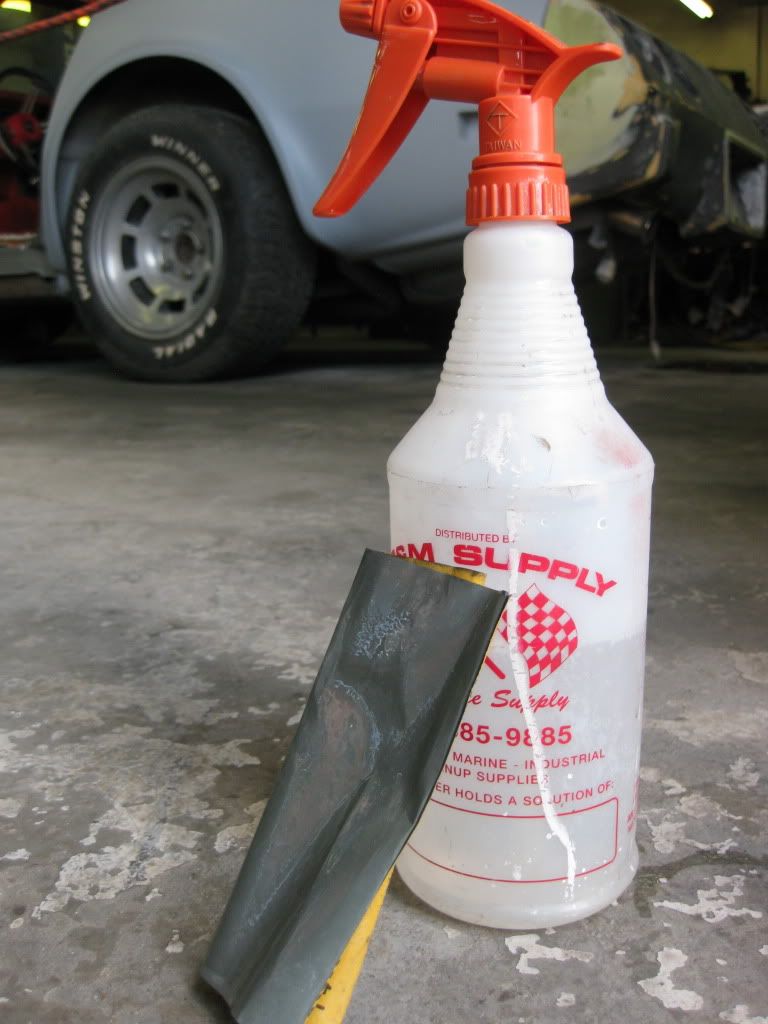
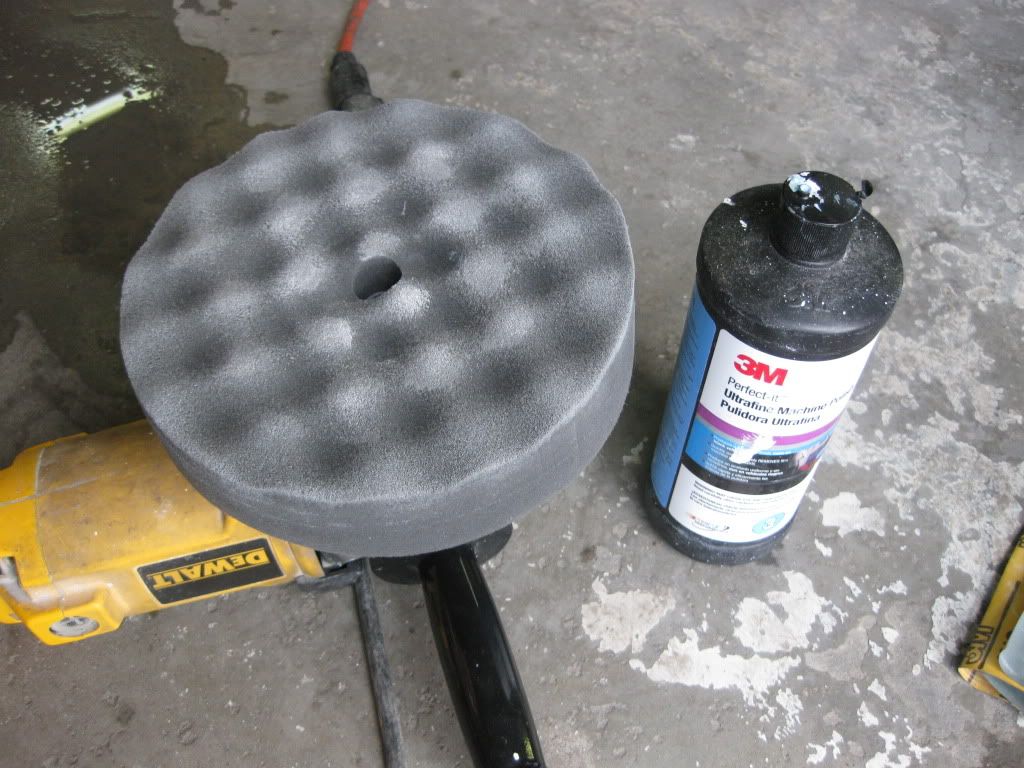
Alright, we'll start the process by wet sanding the light. Be sure you tape off your painted area around the light to avoid scuffing the paint which WILL require you to go back and buff the paint as well. (do as I say, not as I do; I've done this a thousand times and have become over confident in myself, and therefore do not use tape...
 )
)1500 grit :for the big gouges and scratches
2000 grit : to finish with a nice "swrill" effect
Nice circular motions with constant medeum pressure while keeping both your paper and your surface wet with the spray bottle filled with water will yeild this if you've done it right. The entire light should look the same and you should no longer be able to see any chips (so long as they are not too deep to repair).
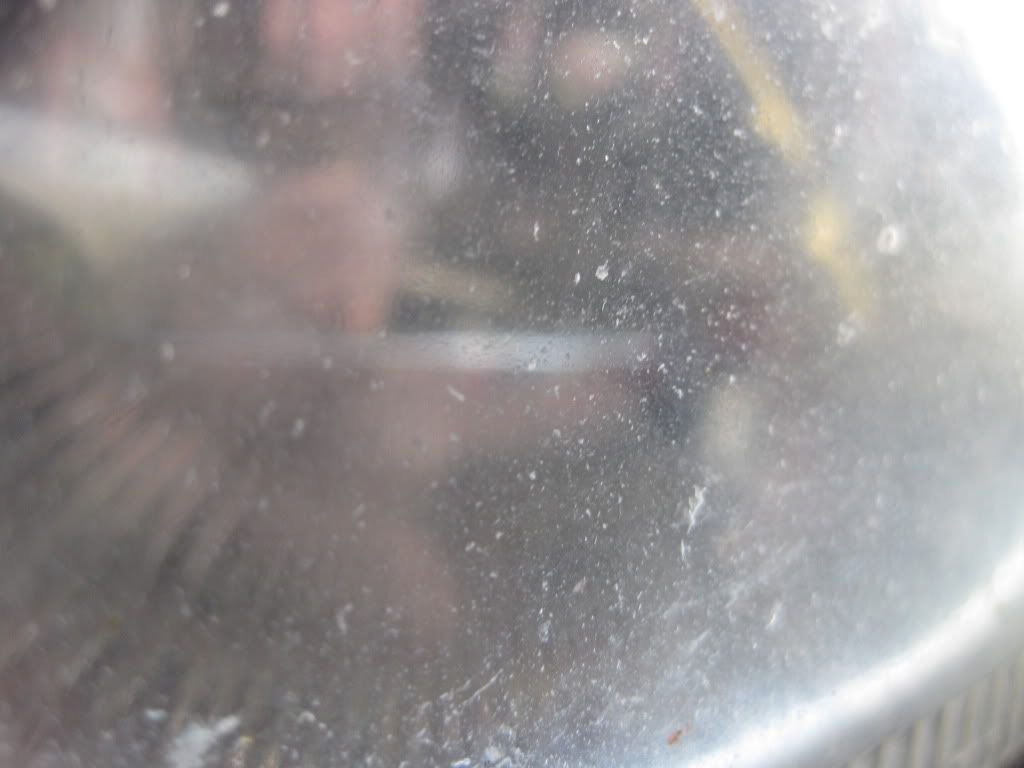
This is the same shot as the first one from the lense toward the bulb to show the texture of the plastic at this stage.
Continued....

 Back to top
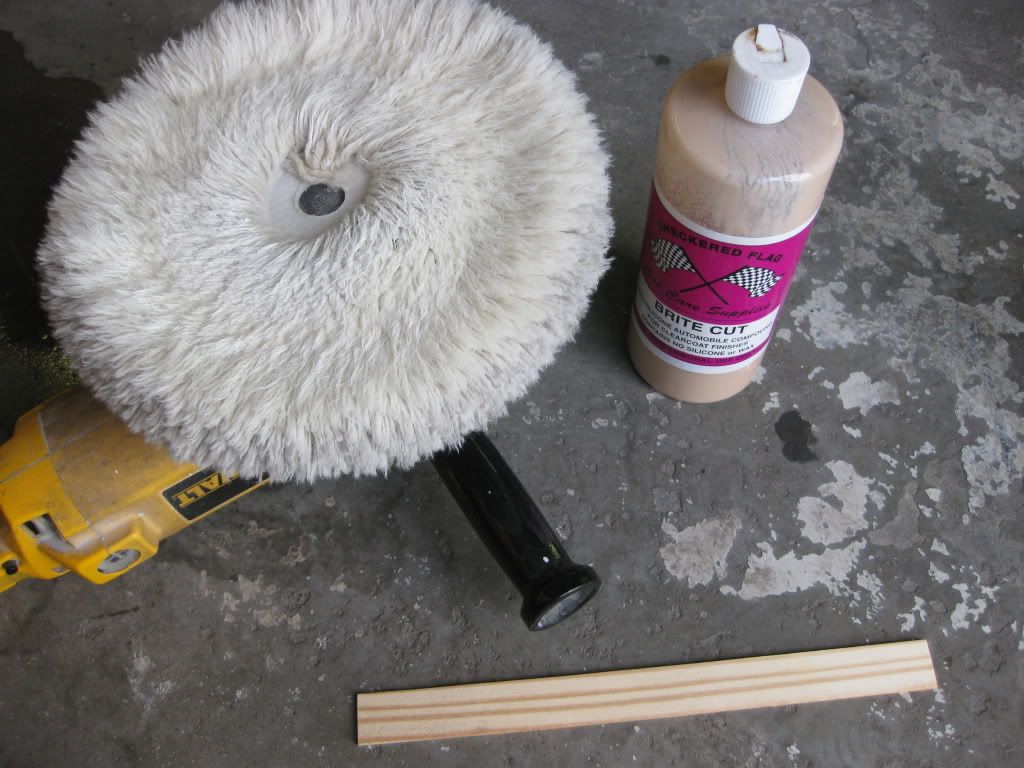


 View Garage