Sign In
 Create Account


 View Garage
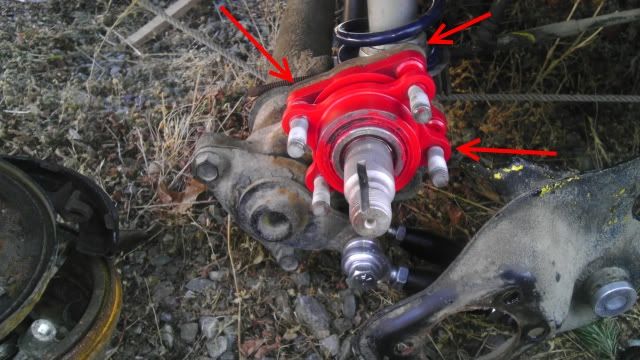
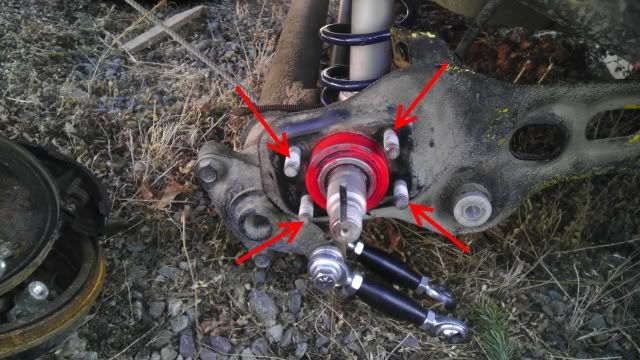
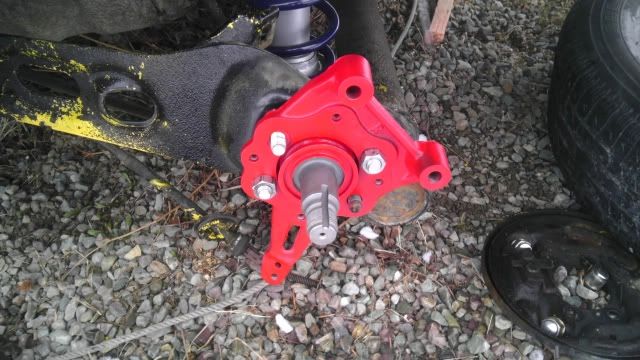
Look back at the piston assembly schematic and make sure to install everything in the correct order.
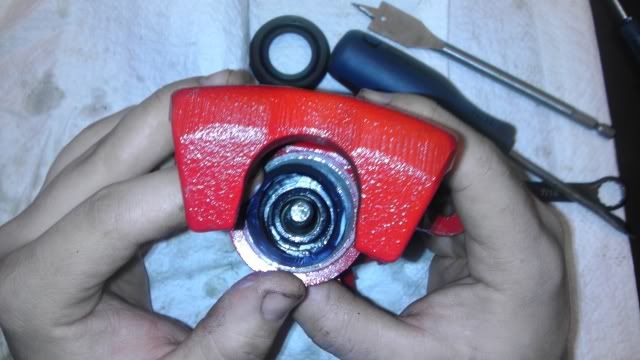
Install the E-Brake Screw, bearing, washer and spring. Then install the snap ring supplied in the kit to hold everything in.
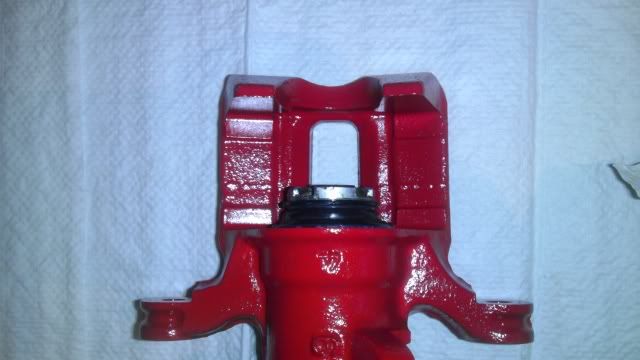
Now install the Main Cylinder O-Ring. Use lots of grease as usual.
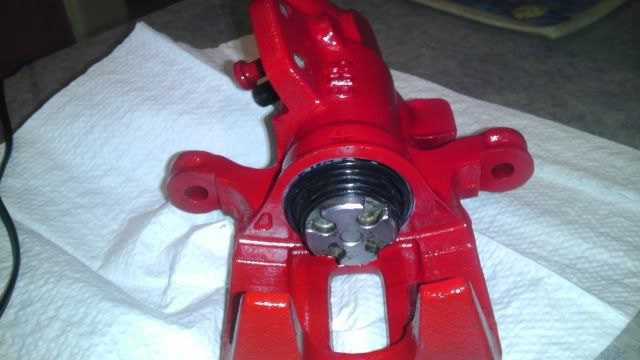
To install the Wiper Seal I slid the Piston into the seal first all the way to the bottom of the piston. Then I installed the seal into the caliper. Once that was done I extended the E-Brake scerw out of caliper by turning the E-Brake Lever Rod with a wrench. Now make sure to apply a very liberal amount of grease on the Cylinder Seal and the Wiper Seal as we are going to turn the piston inside these seals when installing. Start turning the piston inside the seals with a 7/16 or 1/2" wrench onto the E-Brake Screw. Be carefull not to rip the seals. If it looks like your going to rip the wiper, just turn the piston back and start again.
EDIT: I just want to note, when getting close to finishing screwing the piston in all the way, its best to pull the Wiper Seal over the piston like a turtle neck, then screw the piston in the rest of the way with a flat screwdriver or wrench, and reinstall the wiper. This will prevent any ripping.
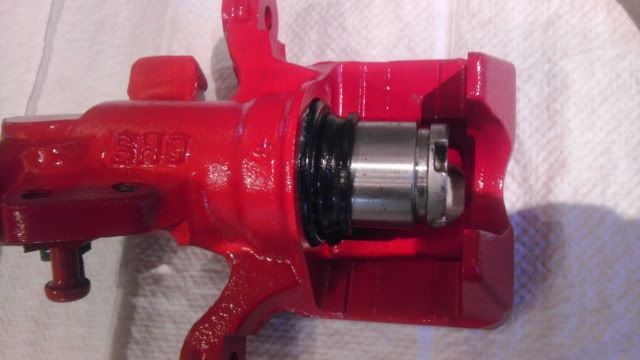
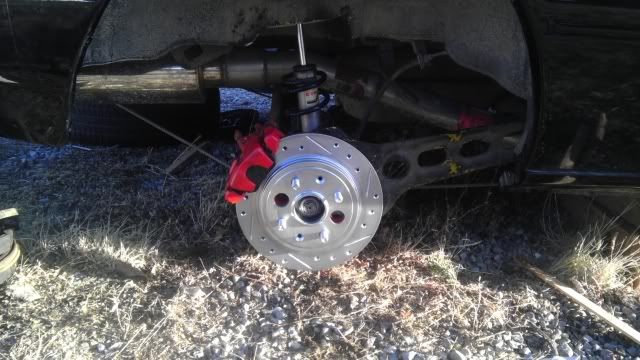
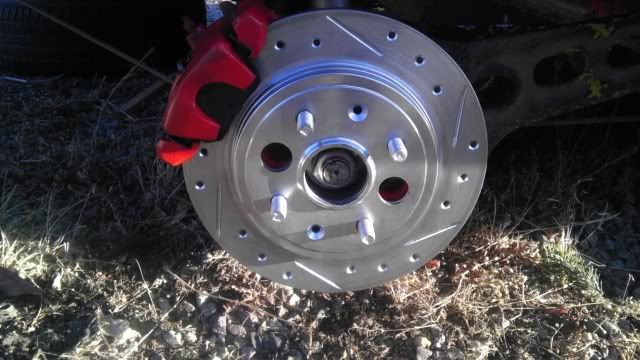
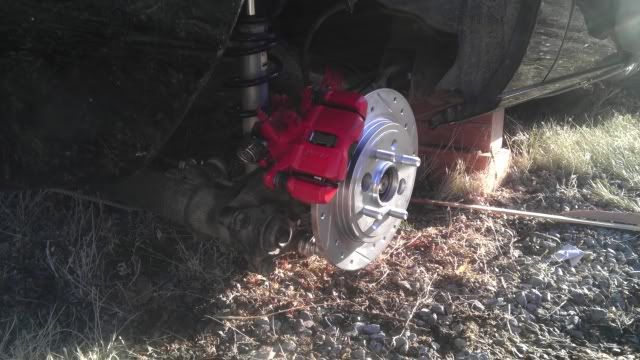
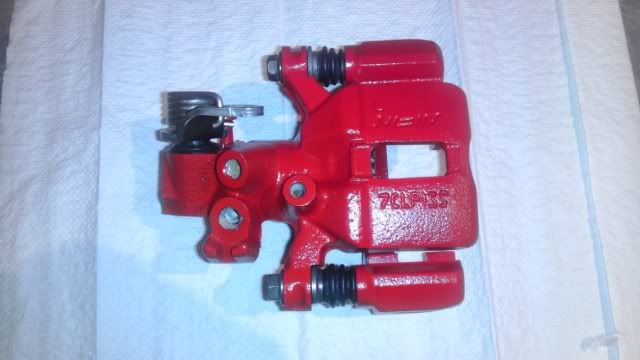
A couple shots of it installed.
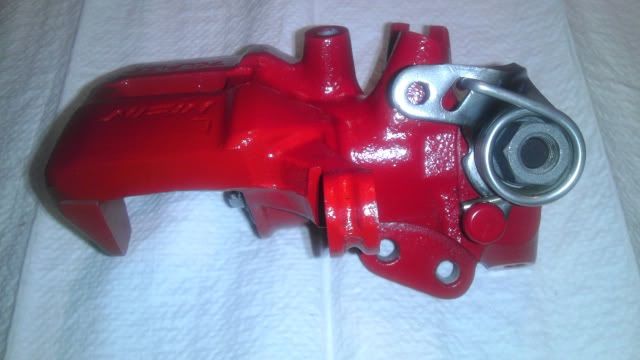
Now install the E-Brake Lever and Spring. The Nut is 17mm. Make sure to do this correctly, the parts are side specific, make sure to use the right ones.
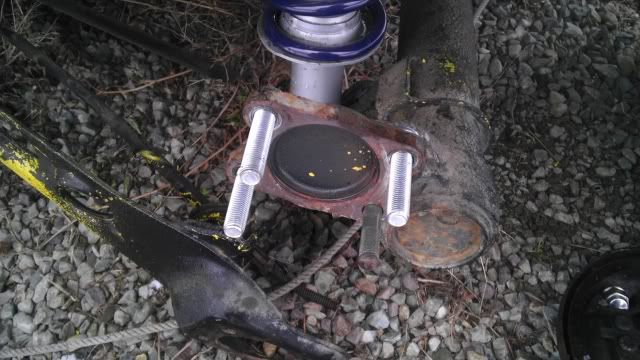
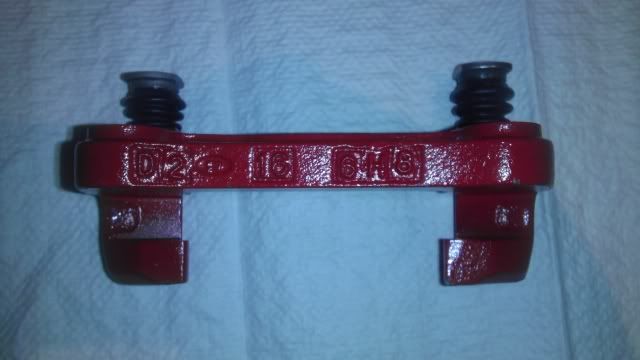
Now install the Bracket Sliders and Bushings supplied by Dorman
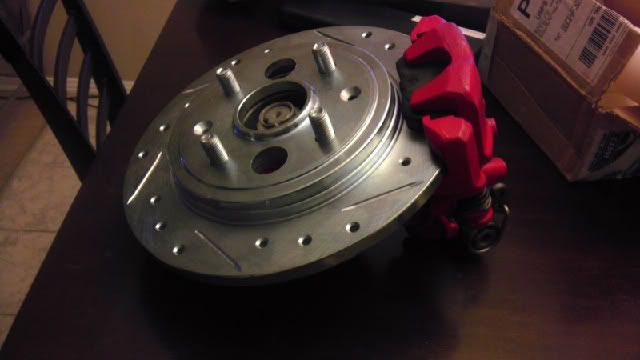
And now its all finished.

 Back to top