Sign In
 Create Account


 View Garage
After a tonne of discussion on the forums, Facebook, and between multiple members I have came up with a suitable way to adjust the rear camber without the use of shims. These kits will be made of CNC laser cut plates, machined bungs, TIG welded adjustable links and Grade 8 or better hardware.
First of all, this swap is not for the faint of heart, or for those who don't have much mechanical knowledge.
First off, the basics:
To allow the axle to be adjustable, we will have to cut 20" of the tubing between ends. Once this is done, machined inserts will slide inside of the axle housing. These inserts have welded, boxed and slotted brackets on their faces, this allows the center brace to be bolted on. The center brace is made up of two flat pieces of steel, welded together using tubing (located where the holes are cut through). They will also be welded together at the ends using DOM tubing, allowing the bolts to travel through the plates and tubes, and not allowing compression when tightening.
Once everything is installed together and everything is square, the bungs can be welded in using plug welds and one large radius weld around the pipe. The inserts will be weld ready.
The slotted holes allow for 6 degrees of +/- adjustment on either end.
*These will work with external sway bars.
Here is the progress so far. The drawings below are a fairly accurate depiction of what it will look like.
More News: To help dial in the camber, a small set of adjusters may be used, on the bottom side of the axle, connecting to the axle and center braces. 
This picture shows the MAX Negative Camber at 6 Degrees. 3 Degrees will be more than enough to suffice for track use, but 6 degrees allow for users to tuck tires (on street cars).

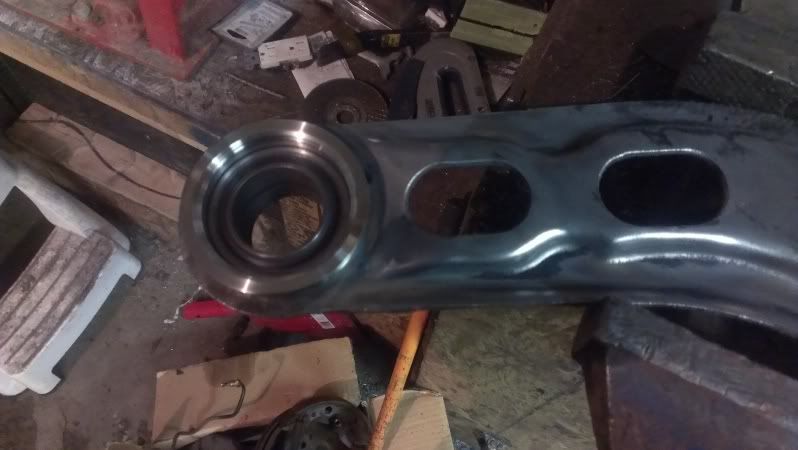
A picture of the axle, fresh out of my spare car. 
I went ahead and started to strip the axle of all its rubberized finish. This isn't mandatory but I will be getting it powdercoated. 
Here is a simple way to mark a perfect circle around a piece of pipe. Rap a piece of paper around the tubing, hold tight, mark your line. 
20" total, 10" on either side of center. 
I used a saws-all (reciprocating saw) to cut through the material. I will clean it up later with a grinder. 
The tubing is fairly thick at .125", I will match the strength on the new linkage, using a boxing technique.

 Back to top