Sign In
 Create Account


QUOTE (chedda_j @ Jan 22 2012, 04:22 AM) <{POST_SNAPBACK}>
Rear Integra Brake Swap how-to
So after many many searches, and many topics reviewed. I would say there is no "complete" thread on how to do the Integra disc swap into the rear.
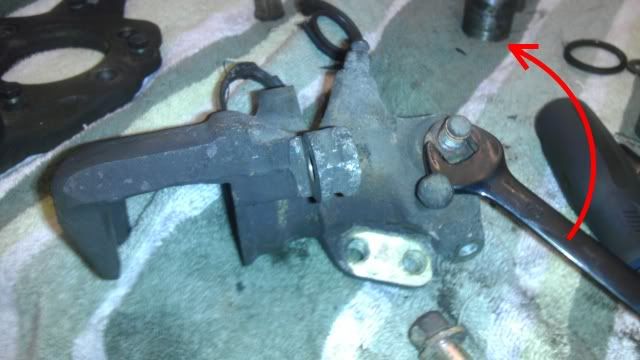
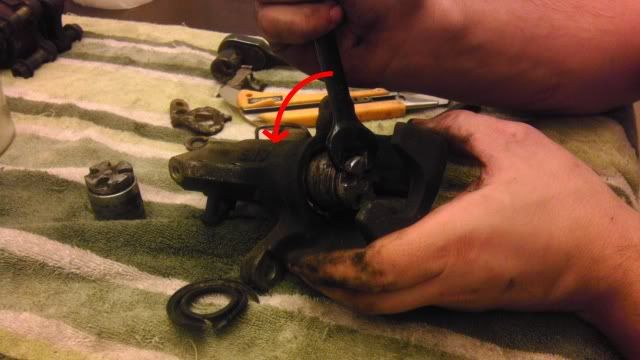
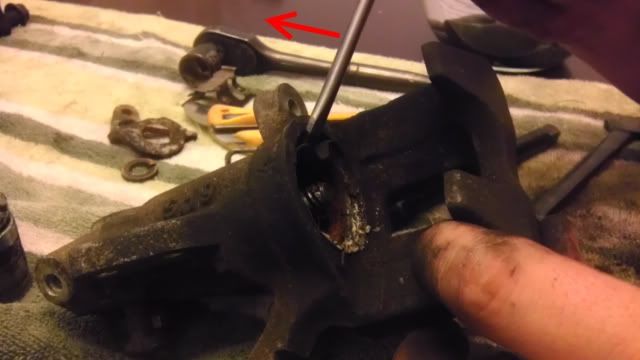
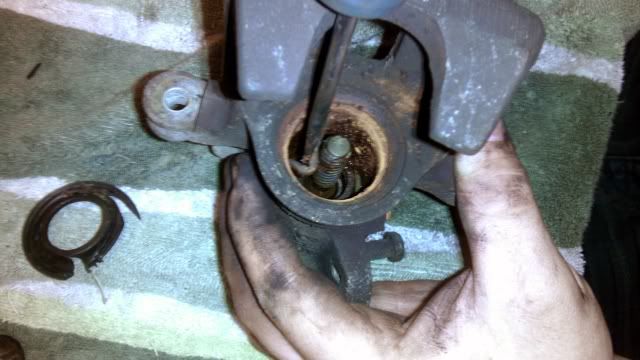
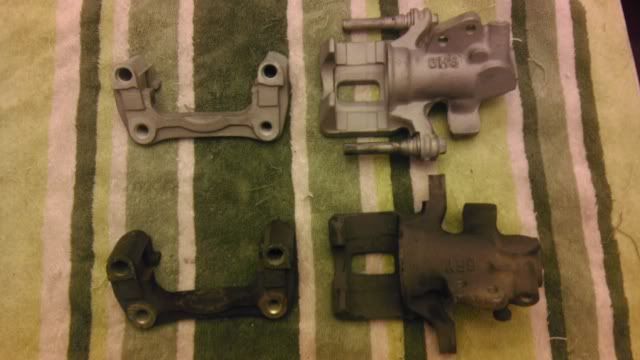
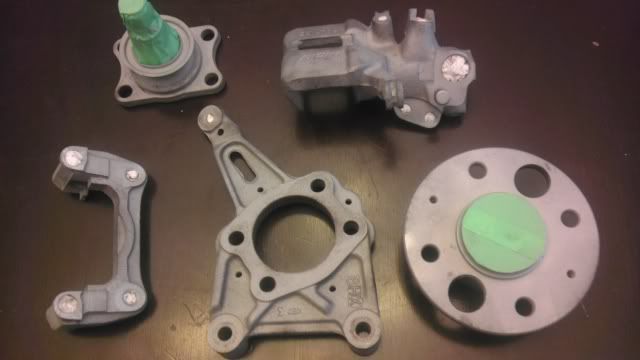
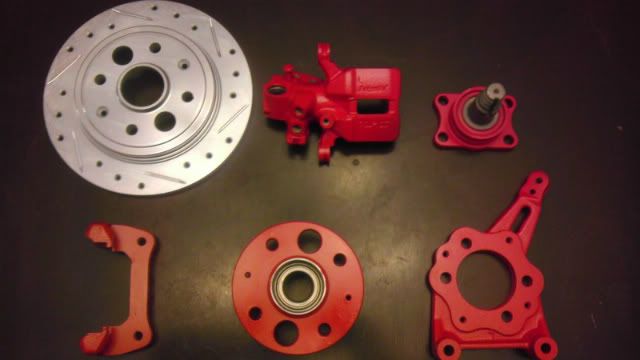
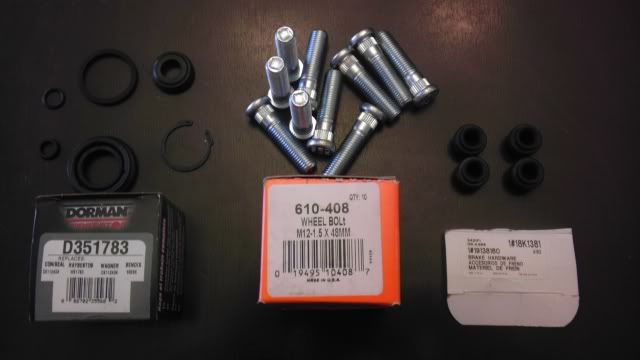
First of all you need the following parts from a 1986-1989 Acura Integra.
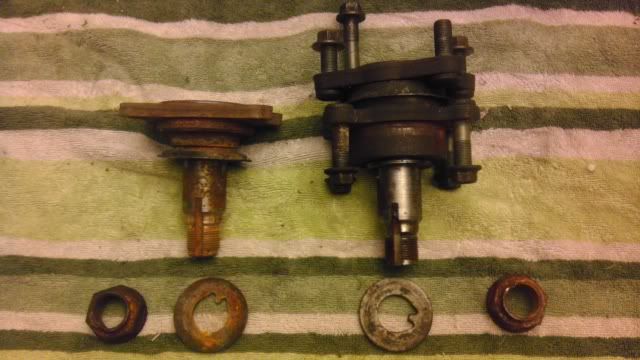
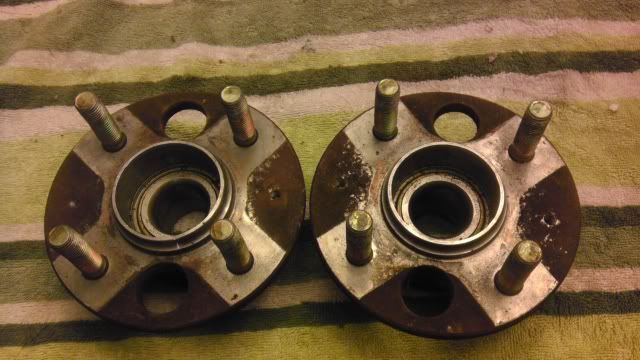
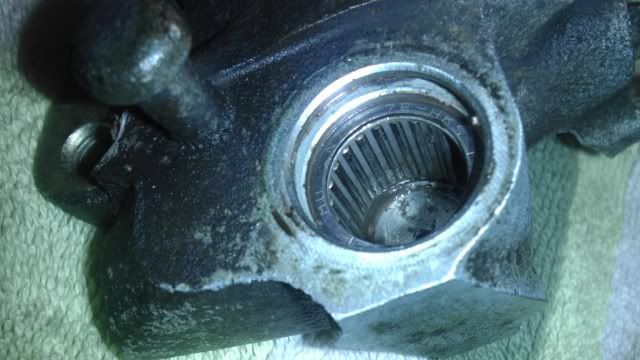
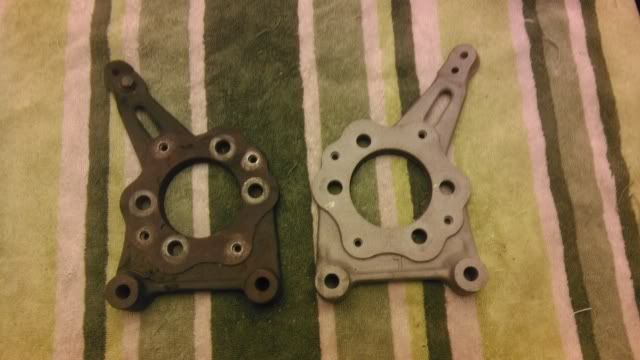
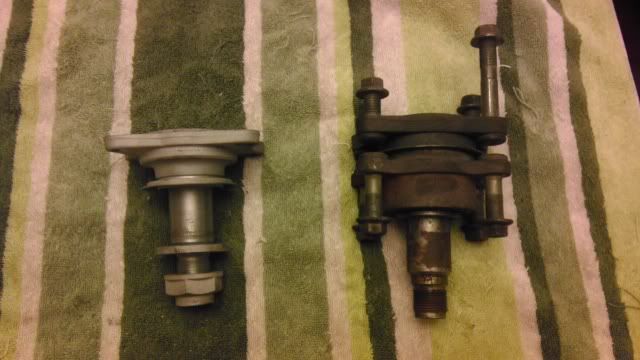
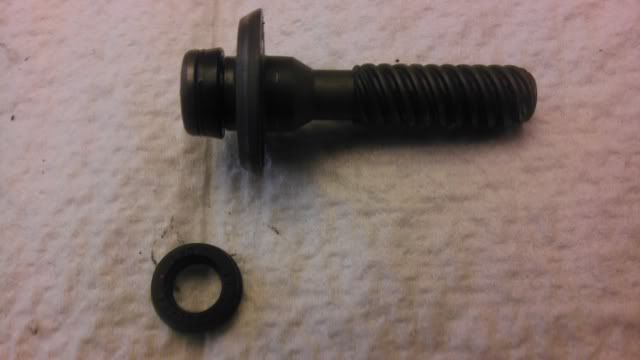
Rear Hubs or just the extended lug nuts
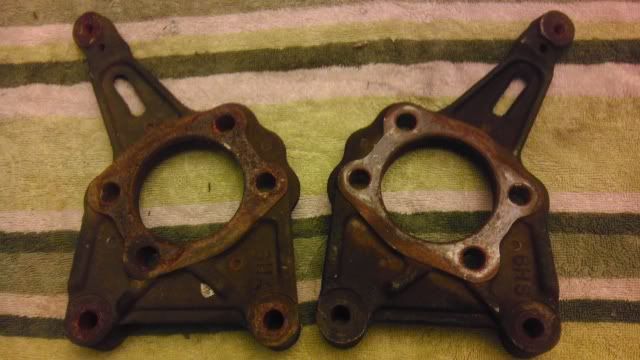
Rear Brake Shields
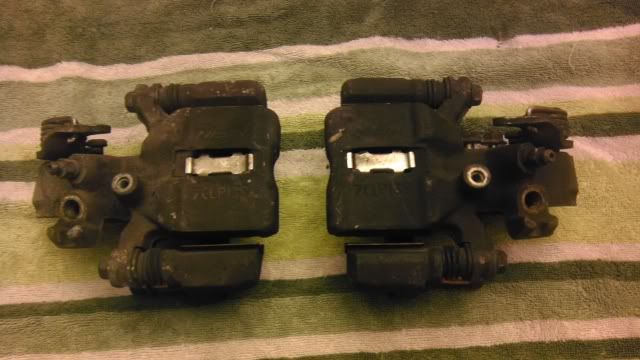
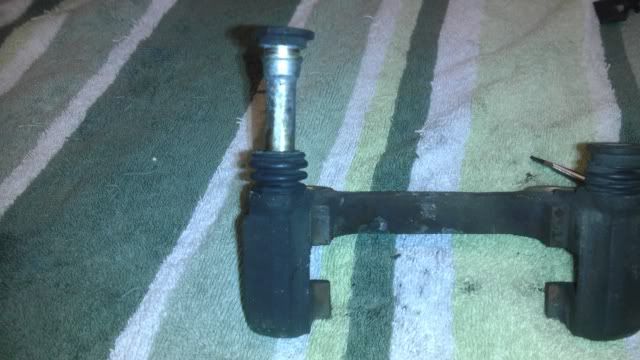
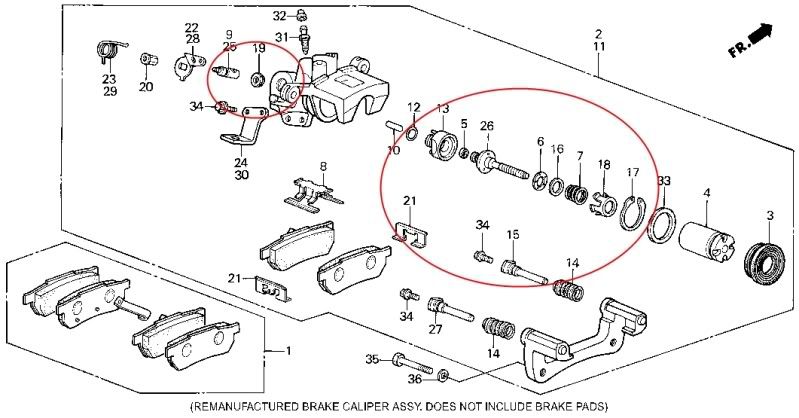
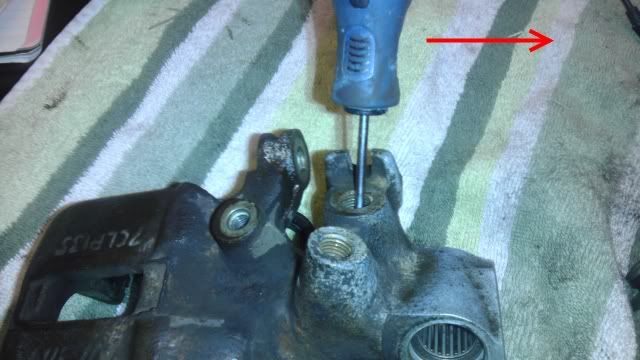
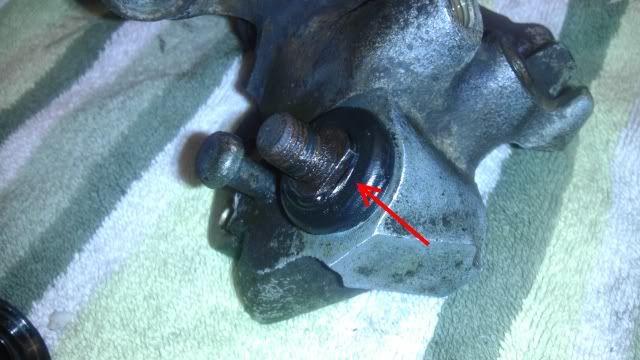
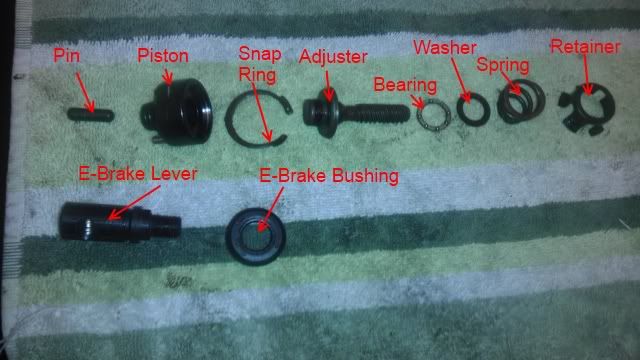
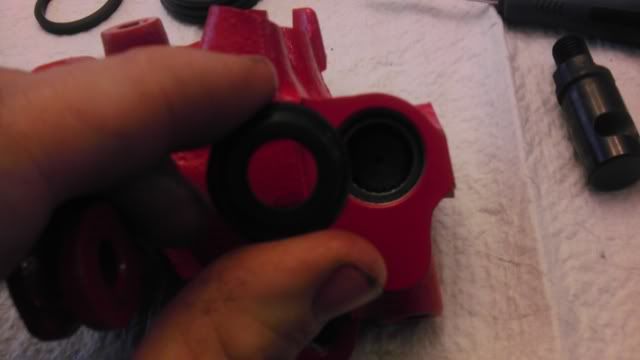
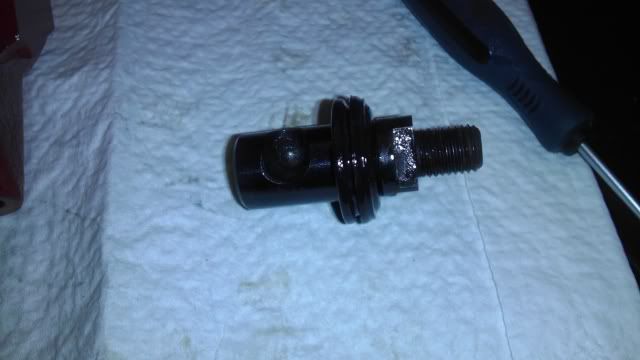
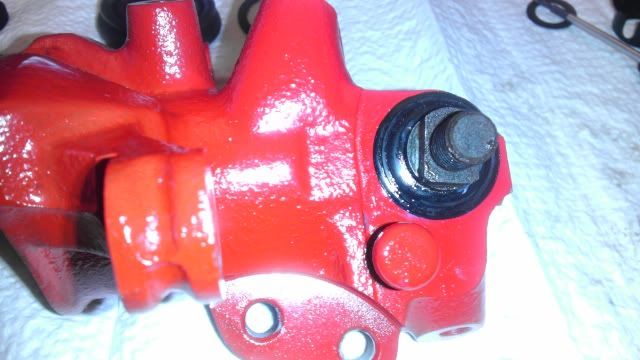
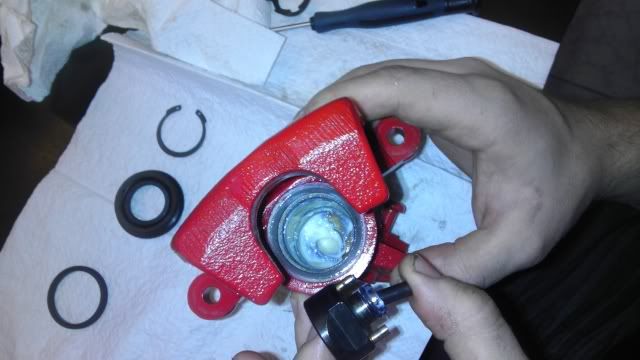
Rear Calipers
Rear E-Brake Cables
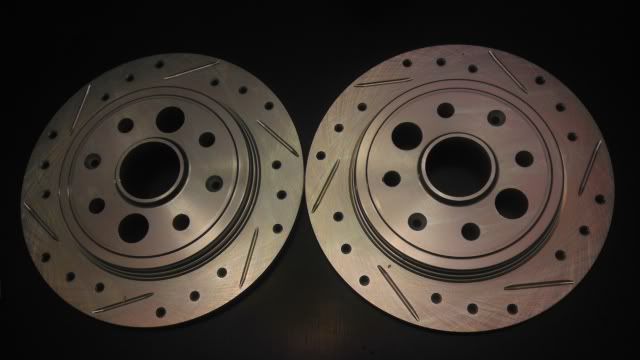
Rear Rotors
Rear Pads
Proportioning Valve
Obviously the easiest way to do this swap would be to remove the entire axle from an Integra and swap it in minus the trailing arms. But because these cars are so hard to find, alteast around here, this is the alternative. All the parts listed above can be baught bran new, either from Rock-Auto or from your honda dealership. For my swap, Im going to use a combination between used and new parts. I will be using used hubs, shields, and cables. The Rotors and Pads are new from Brake Labs.
You will also need the following tools
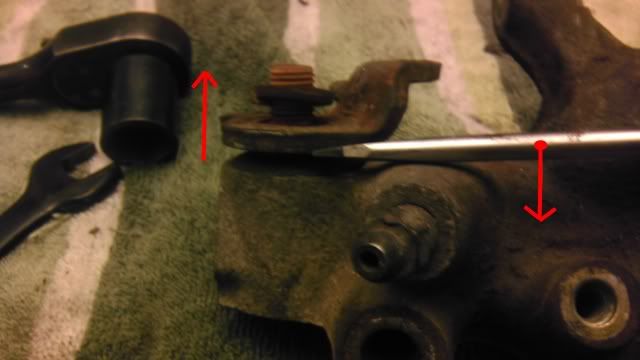
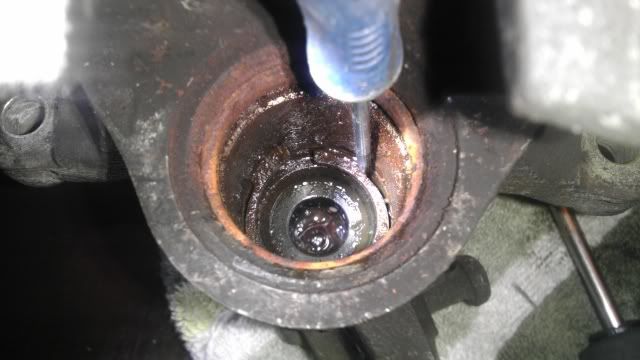
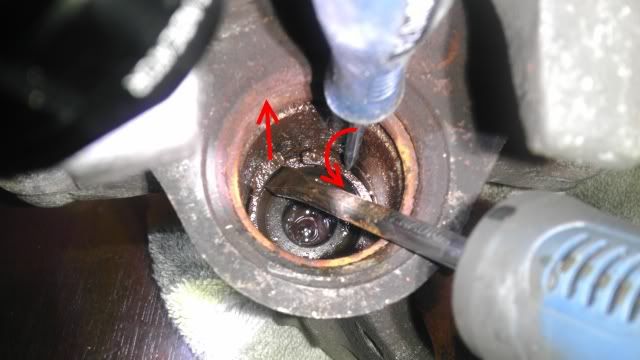
Flat screwdriver
Metric Socket Set
Metric Wrench Set
Line Wrench (10mm)
1 1/4" socket/wrench
Floor Jack
Jack Stand
Penetrating Lube
Wheel Wrench
Continued on the next post.
So after many many searches, and many topics reviewed. I would say there is no "complete" thread on how to do the Integra disc swap into the rear.
First of all you need the following parts from a 1986-1989 Acura Integra.
Rear Hubs or just the extended lug nuts
Rear Brake Shields
Rear Calipers
Rear E-Brake Cables
Rear Rotors
Rear Pads
Proportioning Valve
Obviously the easiest way to do this swap would be to remove the entire axle from an Integra and swap it in minus the trailing arms. But because these cars are so hard to find, alteast around here, this is the alternative. All the parts listed above can be baught bran new, either from Rock-Auto or from your honda dealership. For my swap, Im going to use a combination between used and new parts. I will be using used hubs, shields, and cables. The Rotors and Pads are new from Brake Labs.
You will also need the following tools
Flat screwdriver
Metric Socket Set
Metric Wrench Set
Line Wrench (10mm)
1 1/4" socket/wrench
Floor Jack
Jack Stand
Penetrating Lube
Wheel Wrench
Continued on the next post.
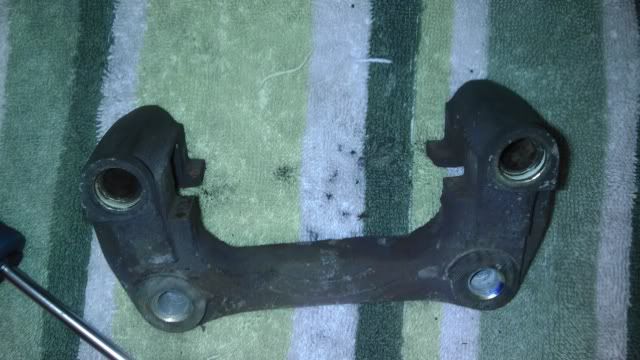
might want to add spindles to the parts list
 Back to top
 View Garage