 Sign In
 Create Account
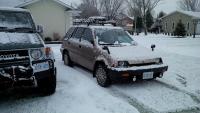

 Find content
 Male
Male
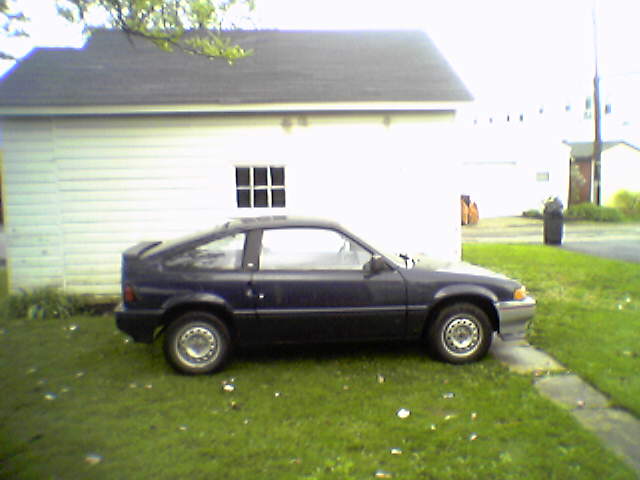


Hey everyone, sad times as I'm forced to part-out my rt4wd wagon - too much rust.
What's available:
- complete interior (beige/brown);
- all the glass (except windshield);
- A/C system (which worked when I parked the car);
- tail lights;
- radiator less than a year old;
- Weber 32/36 carb, comes with intake (that has all the extra vacuum plugged), and modified stock breather;
- I have a D16A1 brown top as well pulled 15 years ago. Ran before it was pulled at 135,000km. No wiring harness, fuel rails or exhaust manifold.
What's gone:
- headlights;
- front corner and bumper lights;
- engine, transmission, drive shafts, half shafts, rear diff (all 4WD parts)
- hood, front bumper and fenders;
- header panel;
- wheels;
- suspension;
- rt4wd shift knob.
Body is in rough shape, lots of rust, especially on the inner panels, floor pans are rotten.
I'm sure I missed some parts...Not sure if I'll be able to reply to the thread, so you can PM me if you're interested. Didn't really have a price in mind for individual parts, so shoot me an offer. I'd be willing to let the shell go with the complete interior (which is currently disassembled) for a reasonable price for someone who'd be willing to come and get it - will not deliver. Would make a nice lot of spare parts! However, as mentioned above, no 4WD related parts available. Car is for parts only - no ownership. Located in Sudbury, Ontario.
Would rather local sale, especially for large items. May ship smaller things.
I will update with pictures at a later date as I'm away from my own pc...or you can ask for some if you wish.
Cheers,
Mat


