87 Civic Si D Series Swap
#31
Posted 24 February 2012 - 01:50 PM
Correction: On the throttle body cable, when pulling cables at the junkyard I've notice at least on the 88-91 and the 92-95 civics that the T style end seems to be on the automatic transmission cars while the barrel style seems to be on all the manual transmission cars.
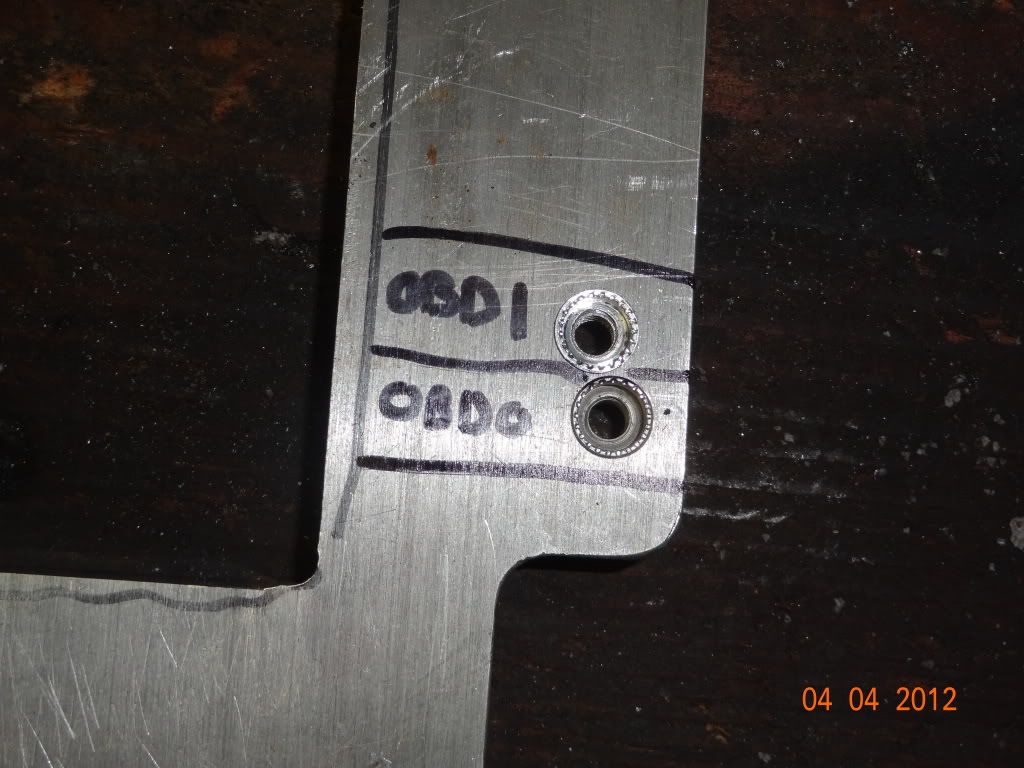
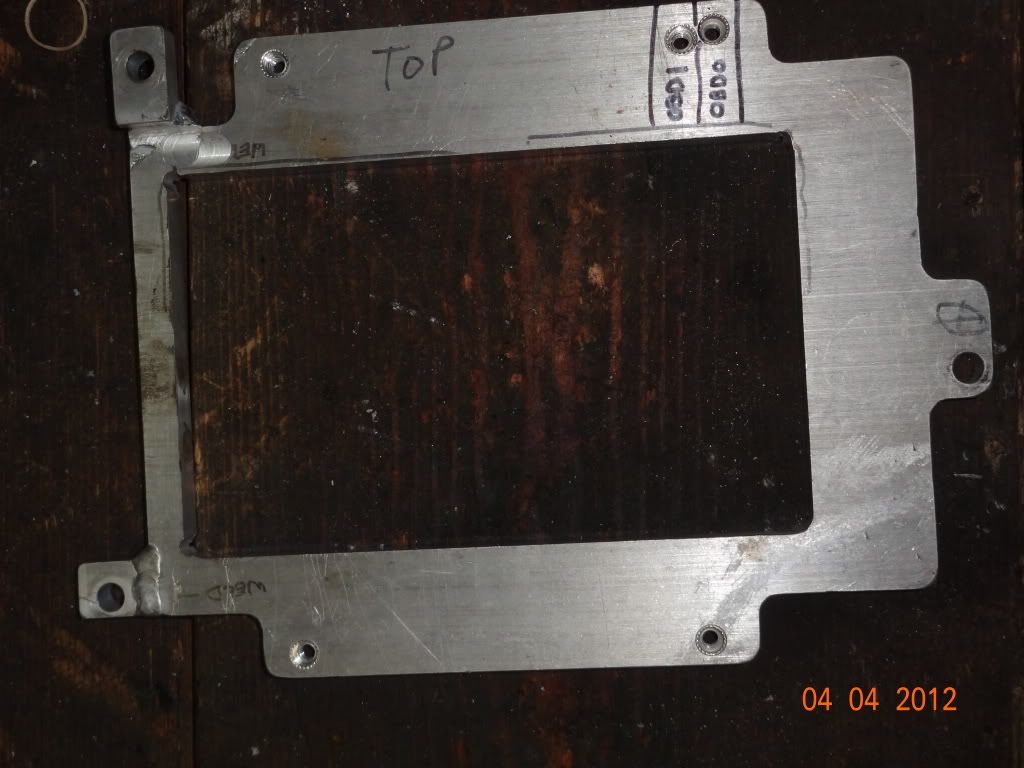
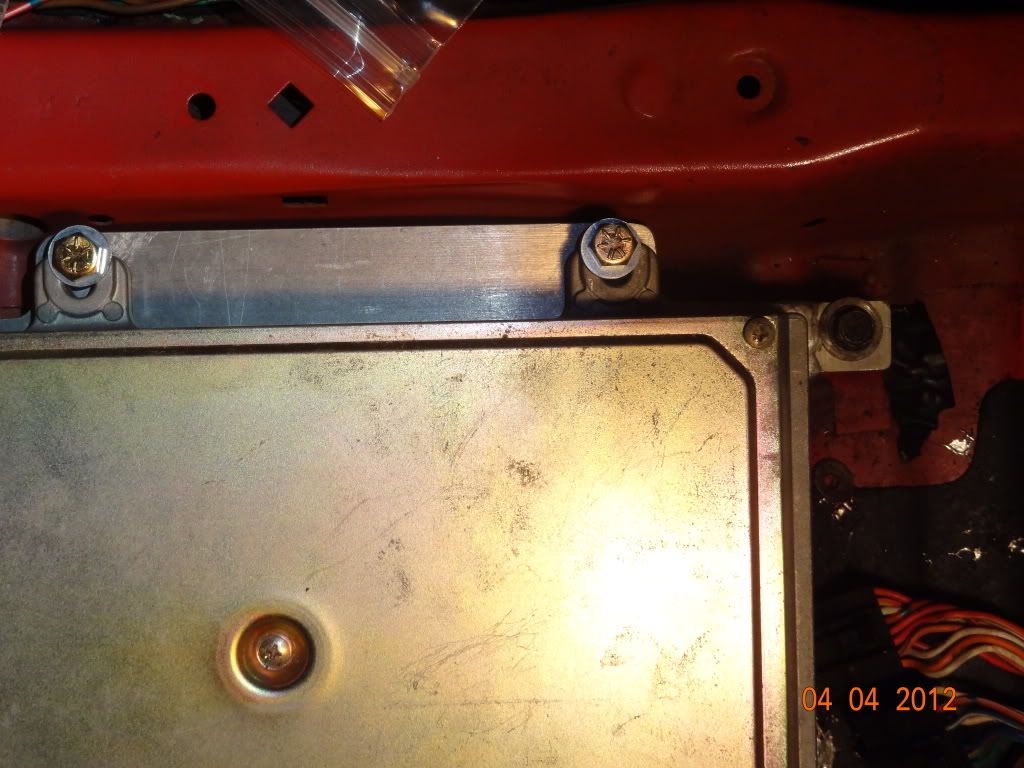
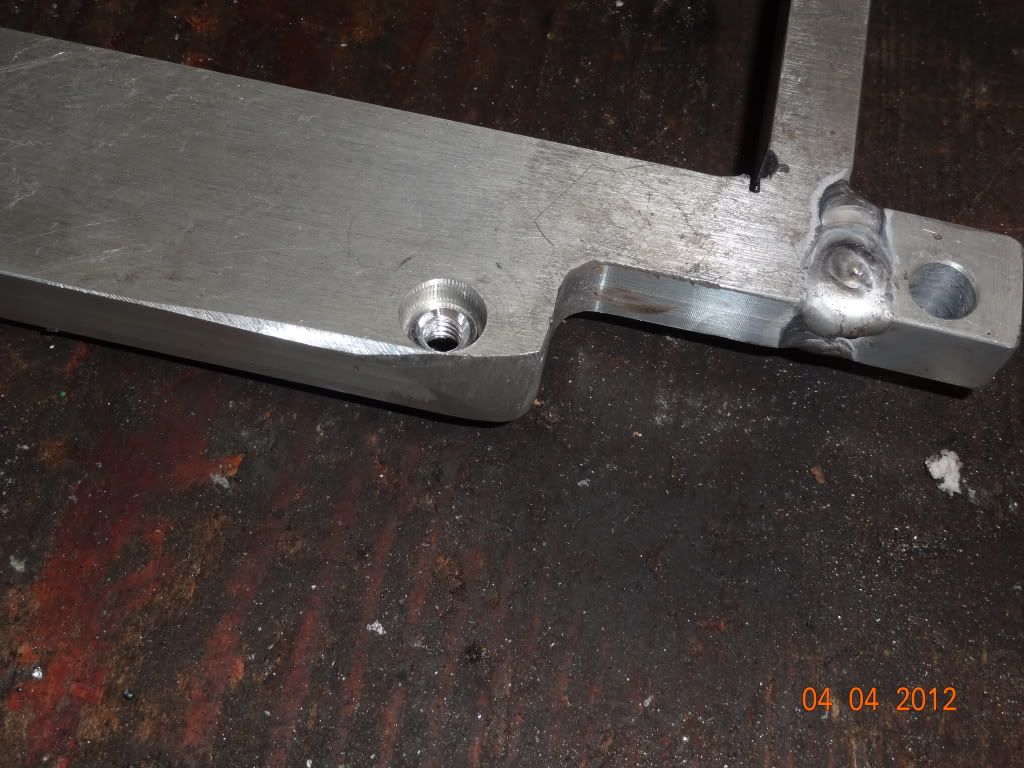
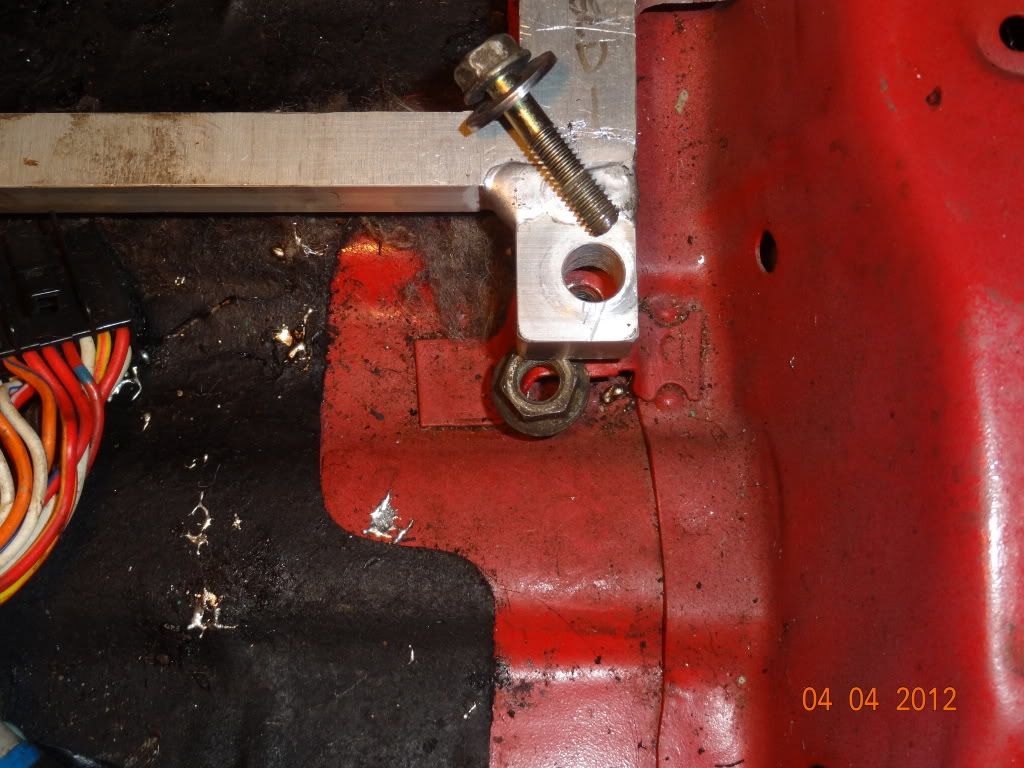
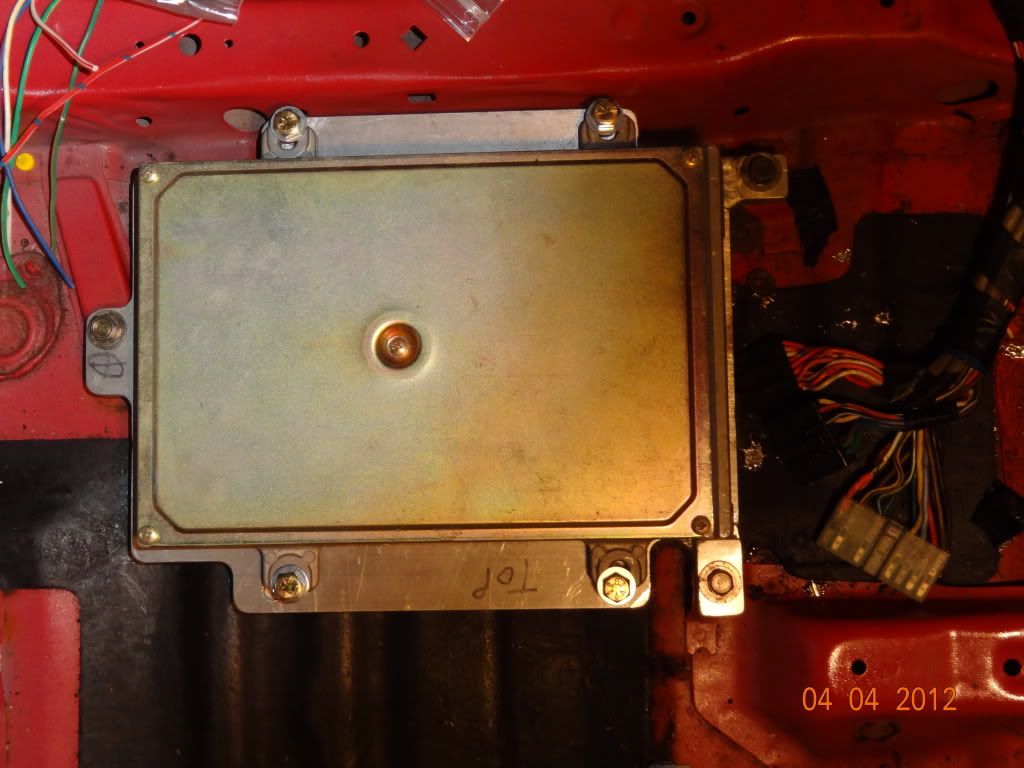
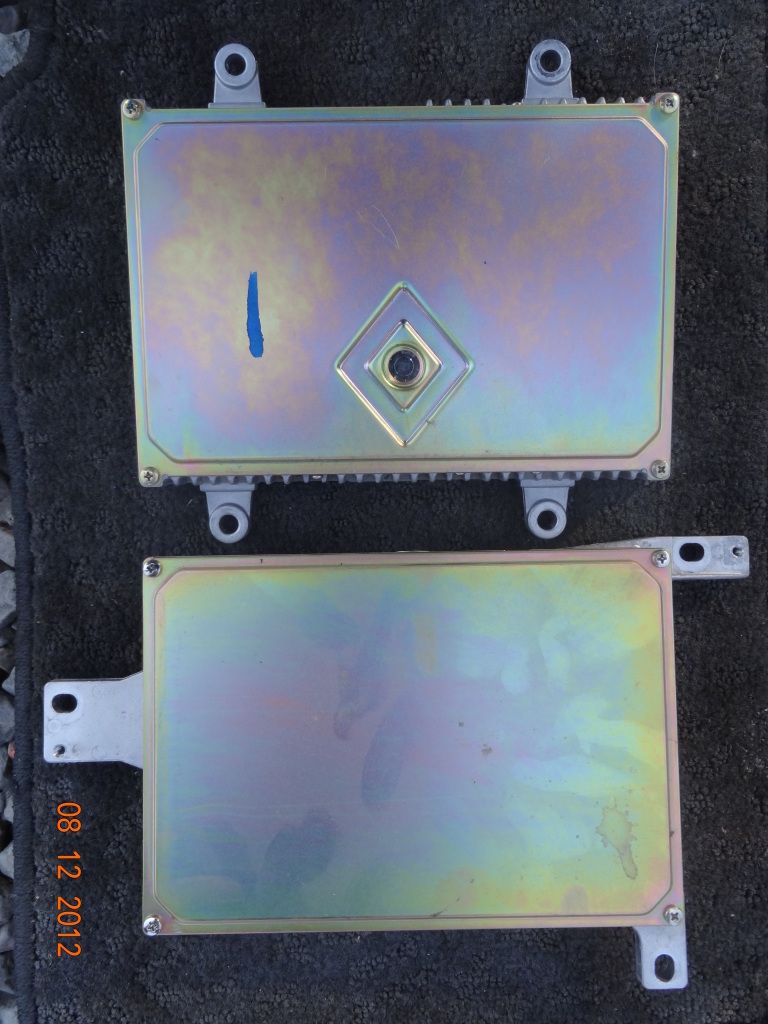
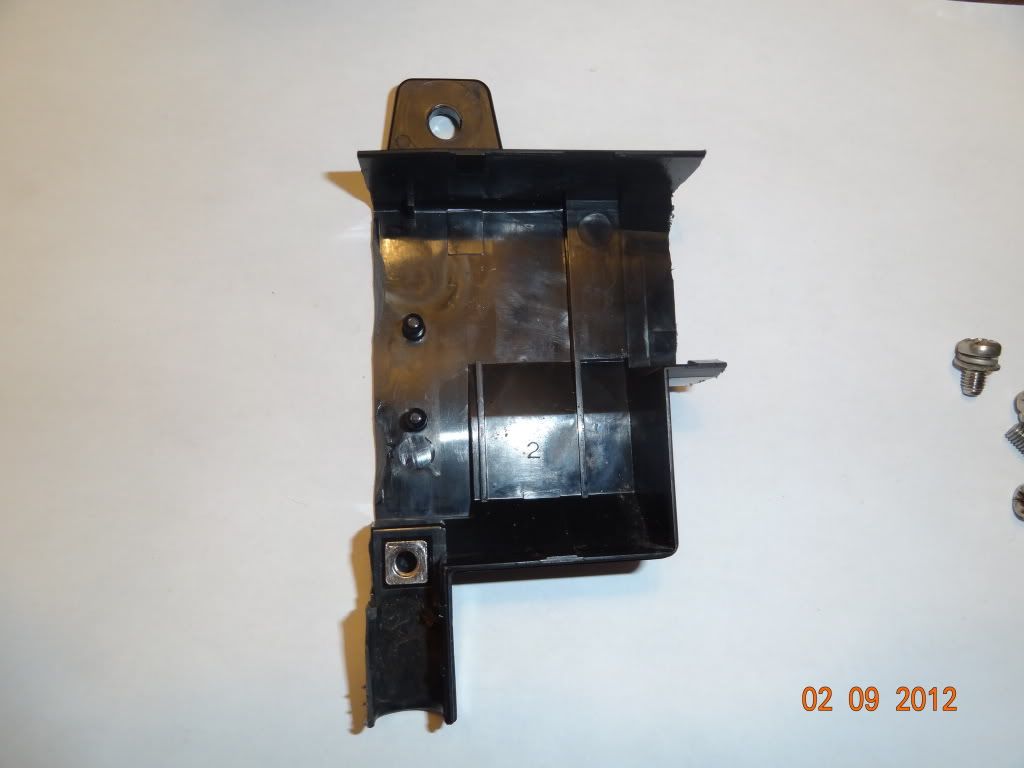
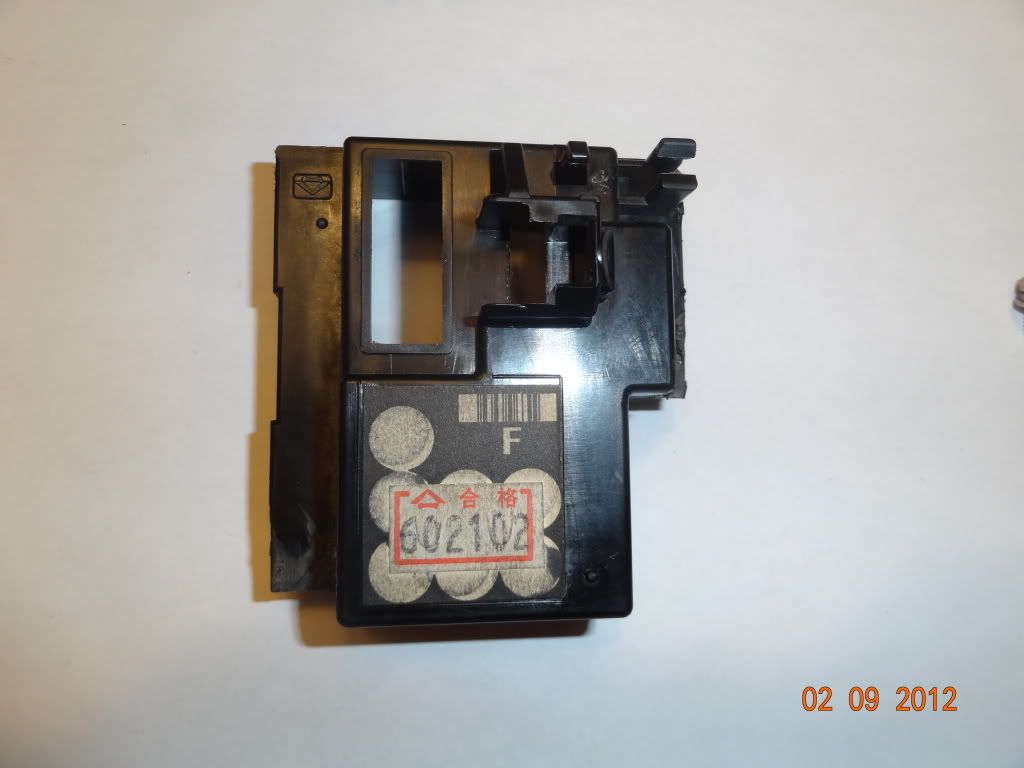
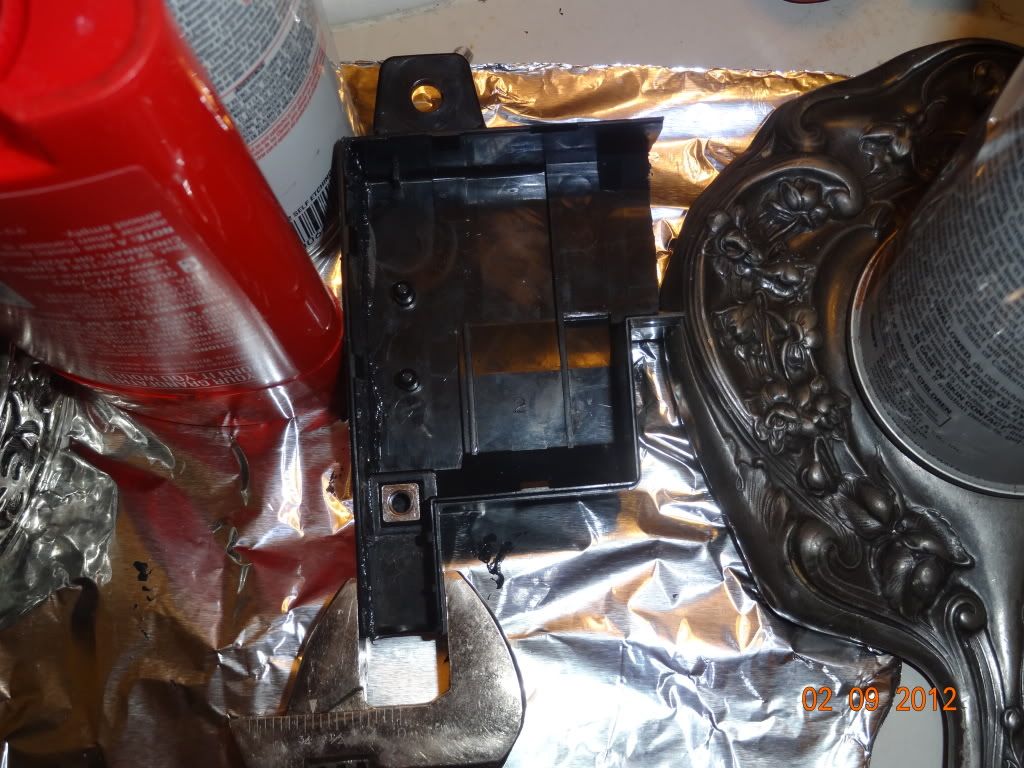
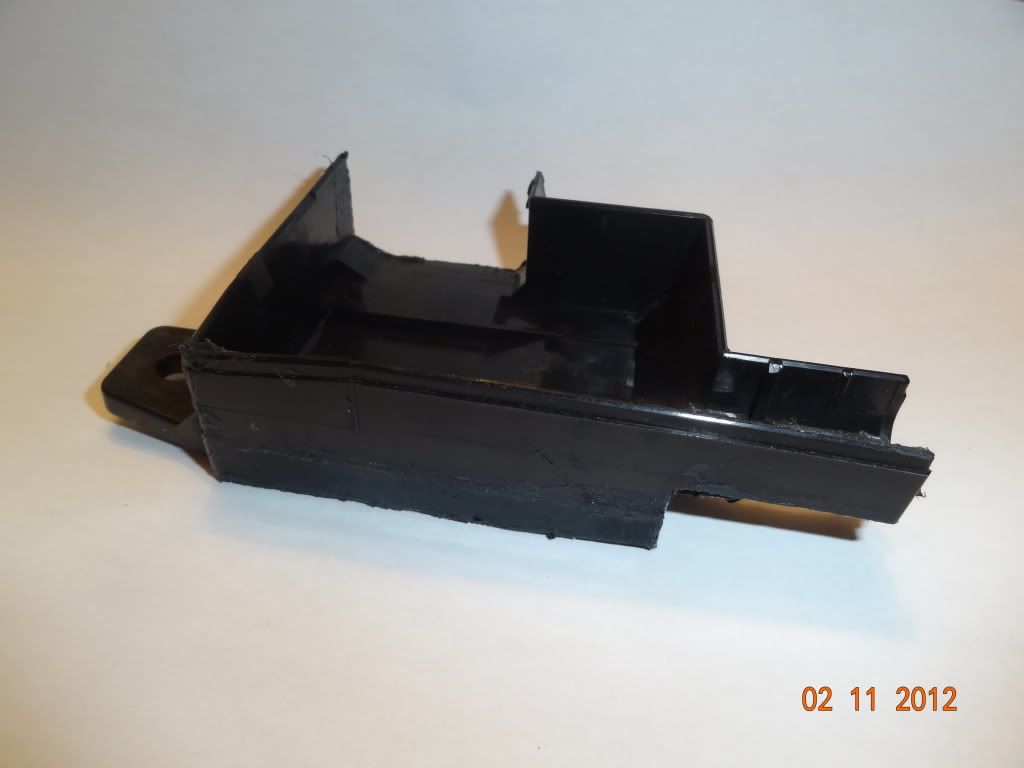
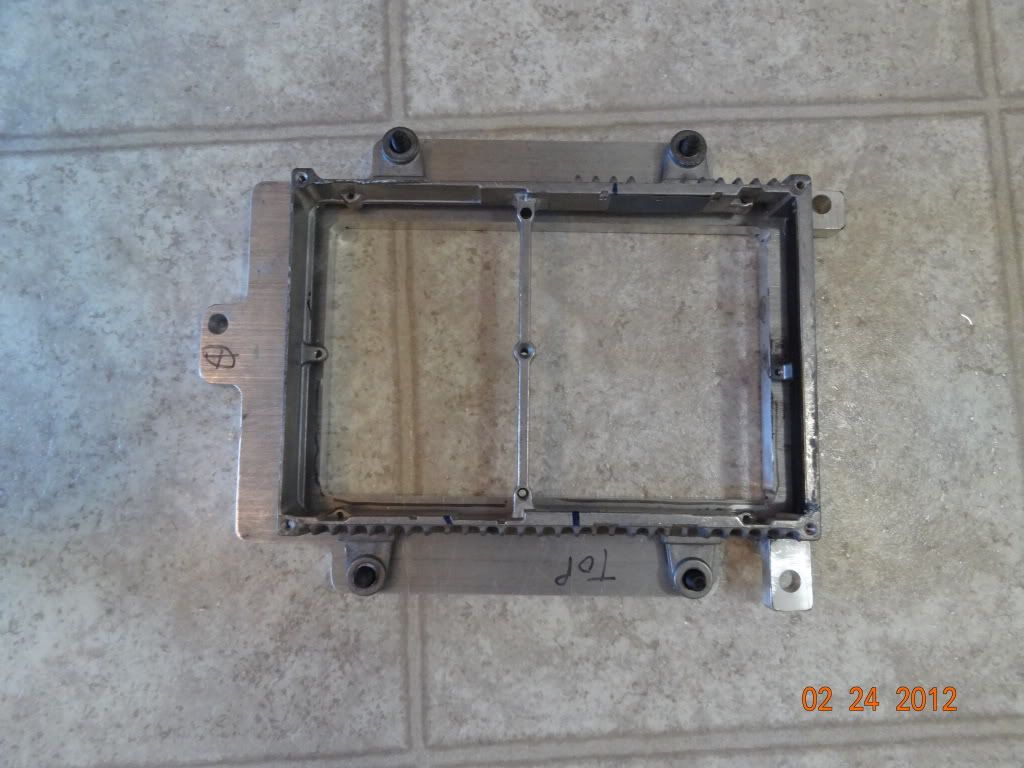
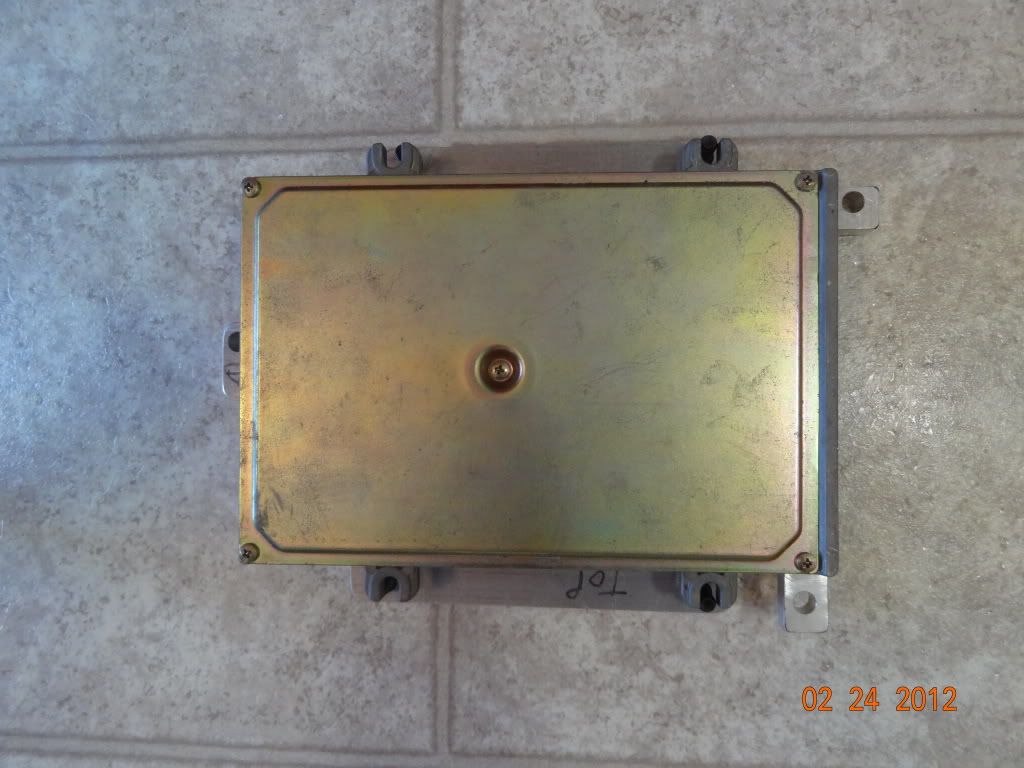
Been working on the ELD, it's nearly finished, just have to test fit and make a bracket for it to mount on. I've also been pulling parts, messing around with the VSS stuff which I thought I had figured out but don't. Was going to use the 85 CRX SI cluster, however 1G clusters do not fit into my 3G. I've also been reading the Haynes Automotive Electrical Handbook, need to get a handle on the electrical stuff before I tackle anything further on my harness stuff. One of the things I've pulled from salvage was another complete chassis harness for my 3G. Plans are to try and work on stuff as much as I can here at the apt that way I can knock everything out when I am ready. Also considering mounting the hydraulic master cylinder under the battery tray if it will fit. Not sure how much room is there, especially once the Hasport mount is in. I was going to mount it to the firewall but don't want to get into anything that will make my project take longer than it needs to be. That might be something for a later date. Right now I have limited time because I work nites and take care of the kid during the day, my wife and I are on opposite schedule so someone can always be home with him. Because I want to try and mount the hydraulic master cylinder under the battery tray I'm thinking longer cable, maybe an integra or civic sedan cable? Maybe not, will have to measure at the salvage yard. Alright, more ELD stuff.
#32
Posted 24 February 2012 - 01:52 PM
#33
Posted 24 February 2012 - 01:55 PM
#34
Posted 24 February 2012 - 02:21 PM
05/15/12
Final Position, not sure if I am happy with this or if I will use this.
This idea will work great if your just looking to get the ELD in place and are modifying the original 85-87 SI harness. I just picked up an 90-91 Civic EX harness and plan on using the entire harness and would like this to mostly be plug n play. That means I have 5 fuses on the right side of the 88-91 civic engine compartment fuse box. I can make a small bracket and add a fuse block like this one I found on ebay:
Or I can just add five of those inline fuses like this
However I am thinking of mounting the full 88-91 fuse box to the firewall using the duramix autobody glue and some elevator bolts picked up from Lowes but I will actually go to my shop and test fit/try this to see if it will work. Otherwise I will just go with adding the fuse block.
#35
Posted 24 February 2012 - 02:25 PM
You guessed it, HF drums and backing plates. I hope I can also find the 1300/HF "rear end". The one at the salvage was bent.
#36
Posted 24 February 2012 - 02:49 PM
Also one other thing I've been working on, well not me really the machine shop. And not that I recommend doing this, it cost more than I was expecting style_emoticons/default/blink.gif . Anyway, made an adapter plate from the PE7 to the PM6. I fully intend on going to the P07 but intend on running it on OBD0 for a little bit, maybe till summer. Just need to get it up and running first. I should have made the plate for the P07 and just ziptied the PM6 to the adapter plate.........whats that saying about hindsight! style_emoticons/default/laugh.gif
Here's the two dummy ECU's I let the machine shop use
The adapter that resulted
The PM6 style (88-91) ECU on the adapter
The P07 on the adapter. The two mounts closest to the plugins line up, the back two are slightly offset. I have a couple of ideas on how to remedy this but for a later time.
I order Chedda's Panhard Mount Brace, which was excellent quality by the way, and decided to remove the studs and borrow the spare riv nuts that came with it.
This gave me the clearance to install the OBD1 computer using 3 of the 4 bolt holes with large washers on the top. I just needed to drill the one hole for the OBD1 mount. Now I can use this adapter for both OBD0 and OBD1. My only disappointment in this adapter is that the machine shop was supposed to leave enough material that I could use the original cover that goes over it. Eventually I will have the material added back and drill and tap the holes to screw this cover back on.
#37
Posted 25 February 2012 - 03:15 AM
#38
Posted 08 March 2012 - 04:37 AM
#39
Posted 15 May 2012 - 01:59 PM
#40
Posted 15 May 2012 - 01:59 PM
Here the corner near the right ECU mounting bolt in the pic rubs on the sub frame.
Used a hand file to remove the material needed for a good "rub free" fit
Don't know if I lost a spacer beneath the original ECU? I used a nut as a spacer for this particular mount point for the ECU.
Fully mounted in stock location!
August 26th, 2012 - This was probably a waste of time and money. On SilentDork818's site he has info about CASE SWAPPING. I think the 86-89 Integra's all share the same mounting holes as the CRX/Civic SI's however, I think the 86-87 ECU size was similar to the 1G/3G while the 88-89 shares a smaller ECU about the same size as the 88-91 civic, (and therefore the same size ECU board) and maybe later series Civics. See Silentdork818's website for more details!
http://silentdork818.com/
Heres some comparison pics, top is the 88-91 Civic, bottom is the 88-89 Integra ecu
Heres the Teg ecu with the 88-91 cover mounted on it.
- KSousa likes this
#41
Posted 15 May 2012 - 02:34 PM
#42
Posted 15 May 2012 - 02:36 PM
Painting Motor Mounts Pt 1
I decided to paint the motor mounts cause for one I don't want to draw unwanted attention and two I like the OEM look which is what I am trying to achieve. Obviously I will have to redo some stuff later. Like usual (with POR-15) I had problems getting a blemish free surface but at this point I would rather be driving my car. I chose POR-15 cause it resist stuff like brake fluid, tranny fluid, ect, basically stuff found in an engine compartment that removes paint.
I used PPG Metal Conditioner DX579. I tried the POR Metal Ready but it sucked an did nothing to etch the aluminum surface.
This shows the difference between non-etched aluminum (L - shiny like chrome) to etched aluminum (R - dull aluminum surface). Aluminum needs to be etched for POR to stick, I just tossed these in a bucket for a day to get the desired effect. It did not seem to affect the polyurethane at all.
I used a product called POR Patch to fill in the deep "Hasport" engraving on the top of the left tranny mount, then top coated with POR-15 after sanding it with 320 grit sandpaper.
Definitely use gloves! I used these paint brushes first off but they tending to leave lines in the paint so I ended up using a foam brush.
I used a large chunk of ready rod with a washer and nut on each side of the mount. This enabled me to twist the mount around to paint all the surfaces then support it to let it dry. I also just opened a pair of cupboard doors to let this rest on top of the doors to dry as well.
Edit 03/05/13: Learning new ways of doing stuff is definately part of the process in this. Since learning about anodizing if I wanted black aluminum motor mounts next time that would be the way I would go
#43
Posted 15 May 2012 - 08:43 PM
You think Like I do. I follow the ecomodders. I love how you are building the ELD in. Plus I like the later D series in an early car.
Fantastic work!